> ## Documentation Index
> Fetch the complete documentation index at: https://help.revenuehero.io/llms.txt
> Use this file to discover all available pages before exploring further.
# How to install the scheduler on a Webflow page?
> Here are the steps that would help you set-up the RevenueHero widget on your page.
1. Copy the script from **Widget Installation** inside the router you wish to install.
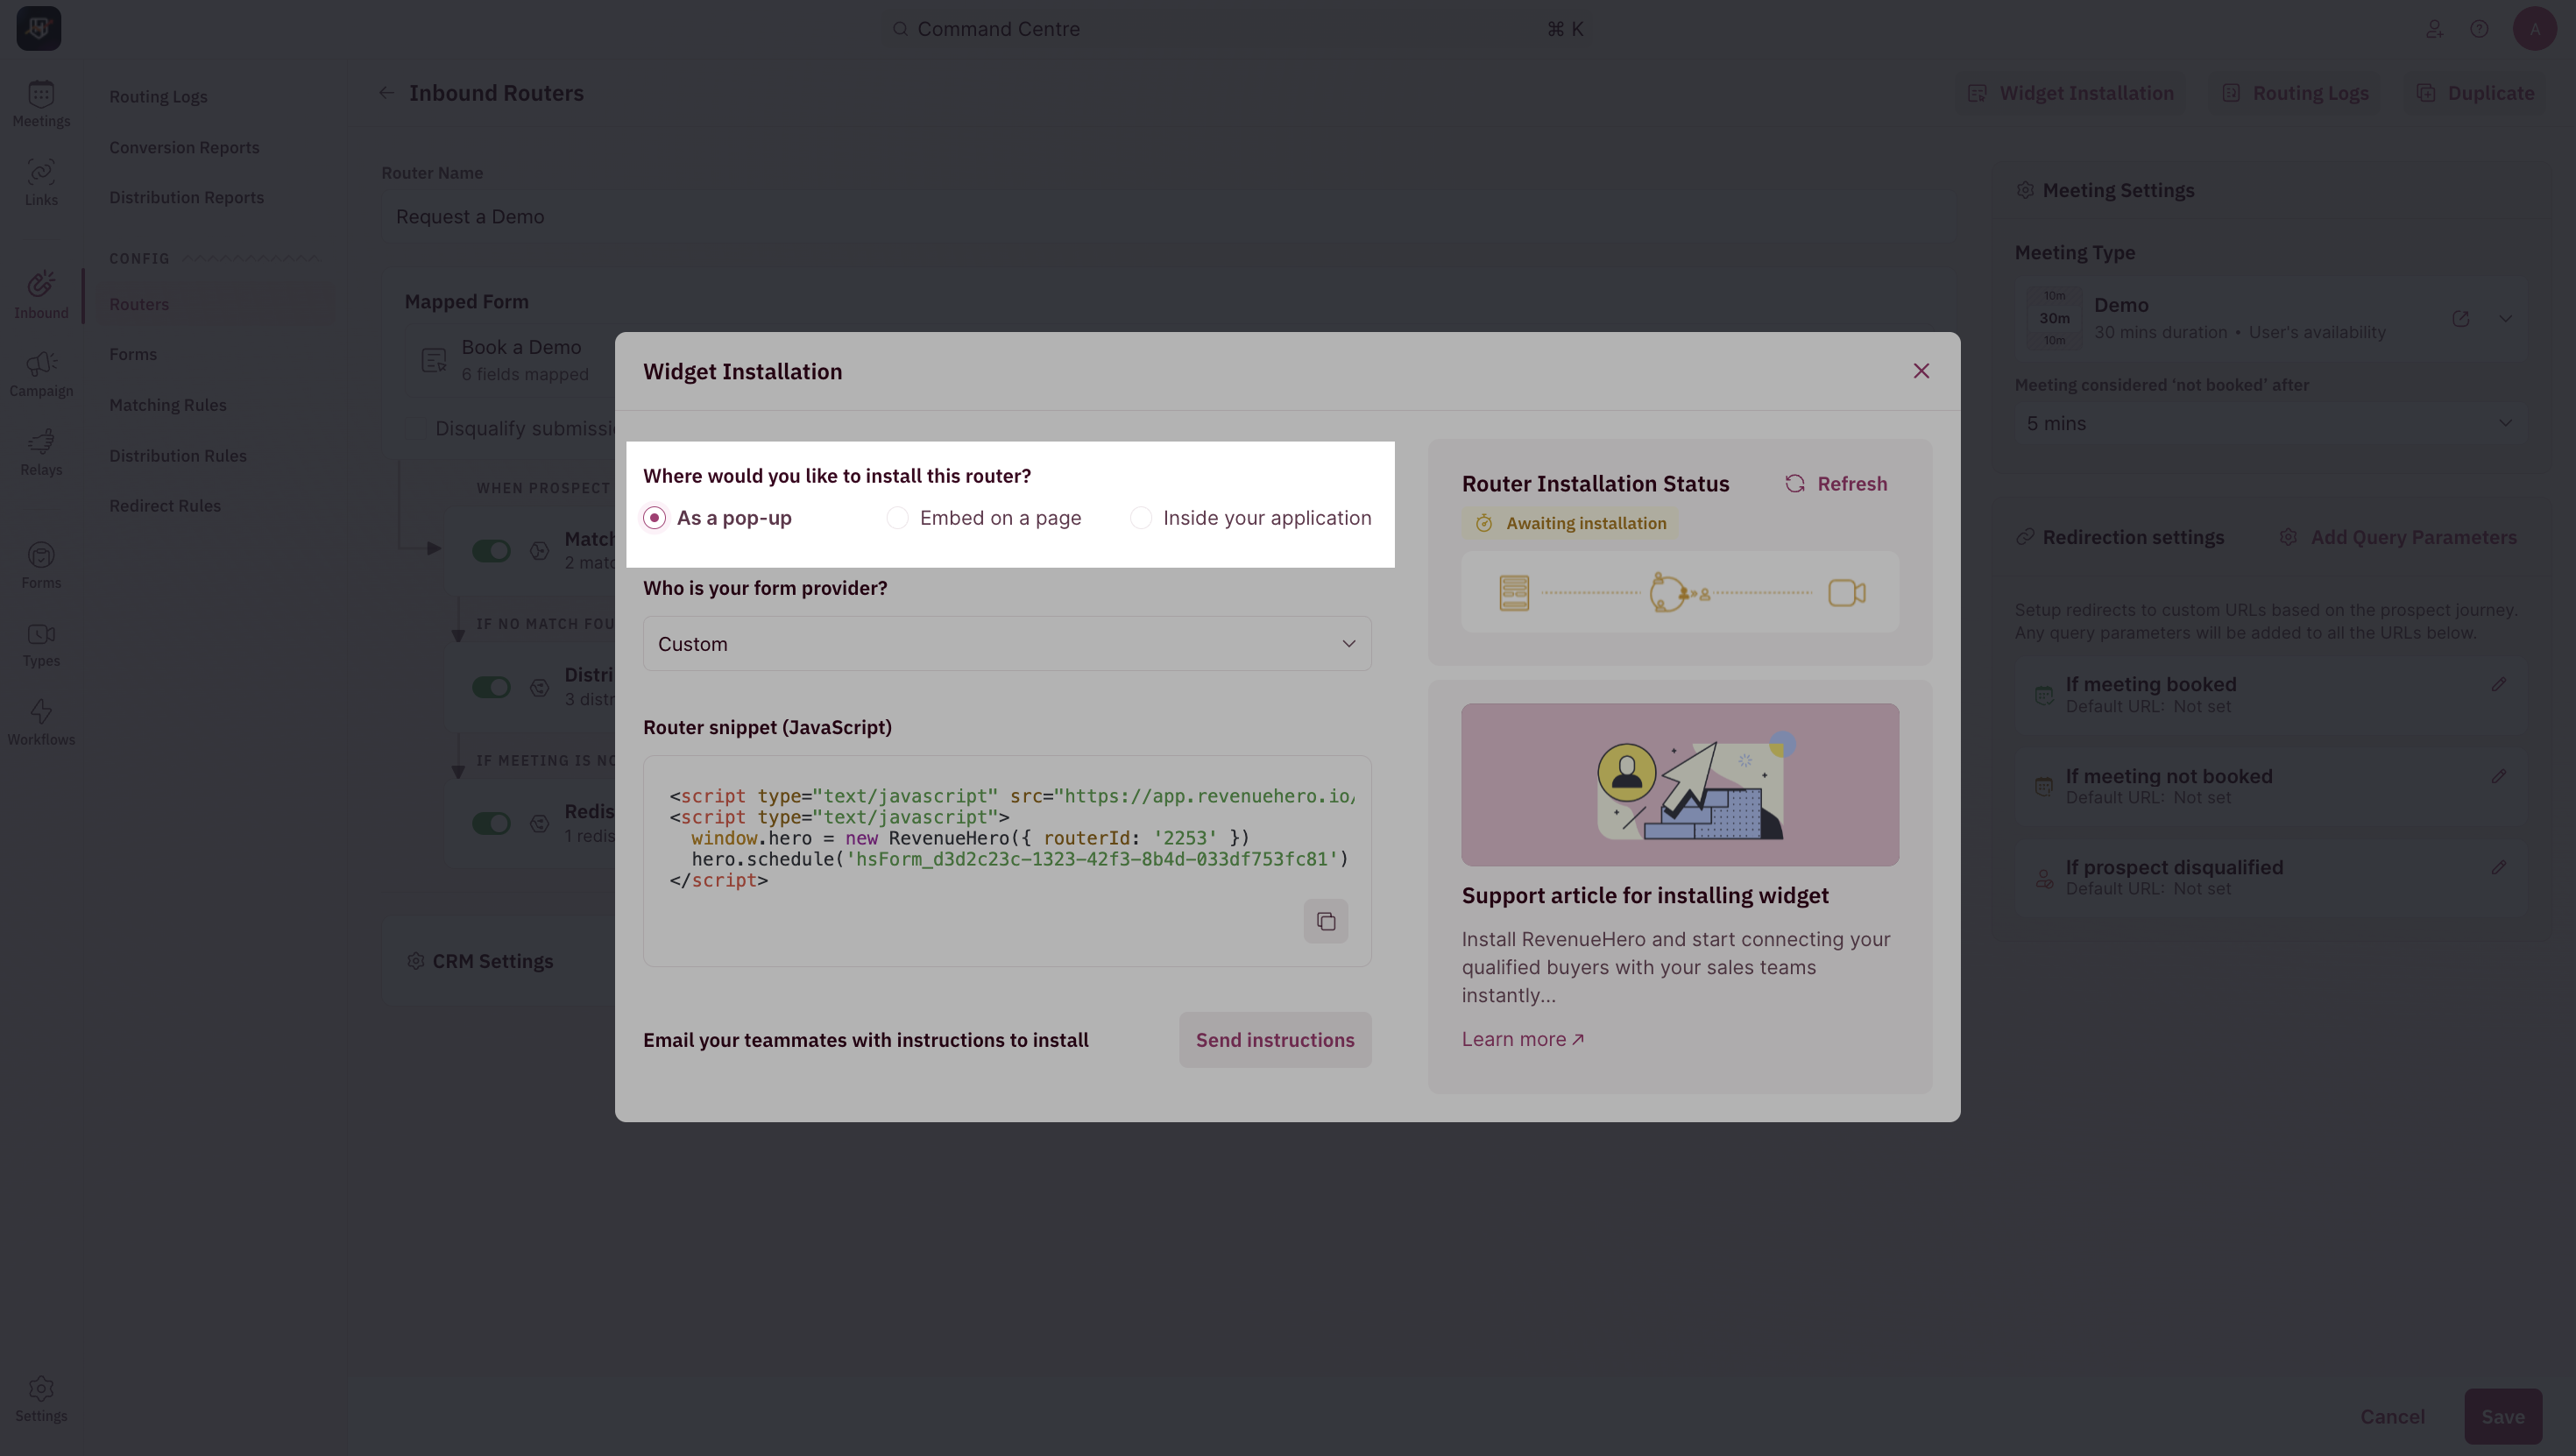 The example on this help doc is for a pop-up scheduler. [Here's how to embed the scheduler on your page.](/installation/embed-widget)
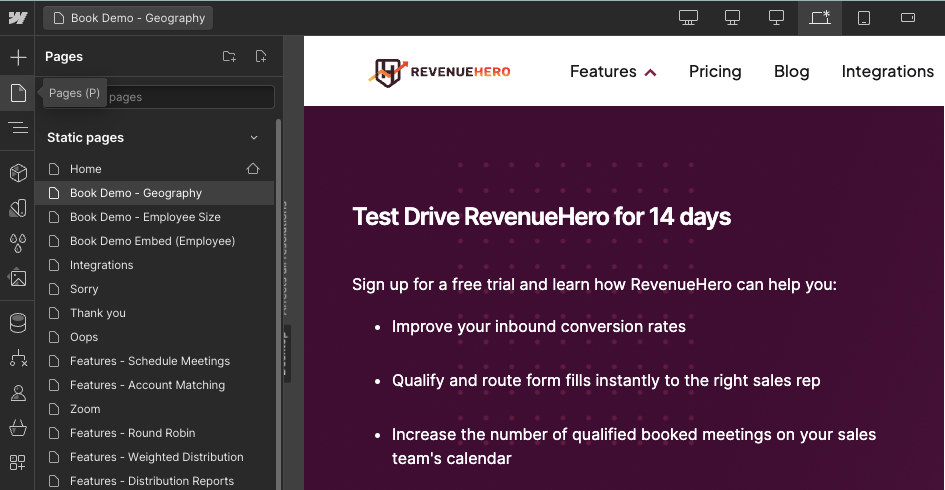
2. Open Webflow and go to **Pages**
The example on this help doc is for a pop-up scheduler. [Here's how to embed the scheduler on your page.](/installation/embed-widget)
2. Open Webflow and go to **Pages**
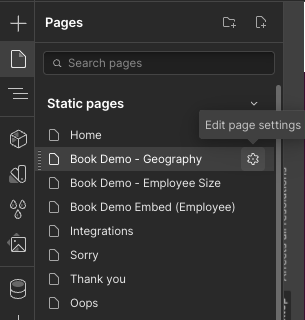
 3. Click on the **Edit Page Settings** option.
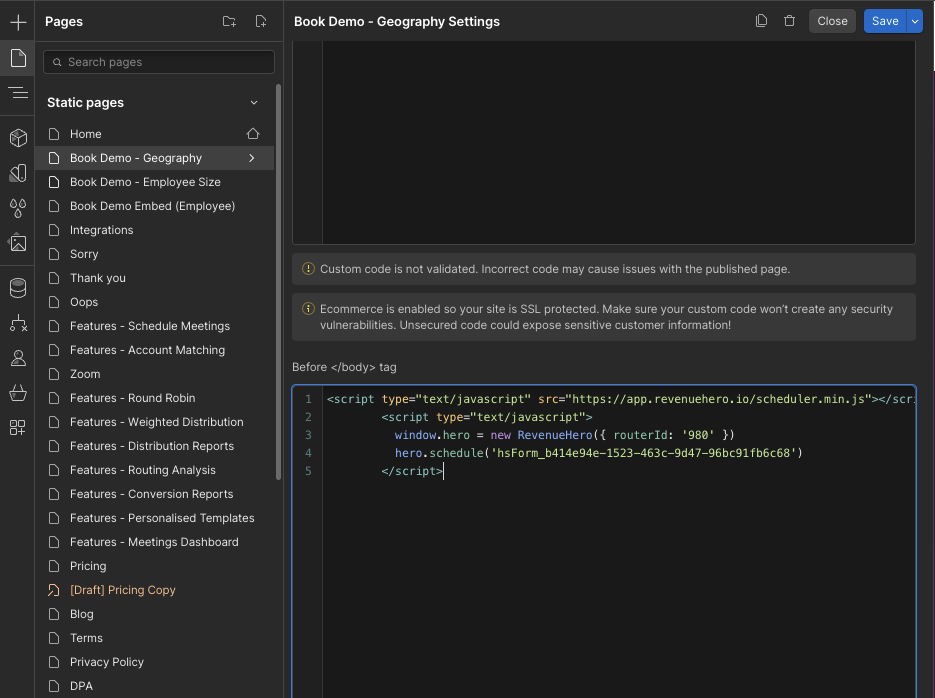
 4. Scroll to **Before body tag** section and paste the script.
 5. Publish the page and you're all set!
***
5. Publish the page and you're all set!
***