> ## Documentation Index
> Fetch the complete documentation index at: https://help.revenuehero.io/llms.txt
> Use this file to discover all available pages before exploring further.
# How to customize your Widget?
> Customize how your scheduler loads, looks and feels. Let the Picasso in you run wild.
If you're an administrator, you can customize the RevenueHero booking widget to match your organization's branding.
## Navigate to Branding
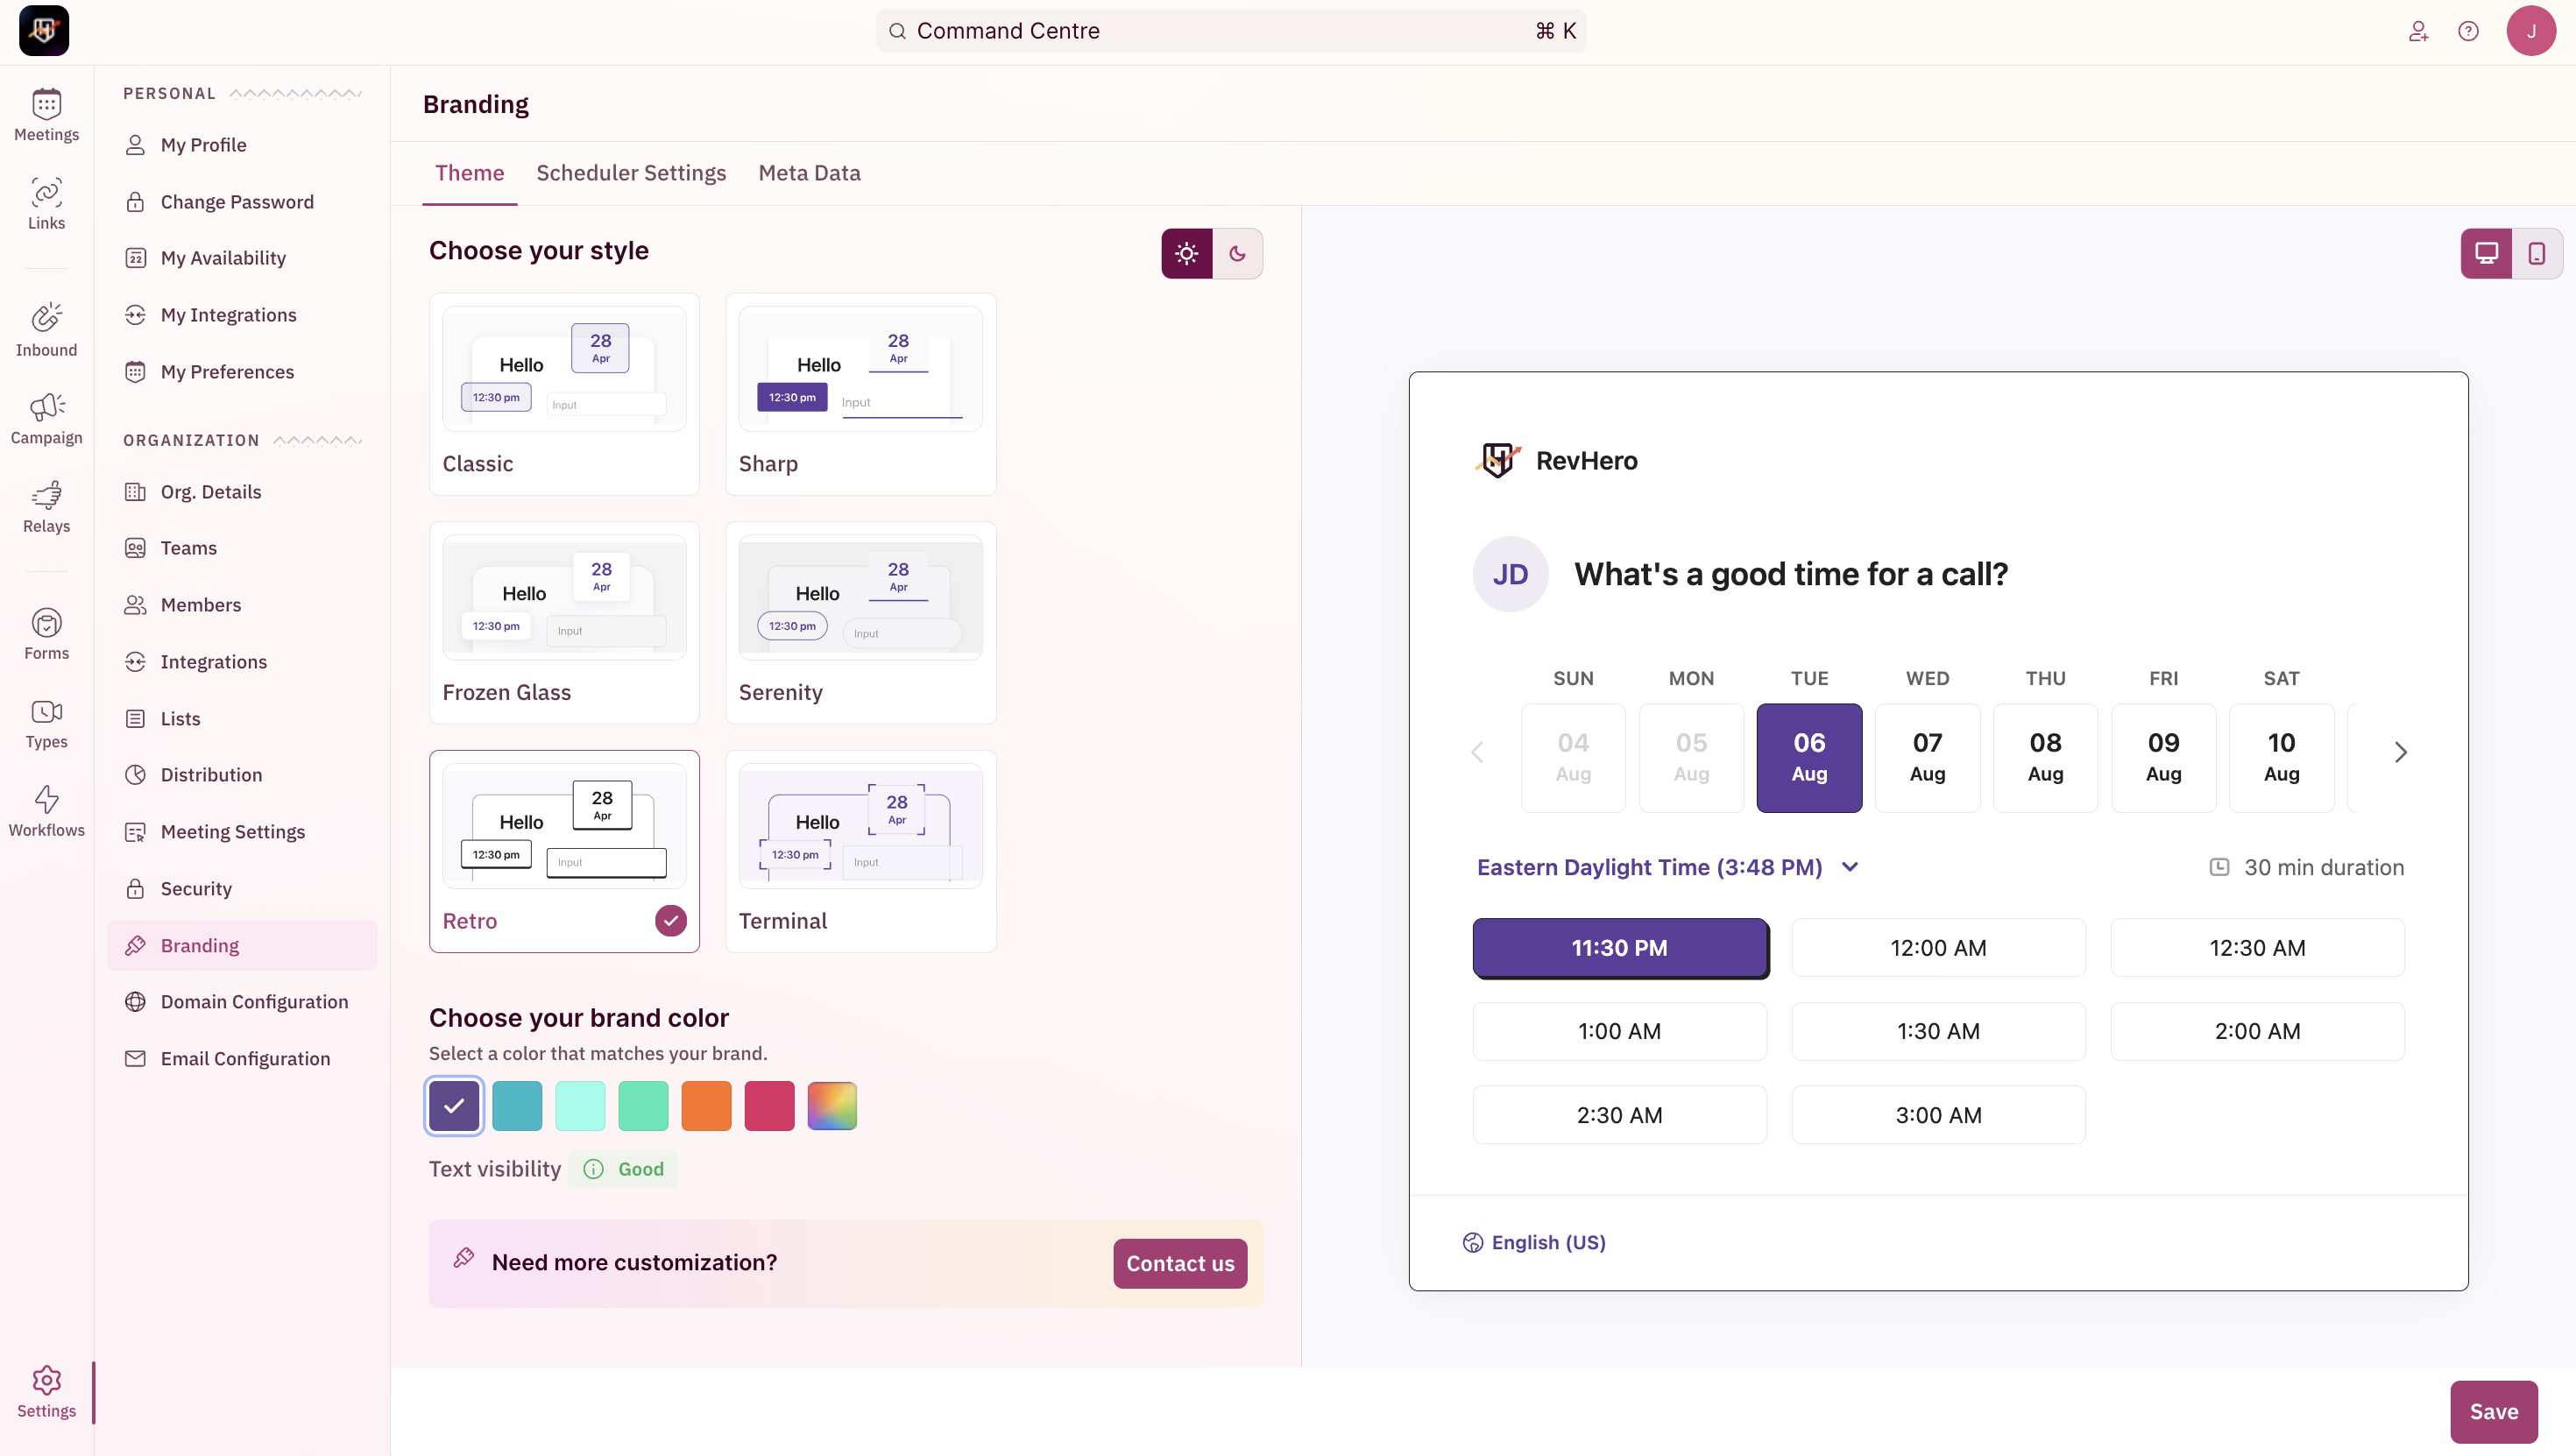
You can access the **Branding** section by heading to "**Settings**" from the left navigation menu and by clicking on "**Branding**" under the "**Organization Settings**".
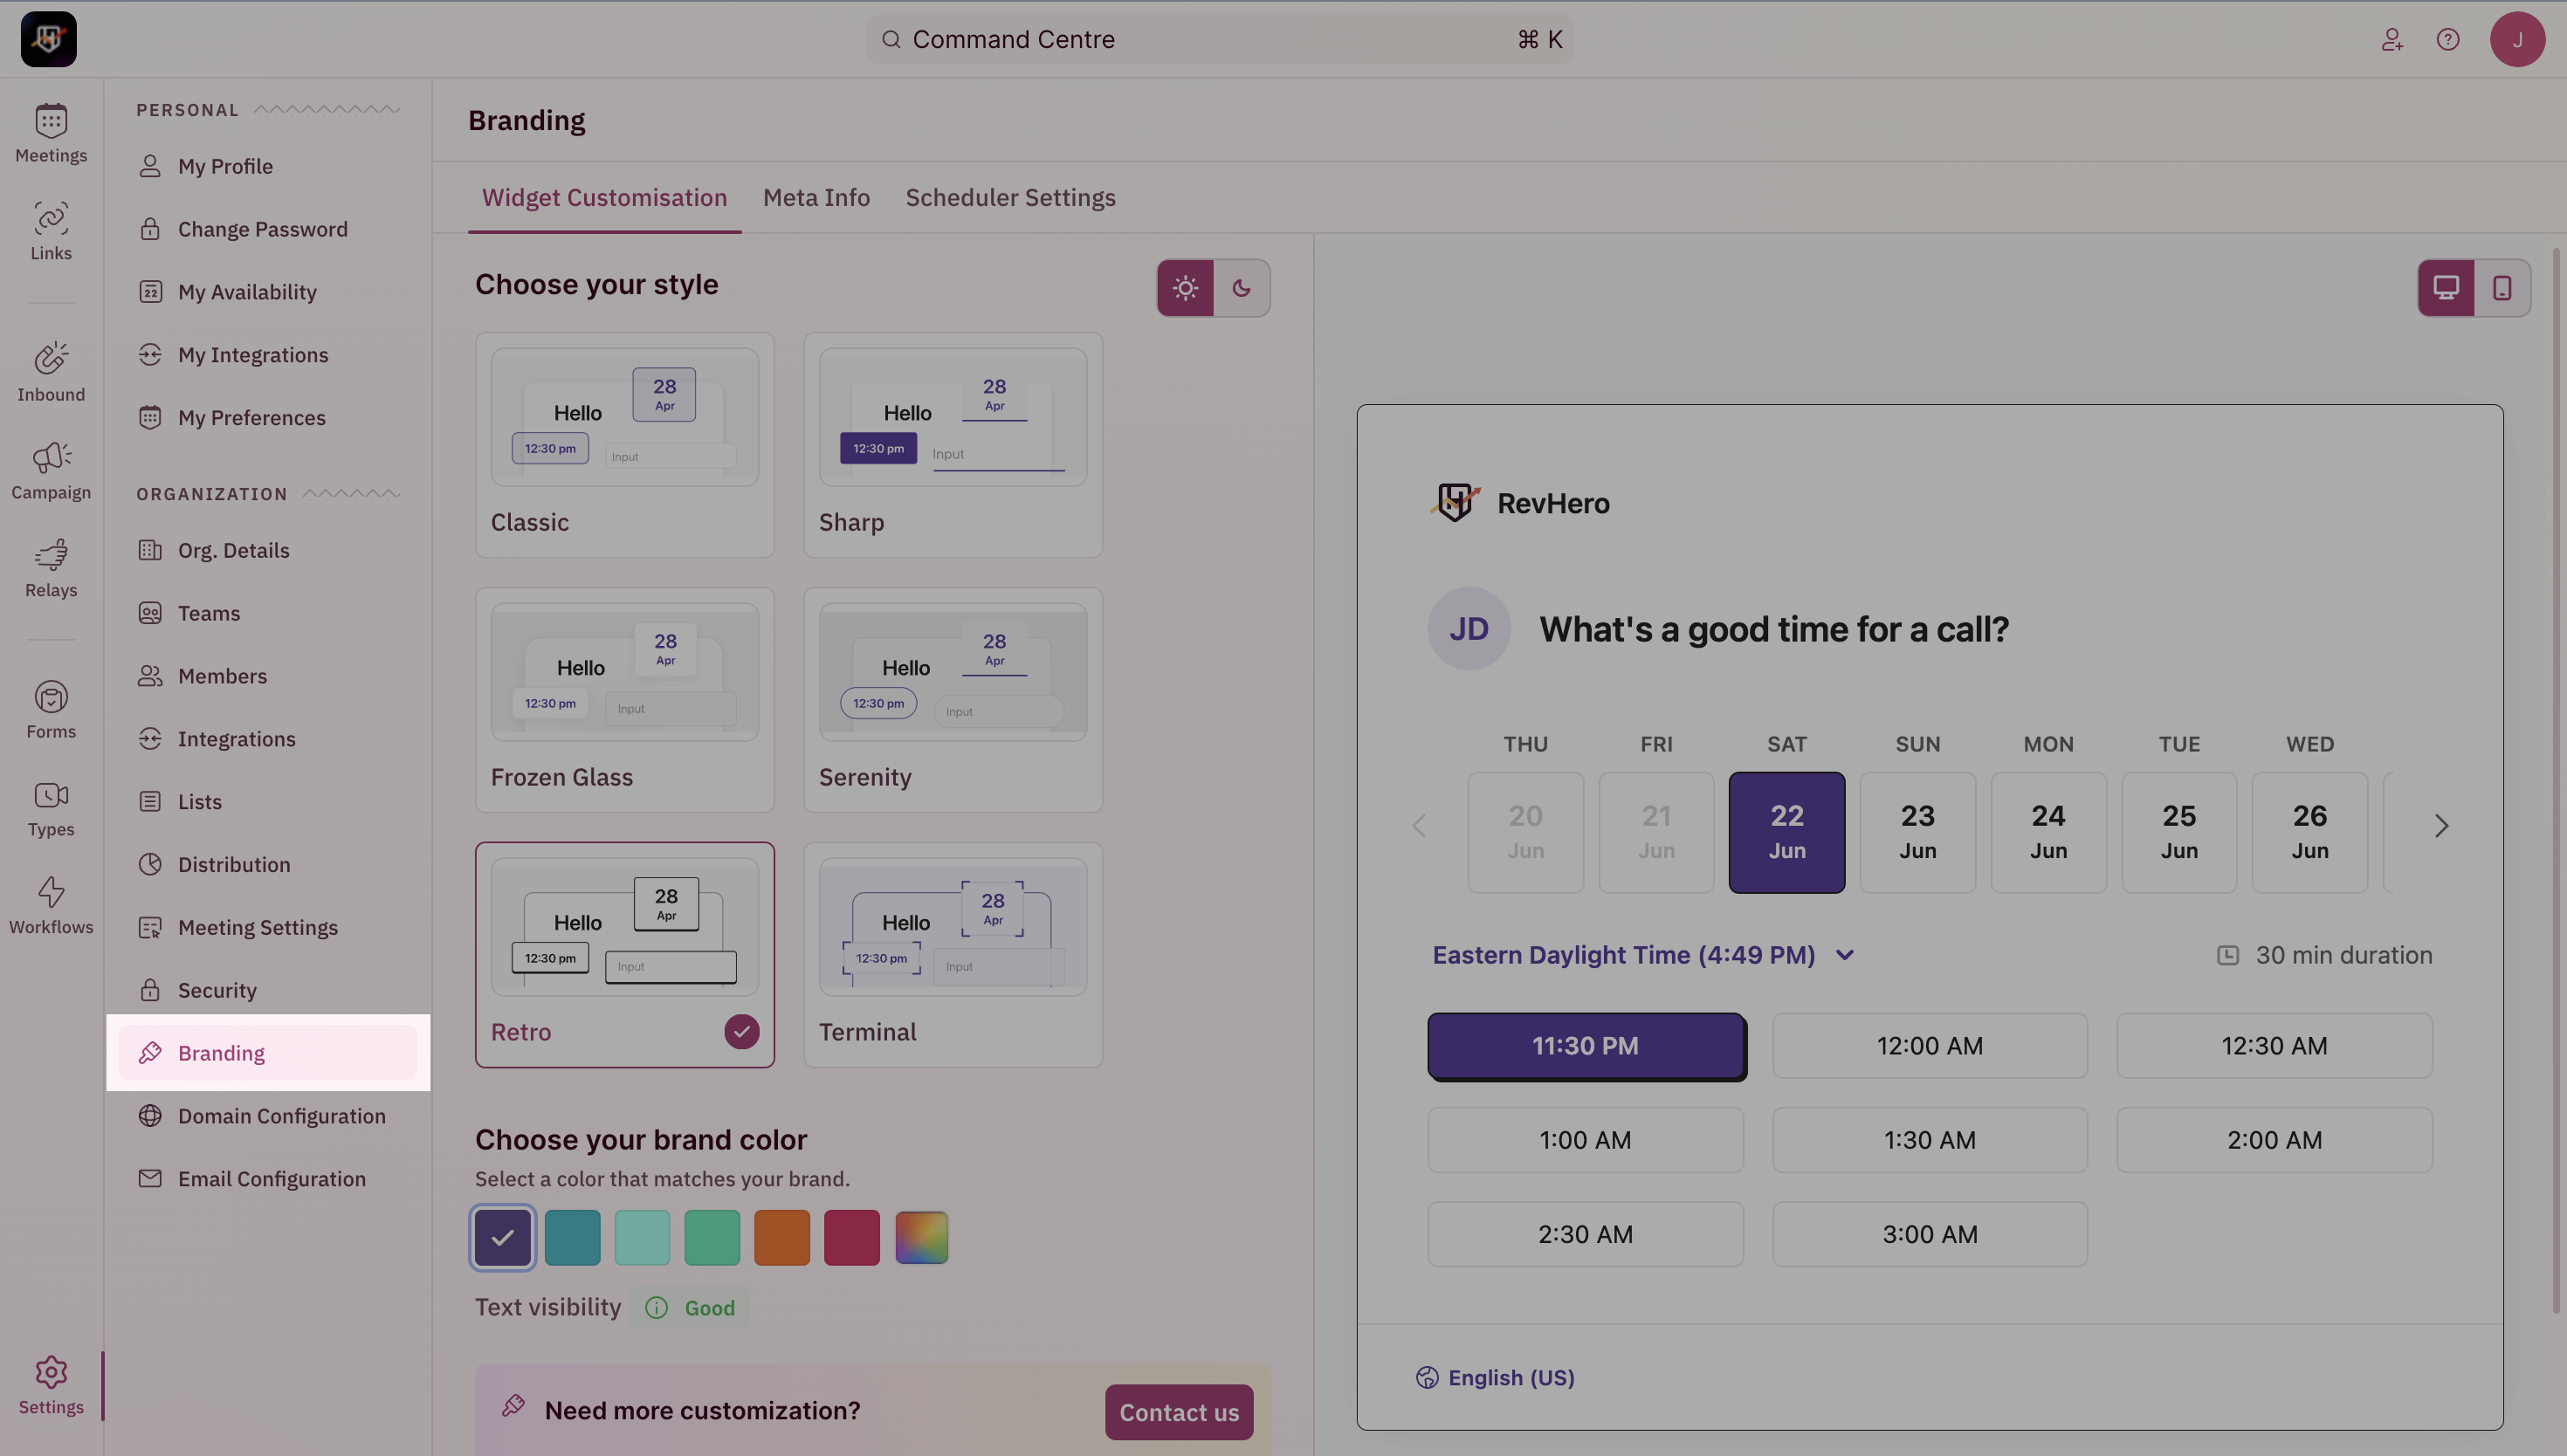 You can access the following:
1. Themes - to customize the look and feel of the scheduling widget.
2. Meta Info - customize the description and meta info that goes along with your organtization's meeting links.
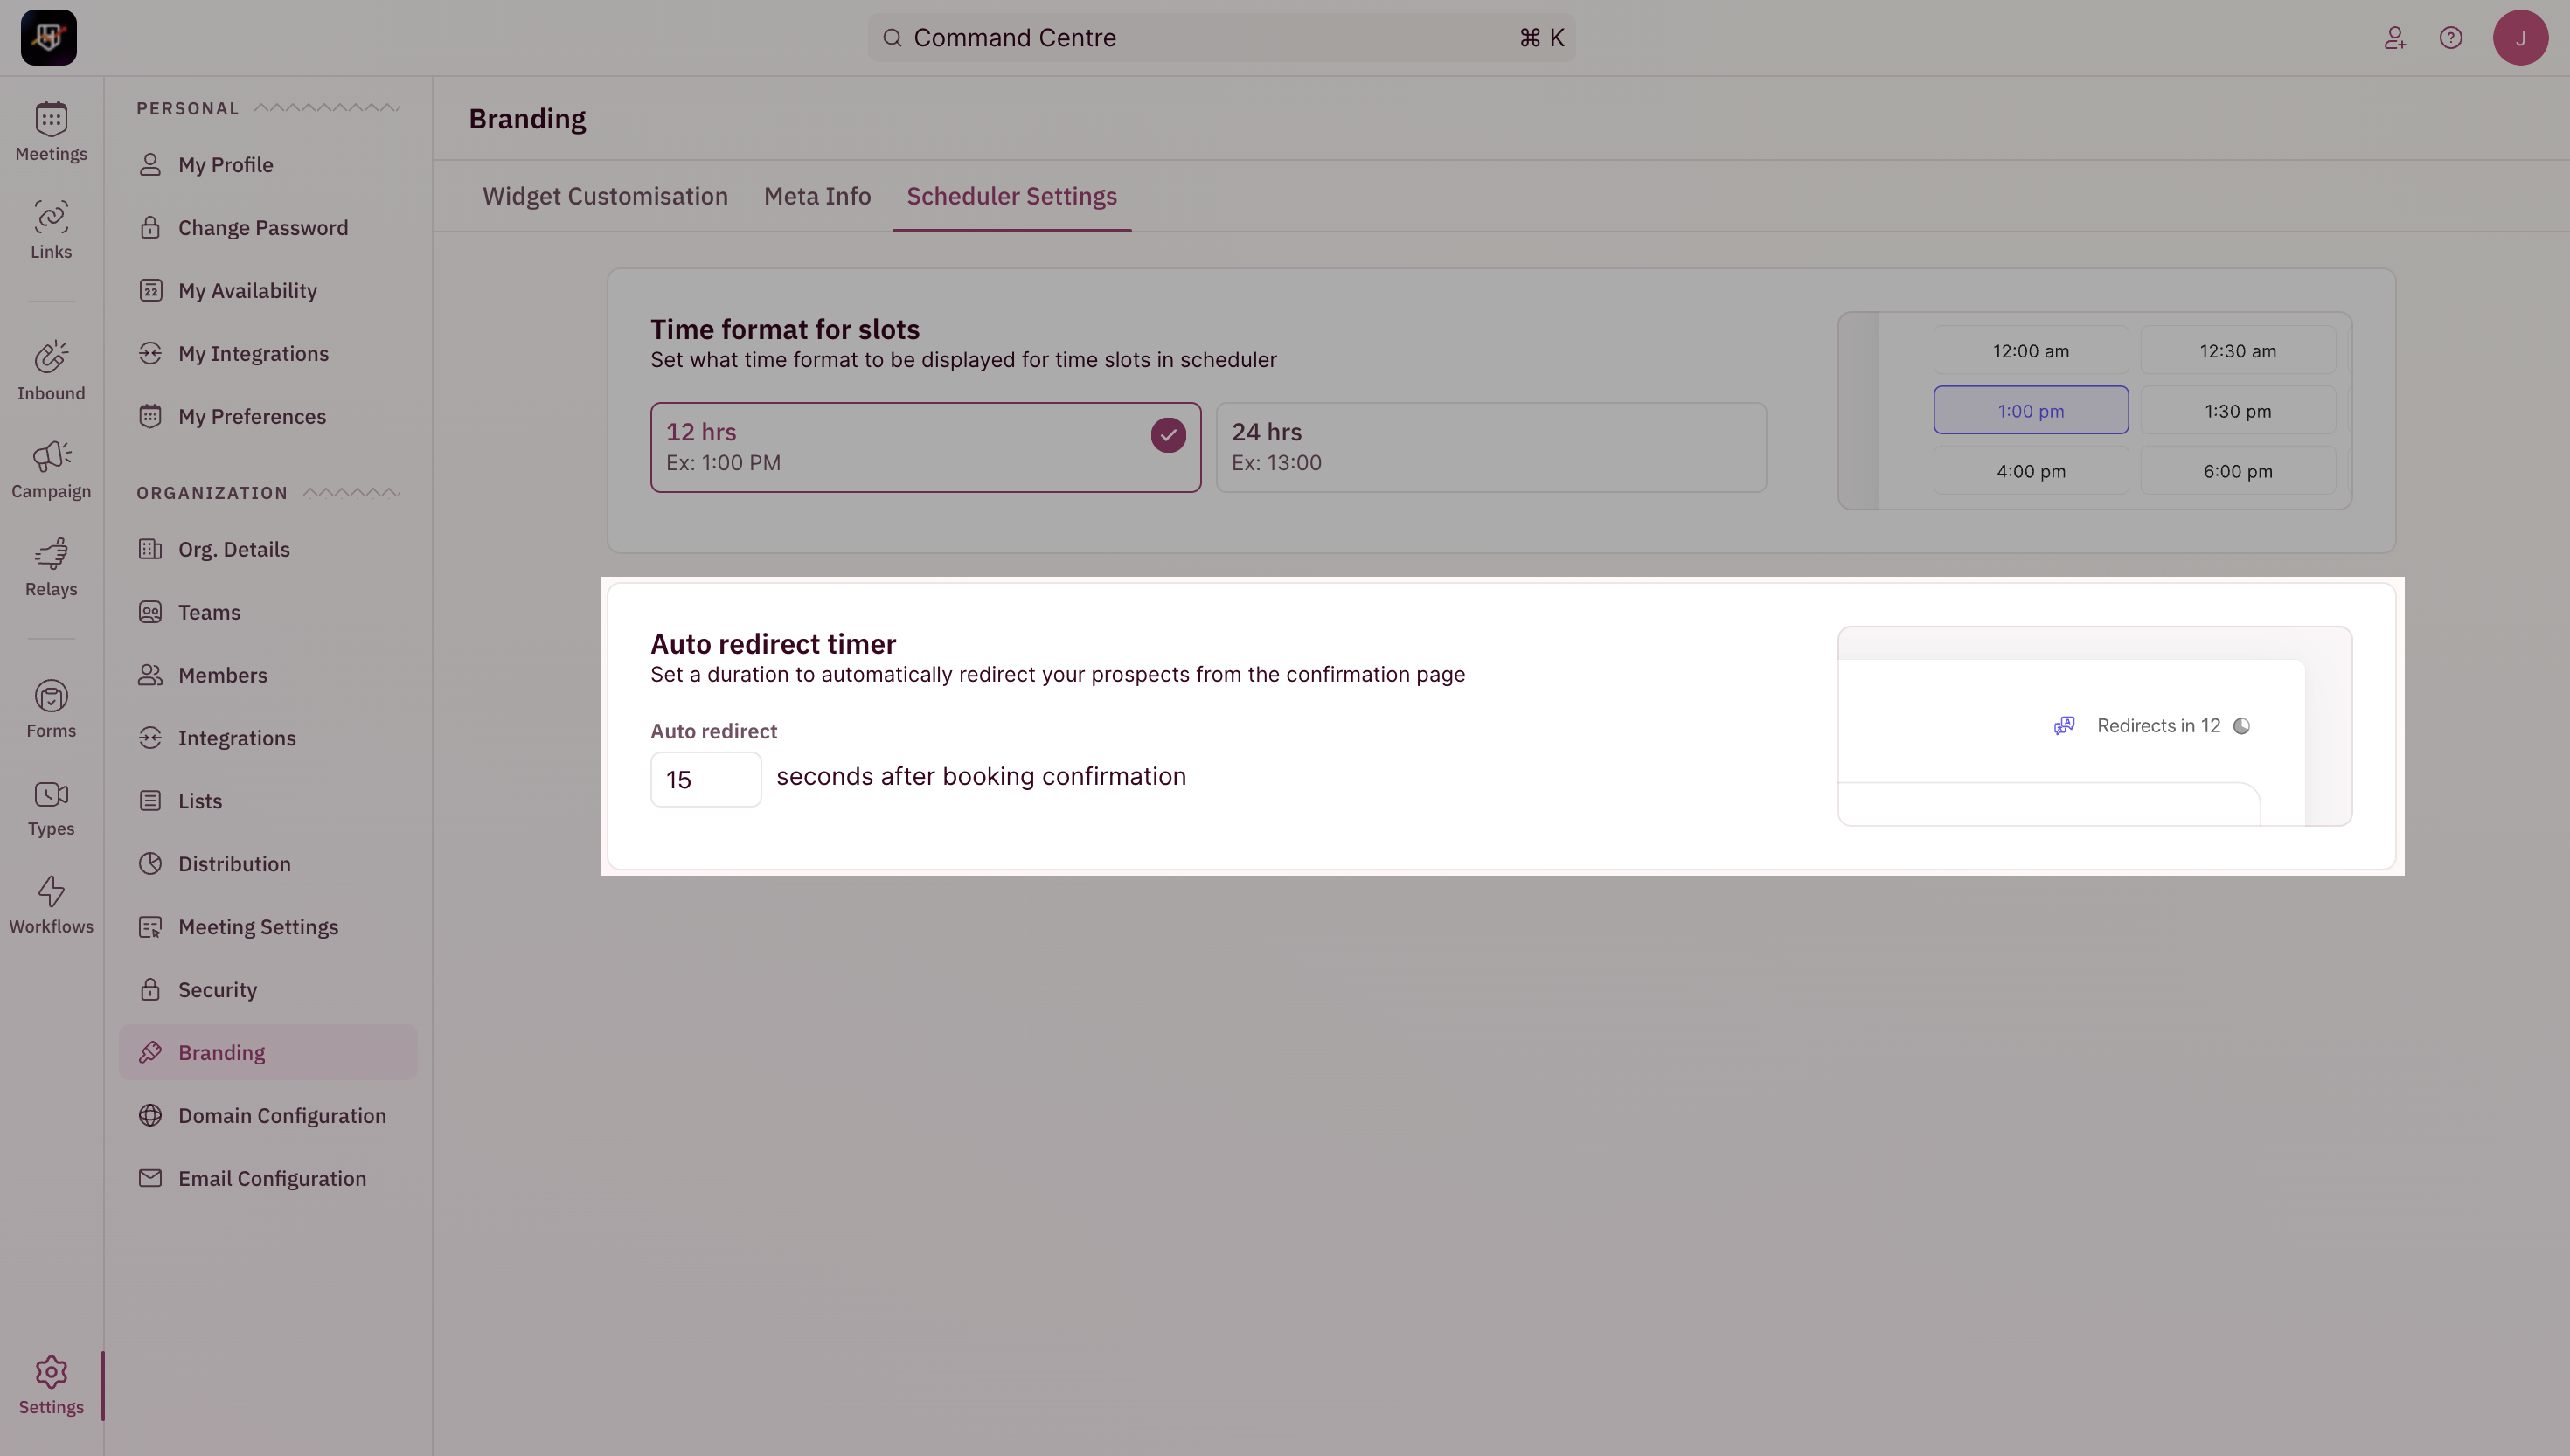
3. Scheduler Settings - Choose time format and widget redirection timer.
## Select your theme
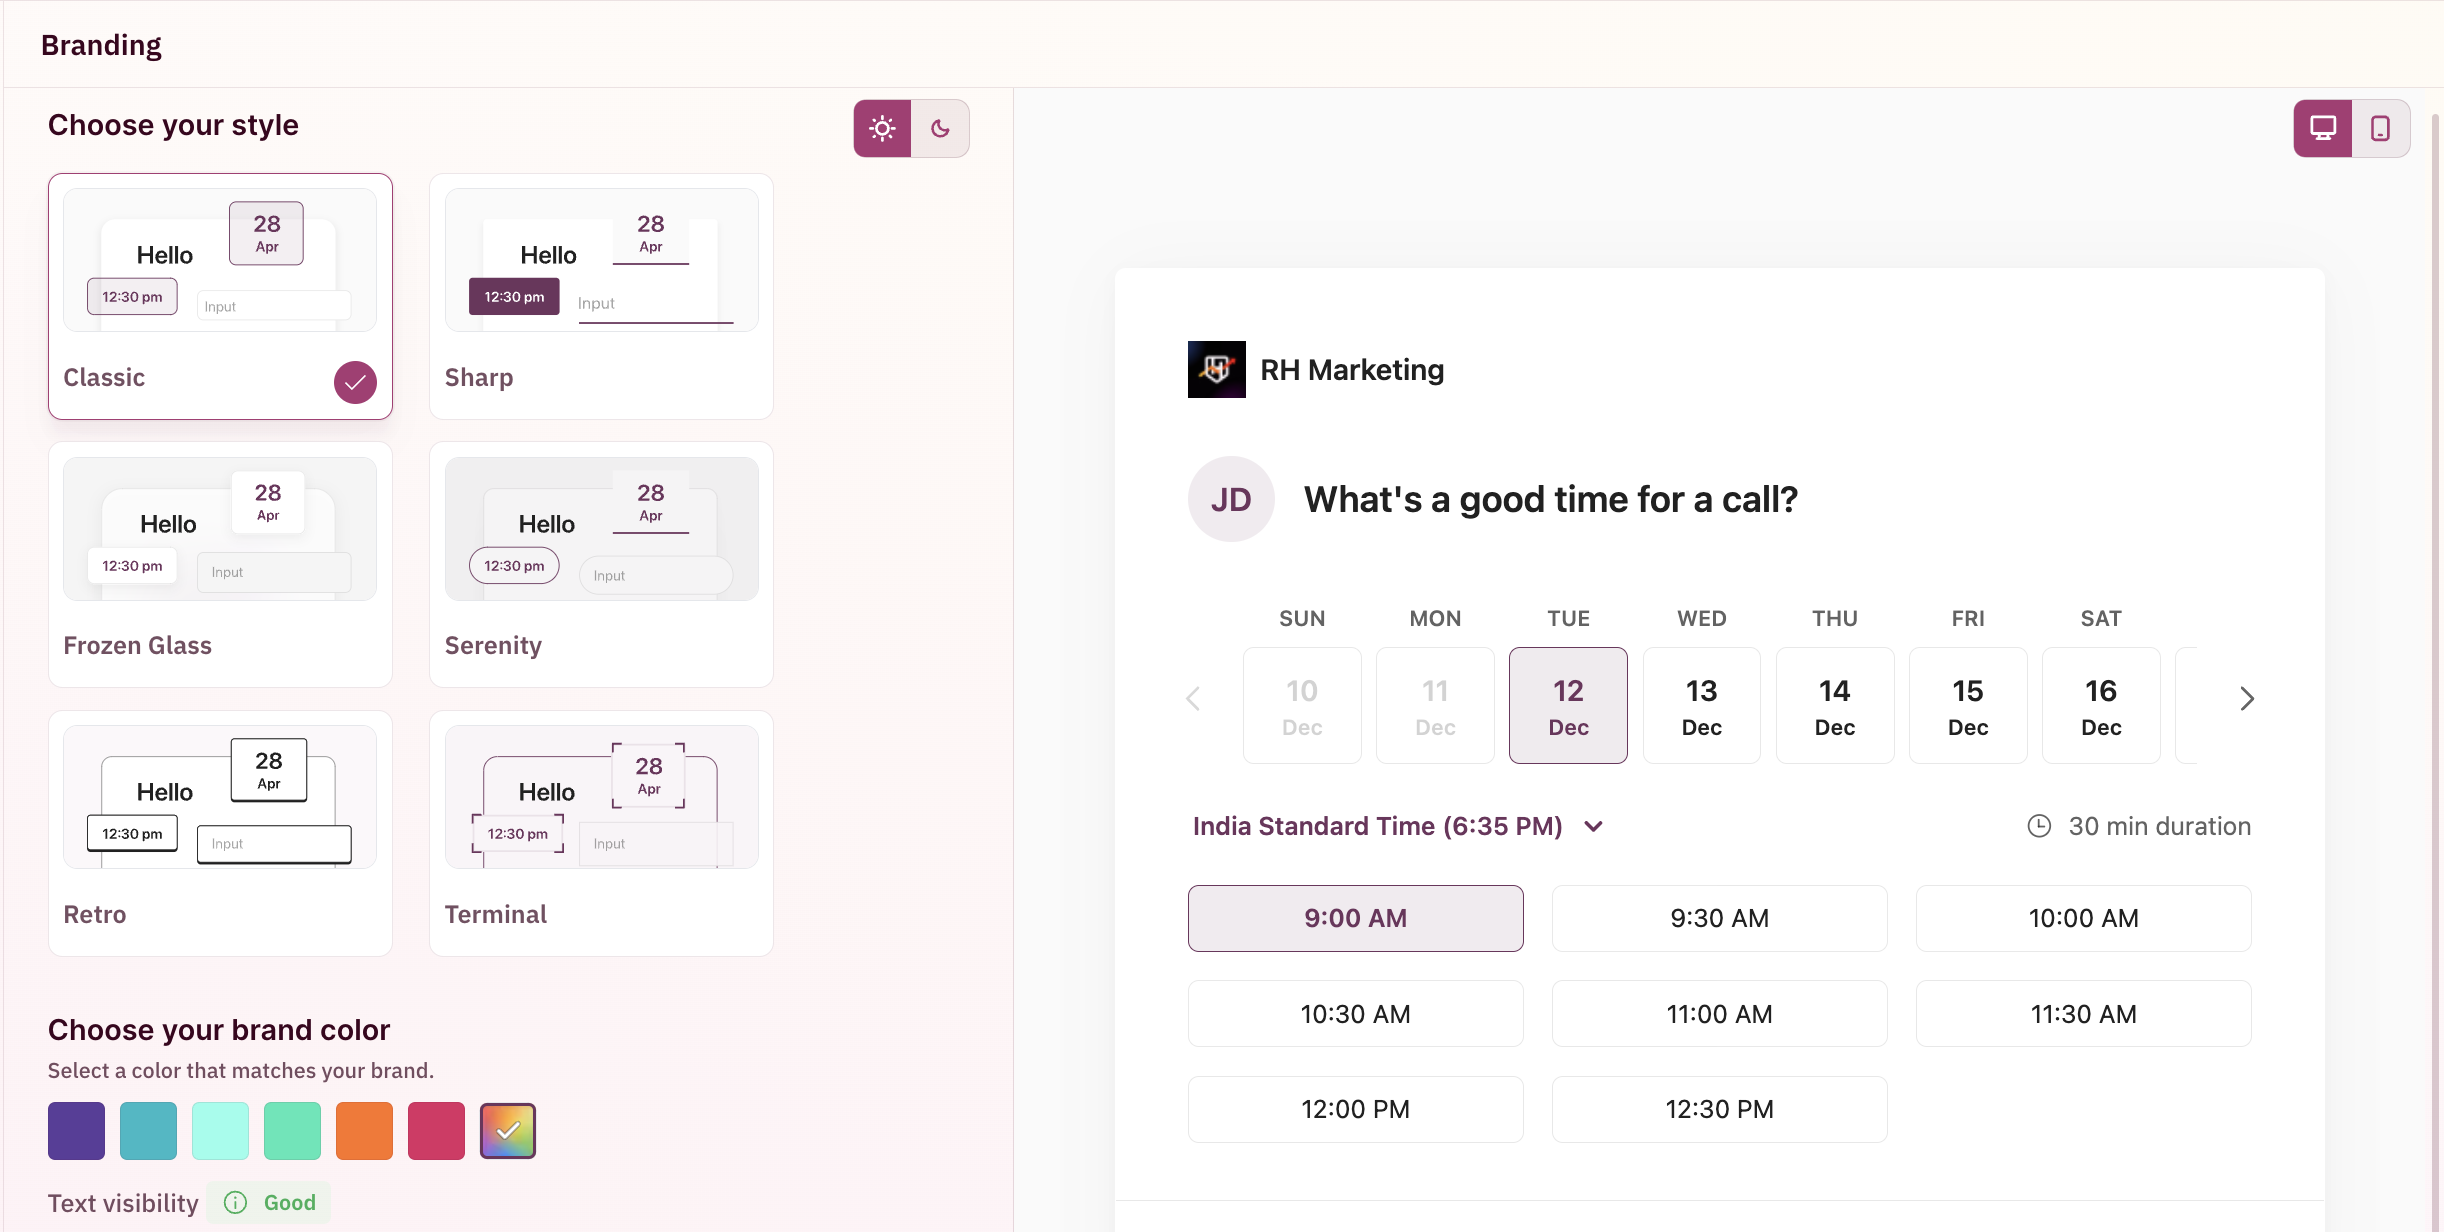
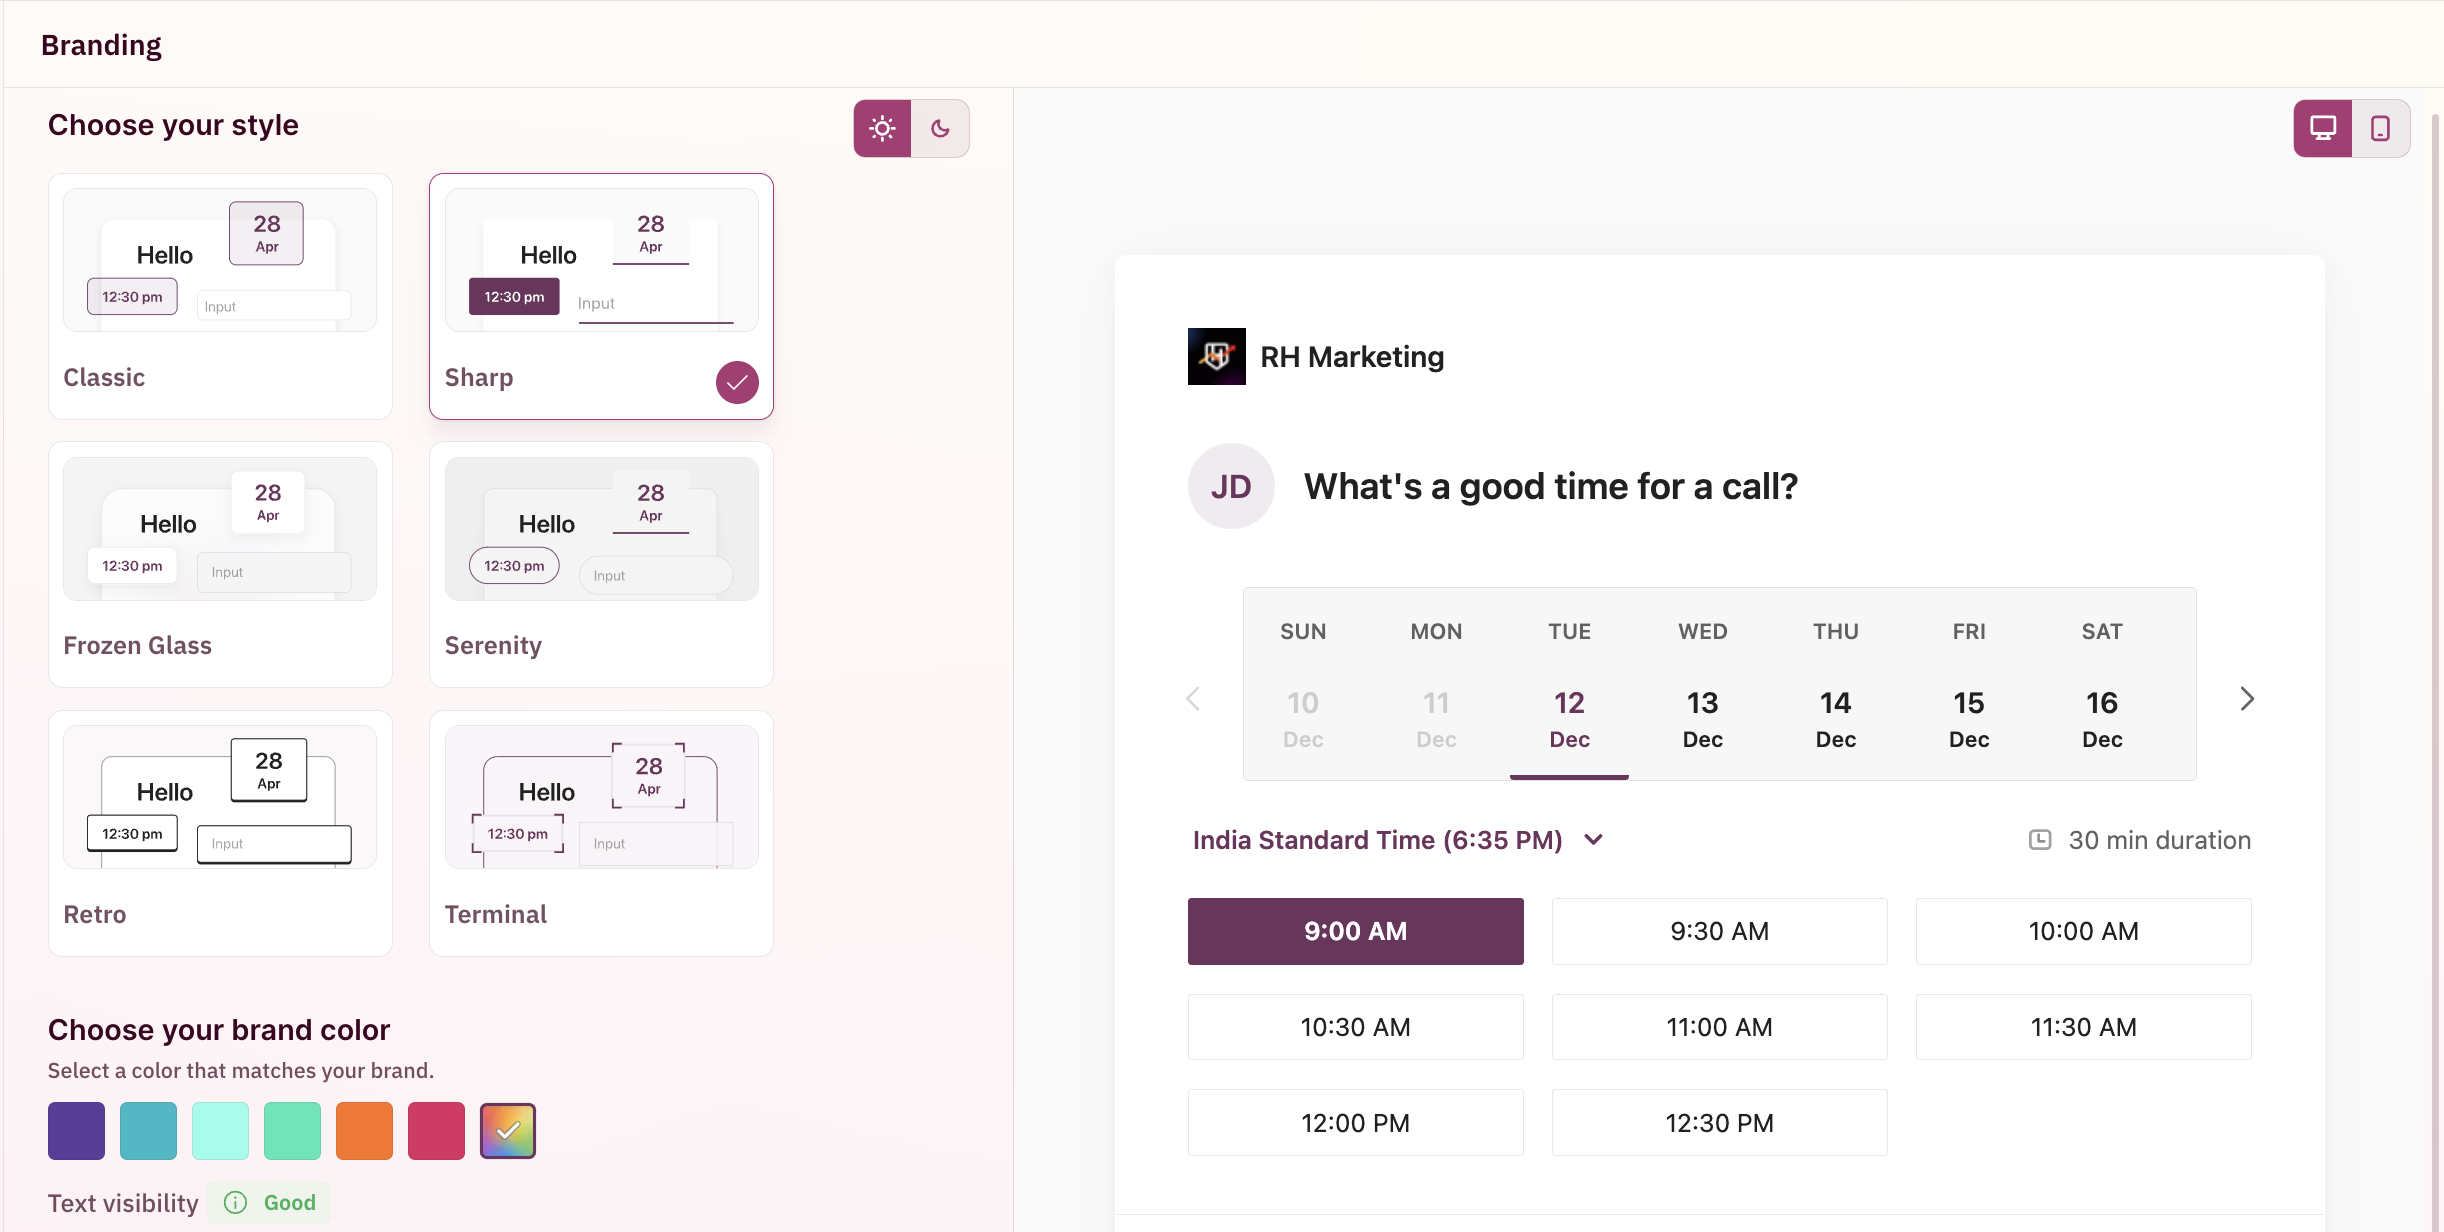
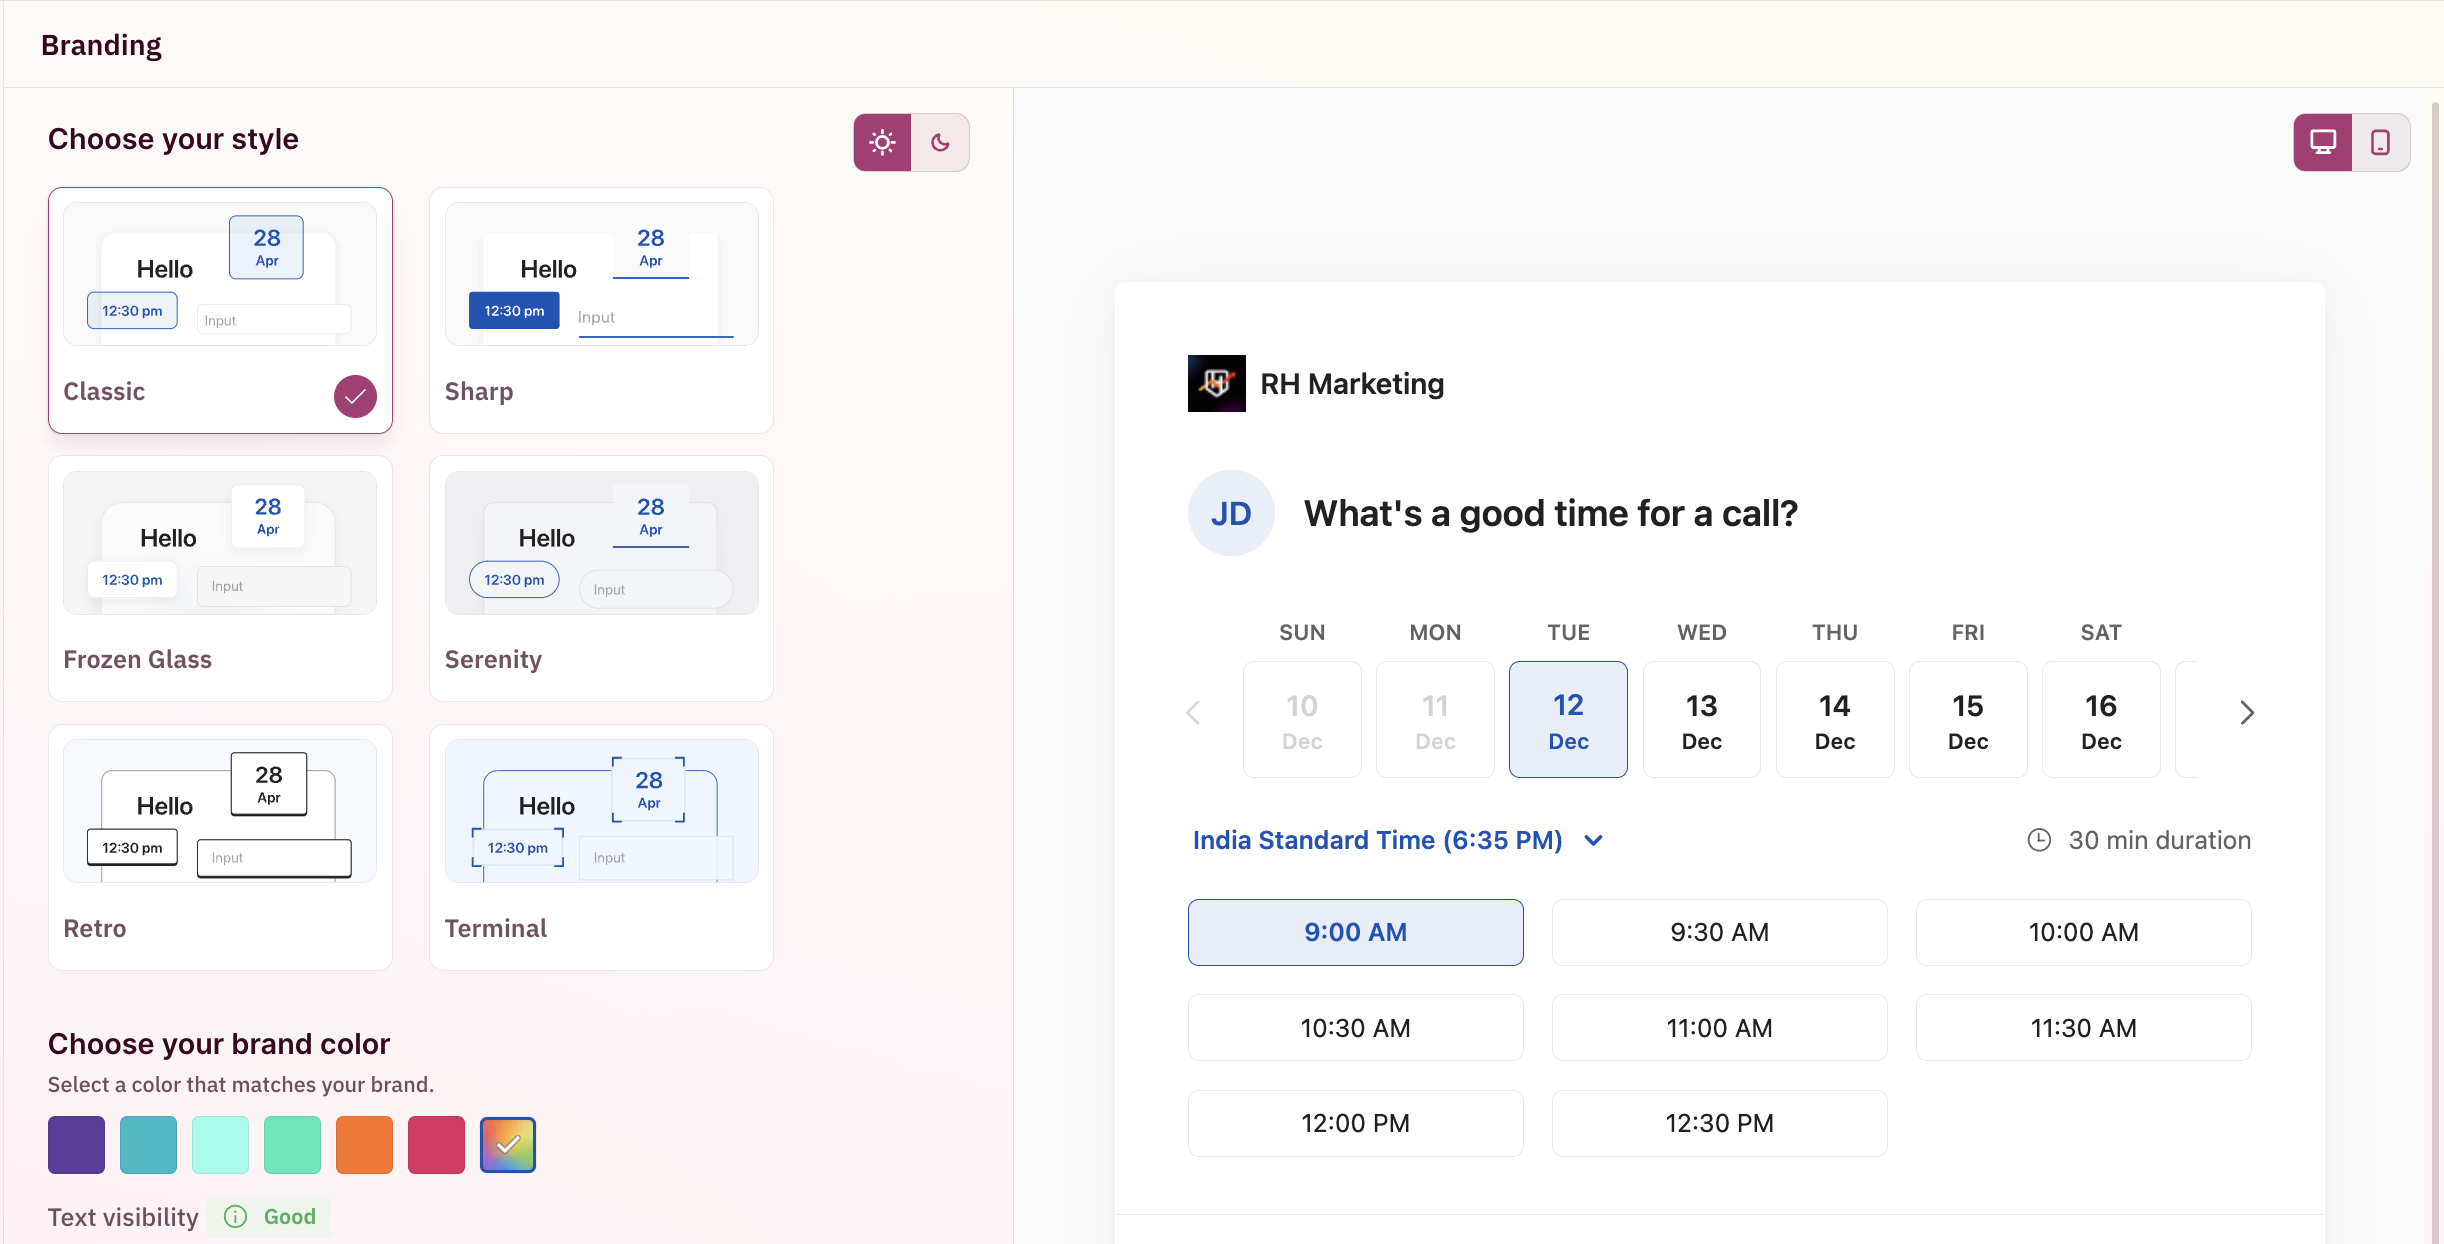
Pick the theme that best suits your organization's design language. We've 6 unique themes that you can choose from to make your scheduler look chic.
#### Classic
You can access the following:
1. Themes - to customize the look and feel of the scheduling widget.
2. Meta Info - customize the description and meta info that goes along with your organtization's meeting links.
3. Scheduler Settings - Choose time format and widget redirection timer.
## Select your theme
Pick the theme that best suits your organization's design language. We've 6 unique themes that you can choose from to make your scheduler look chic.
#### Classic
 #### Sharp
 #### Frozen Glass
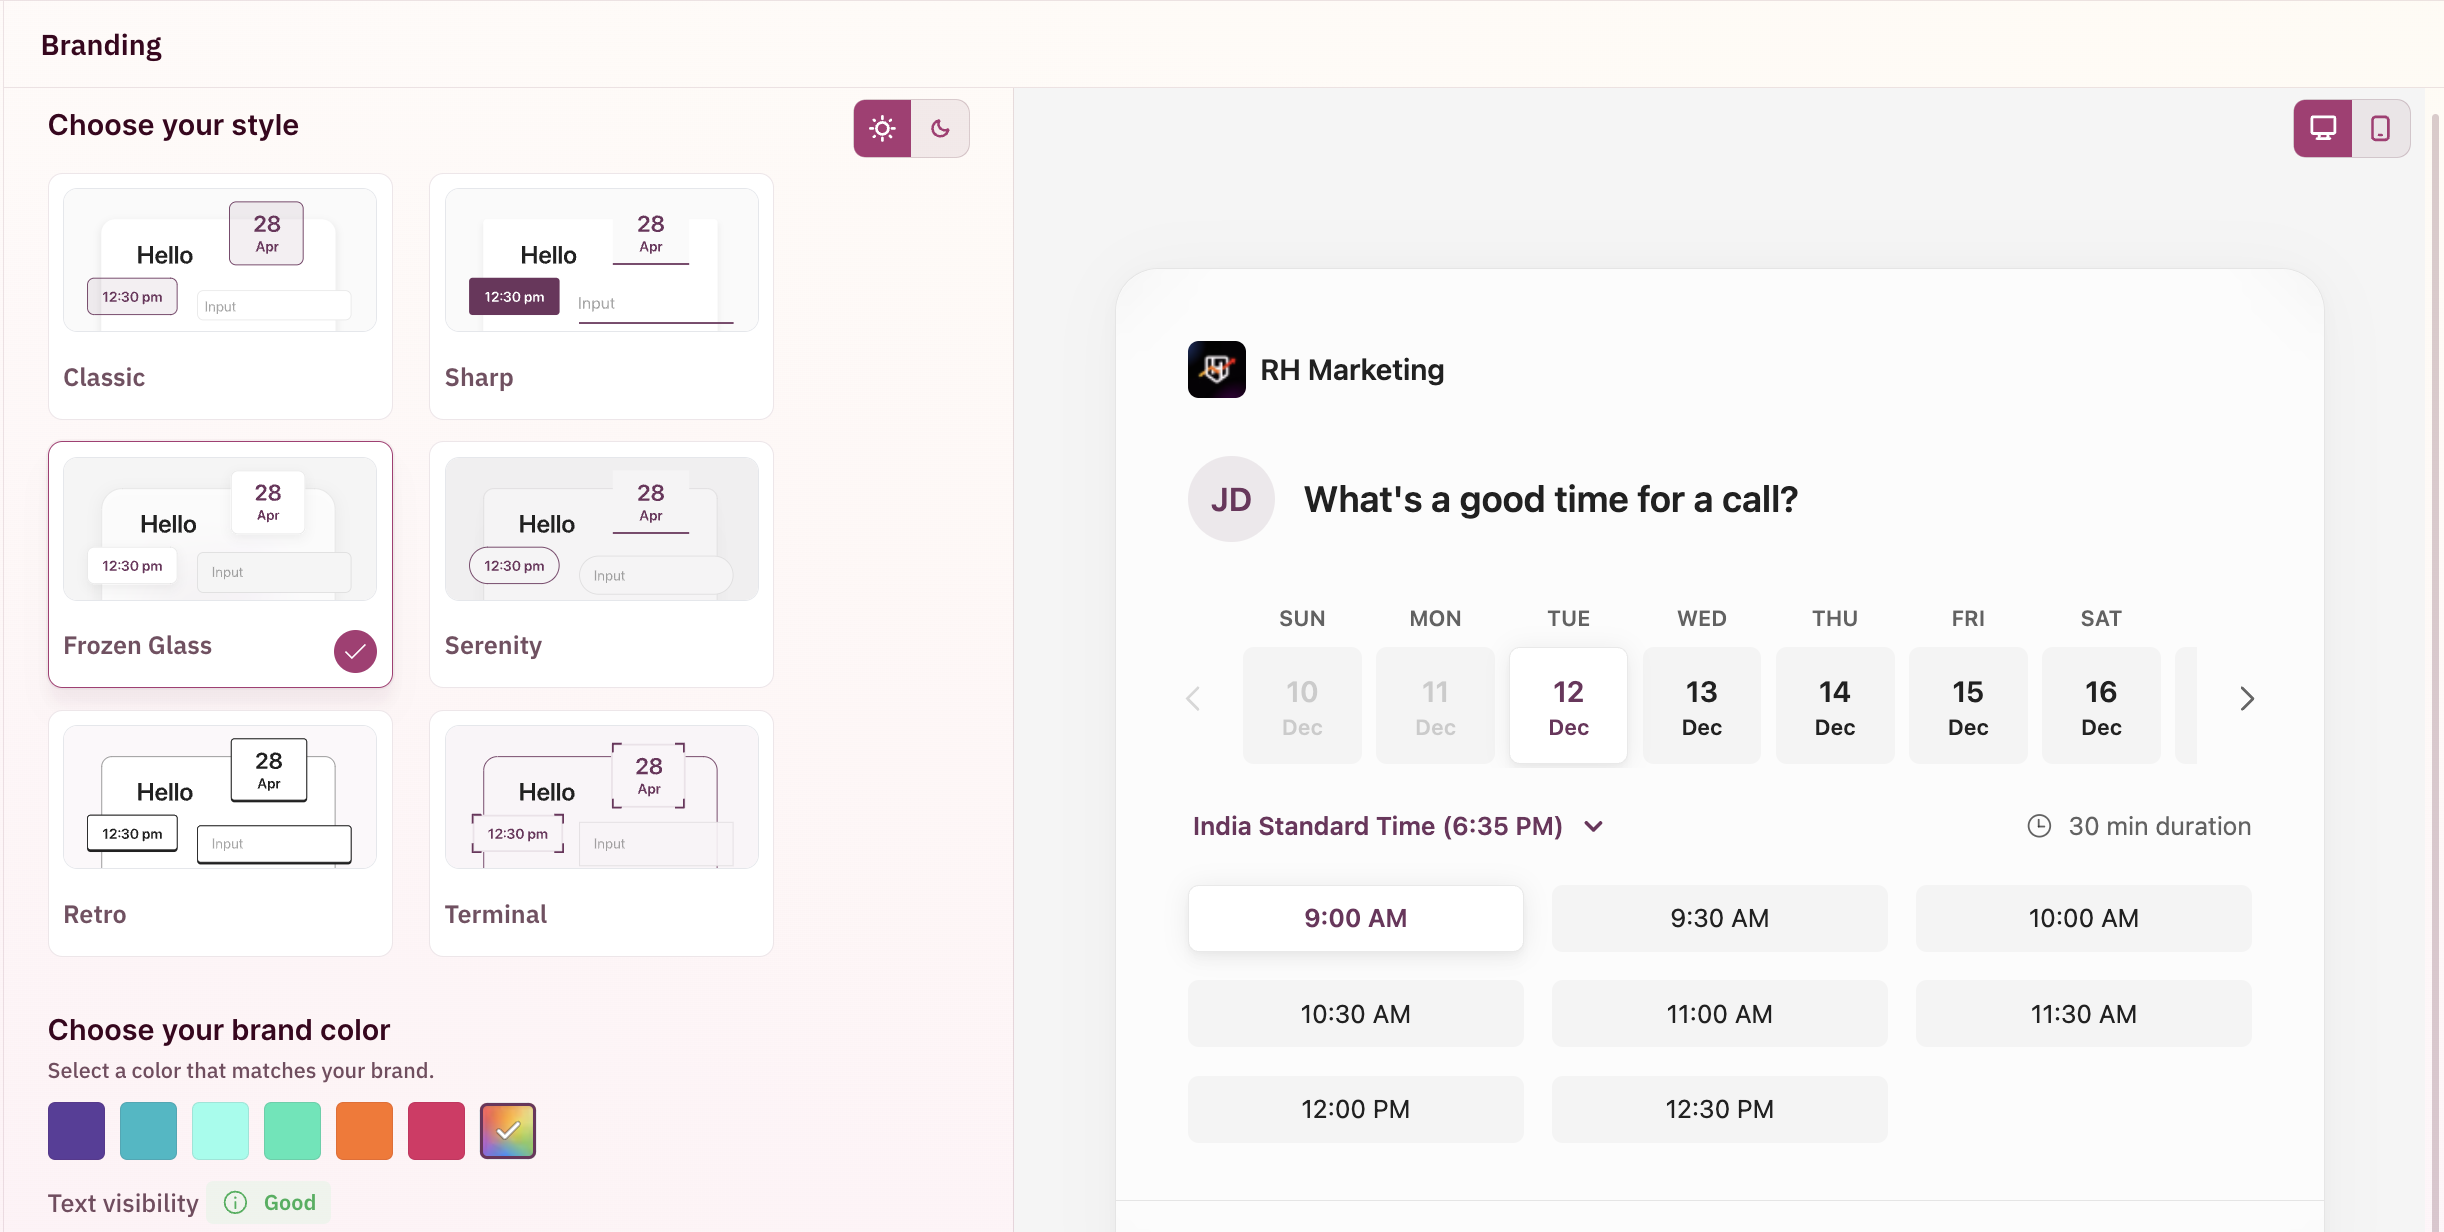 #### Serenity
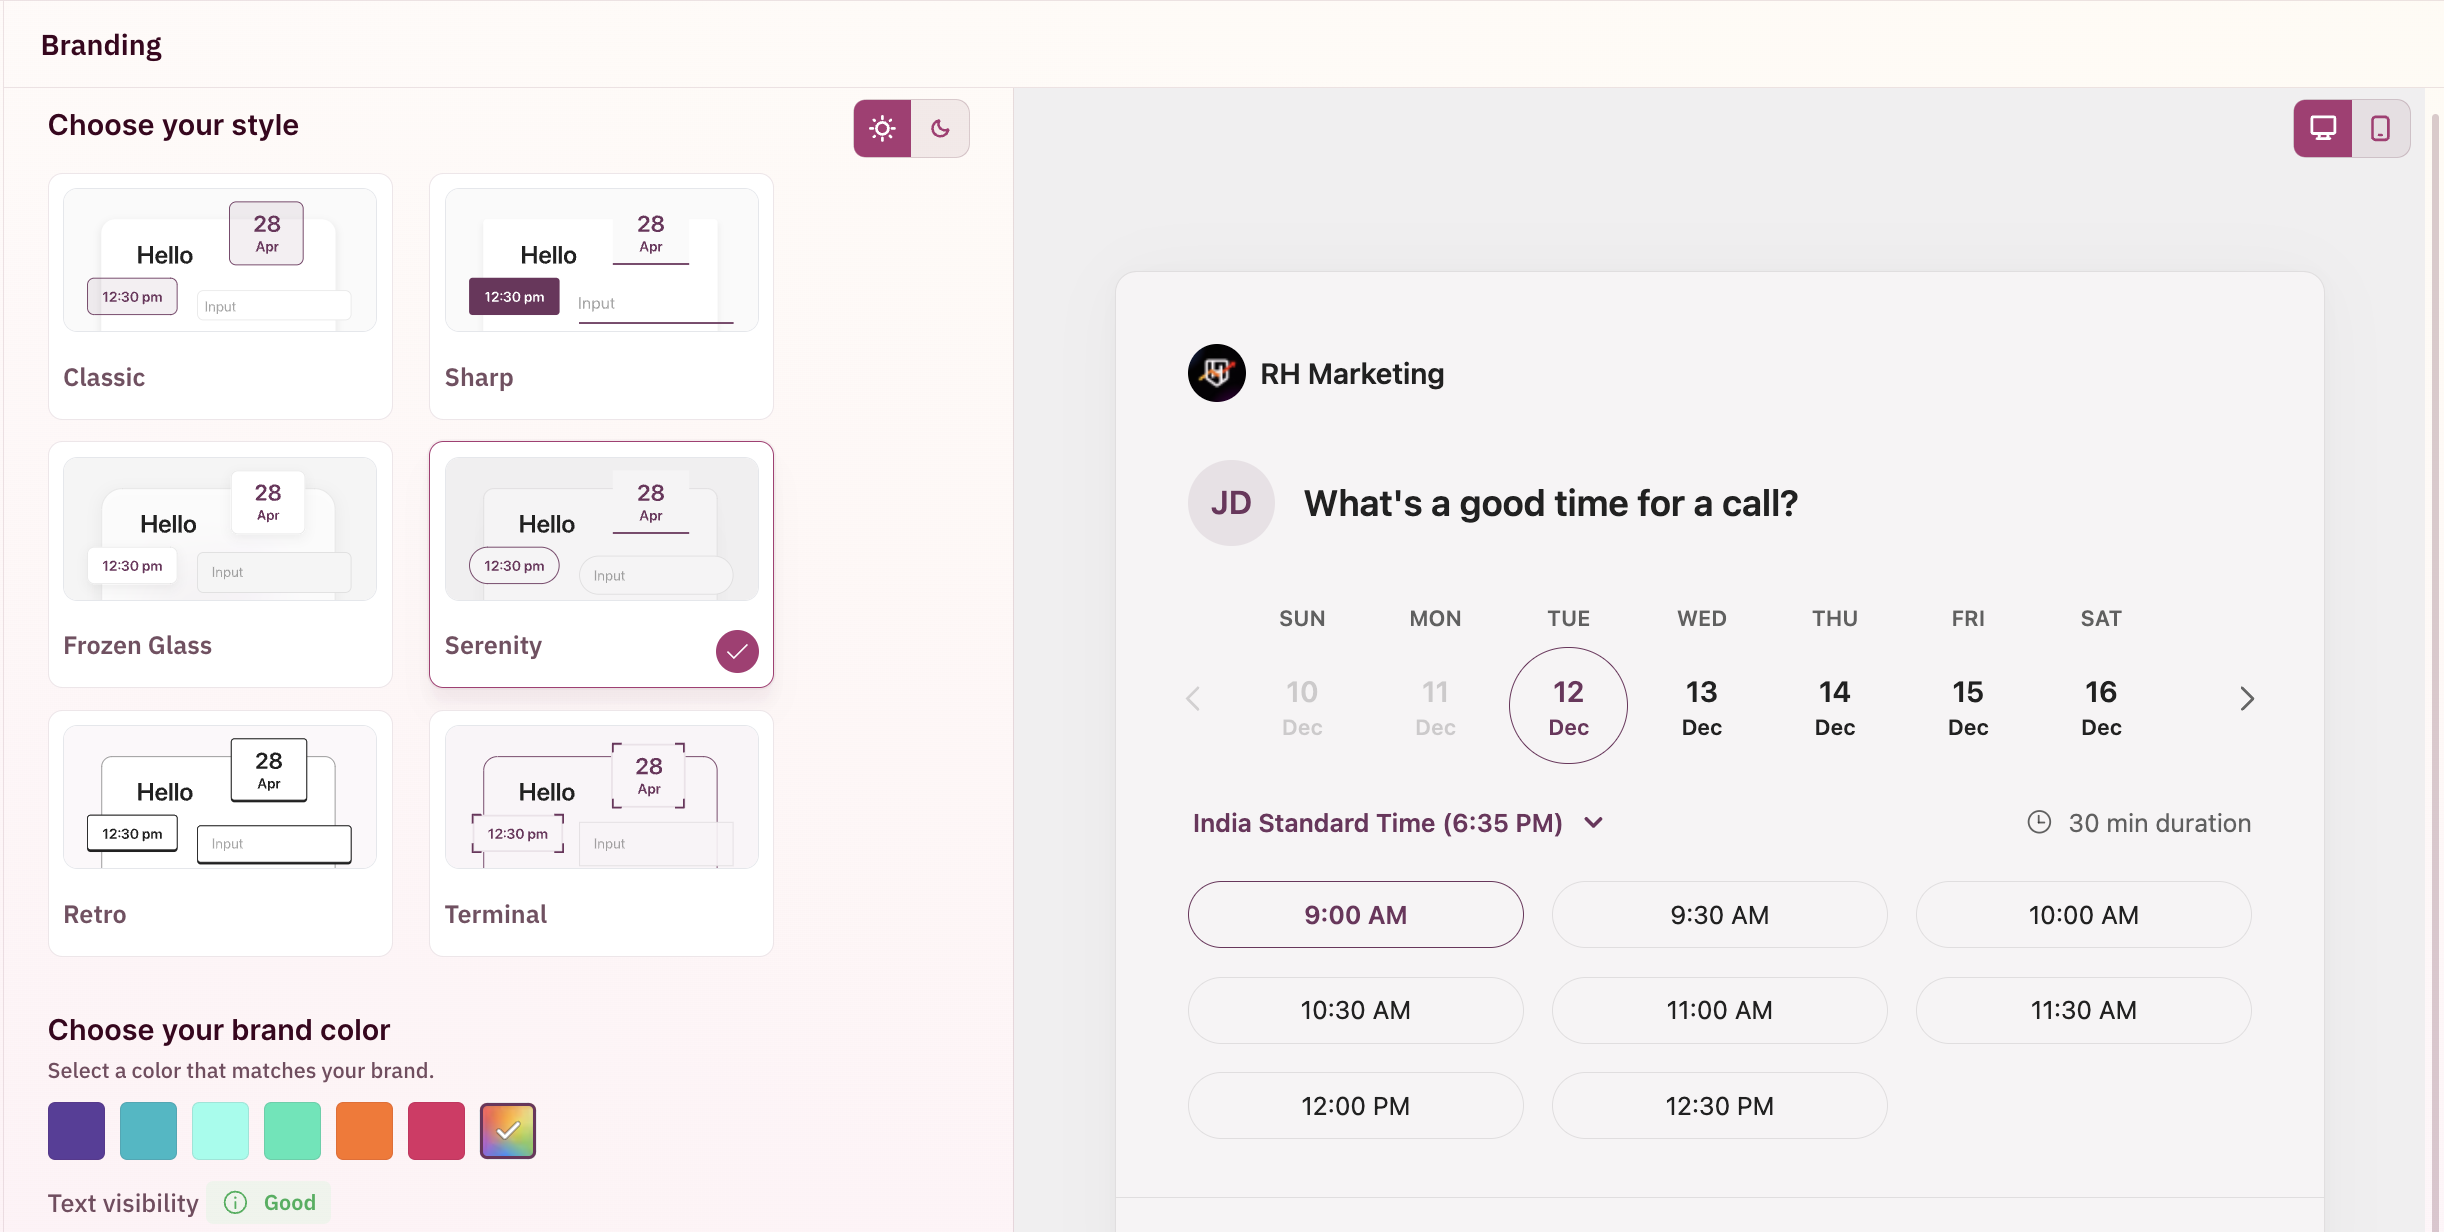 #### Retro
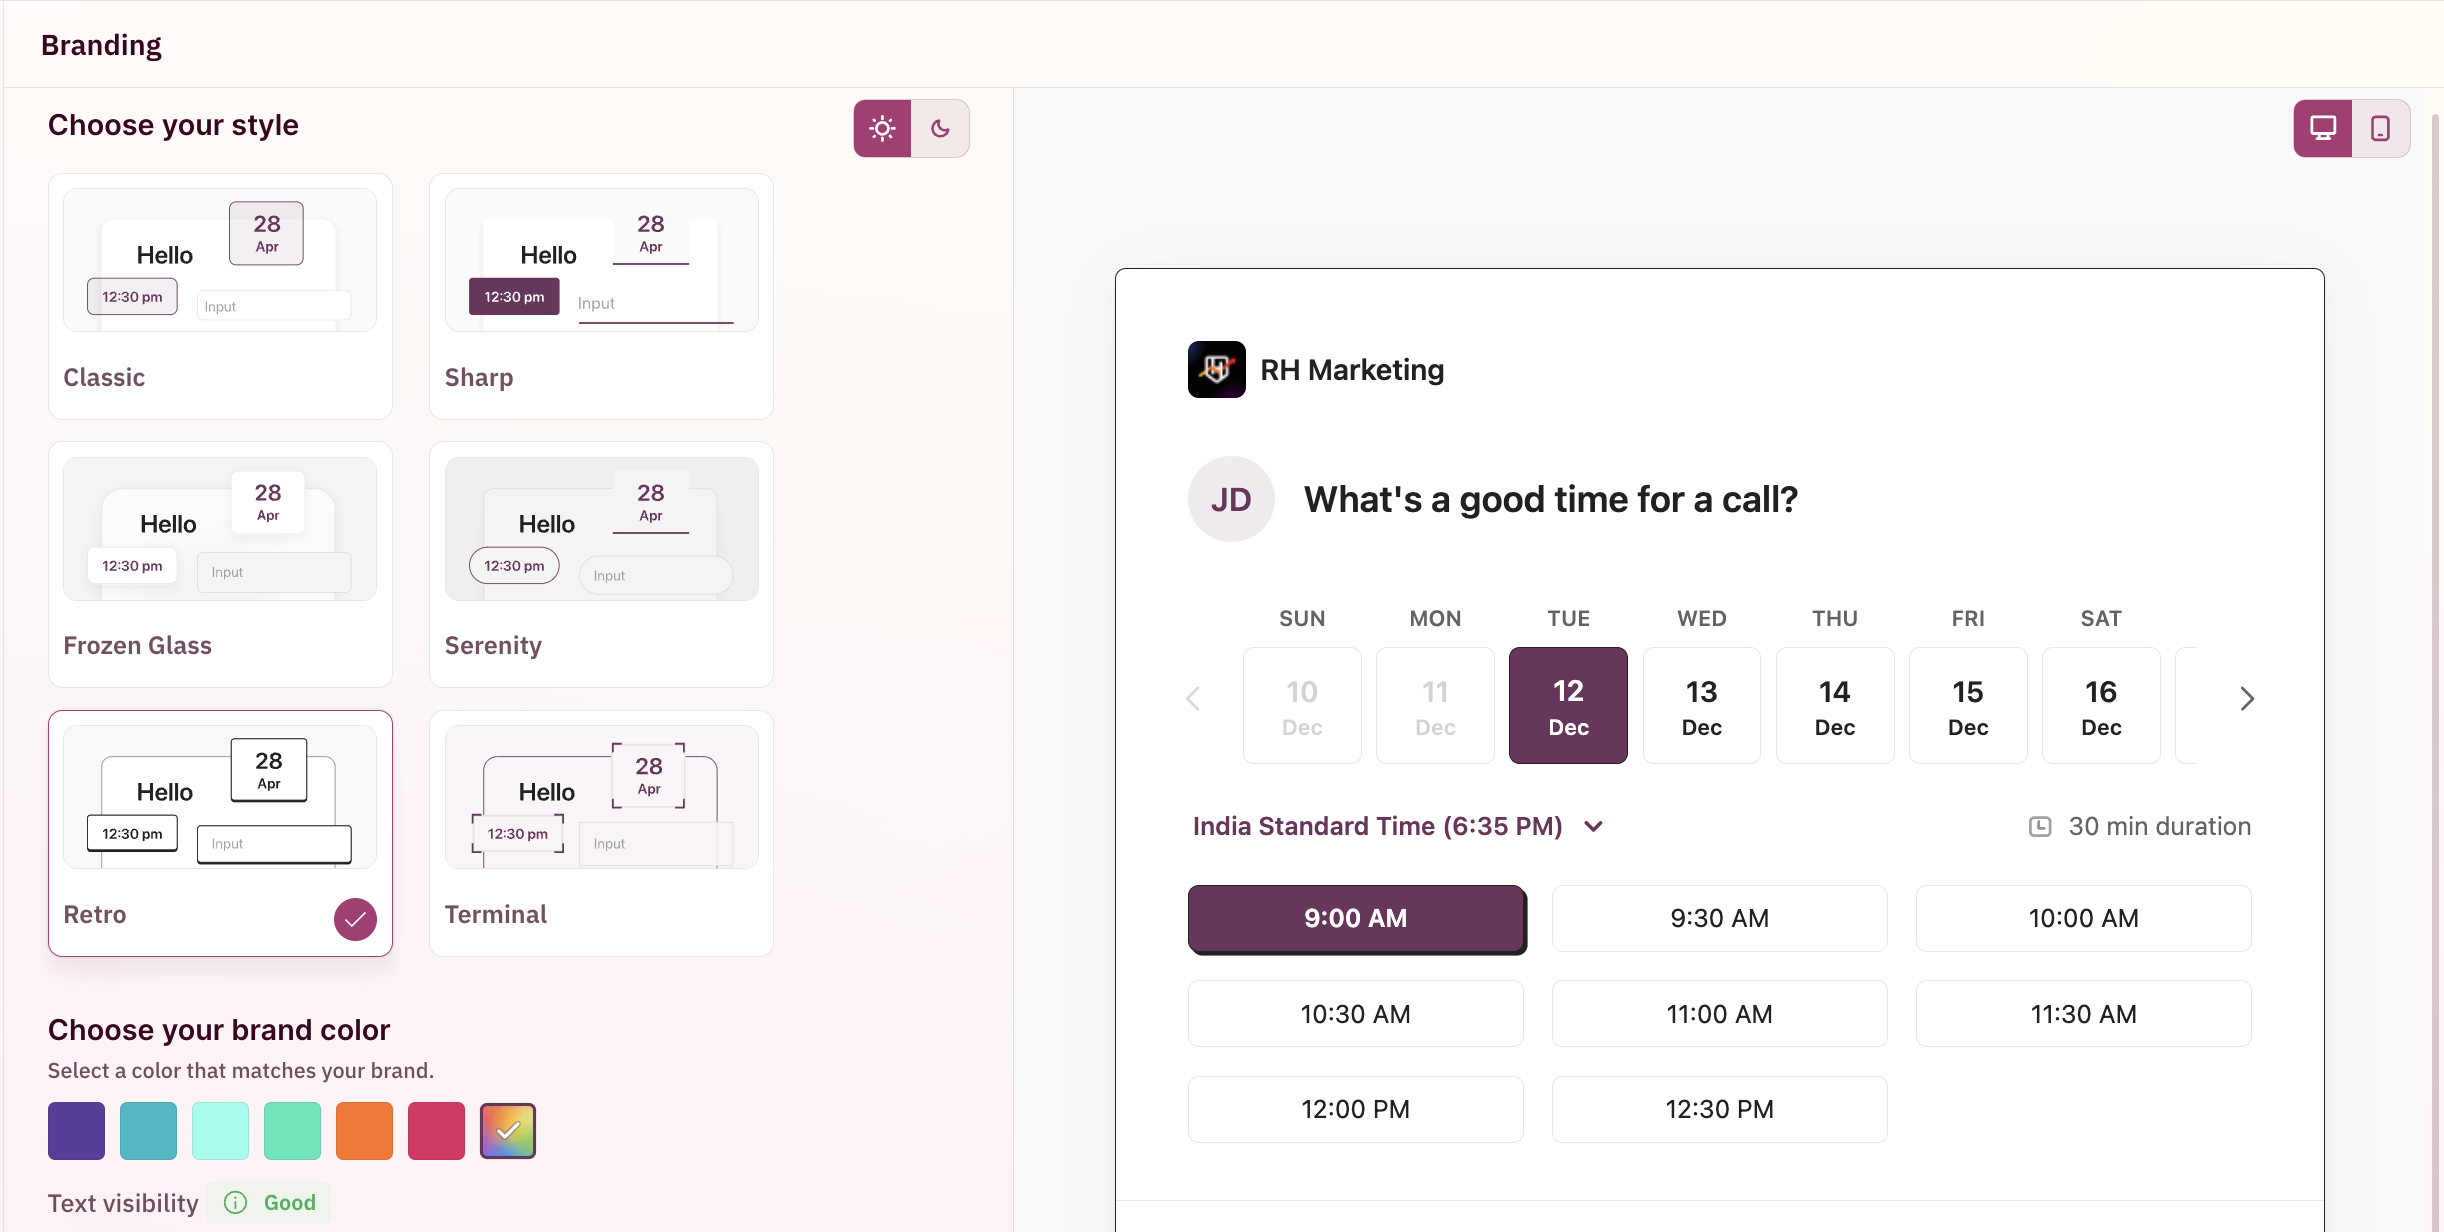 #### Terminal
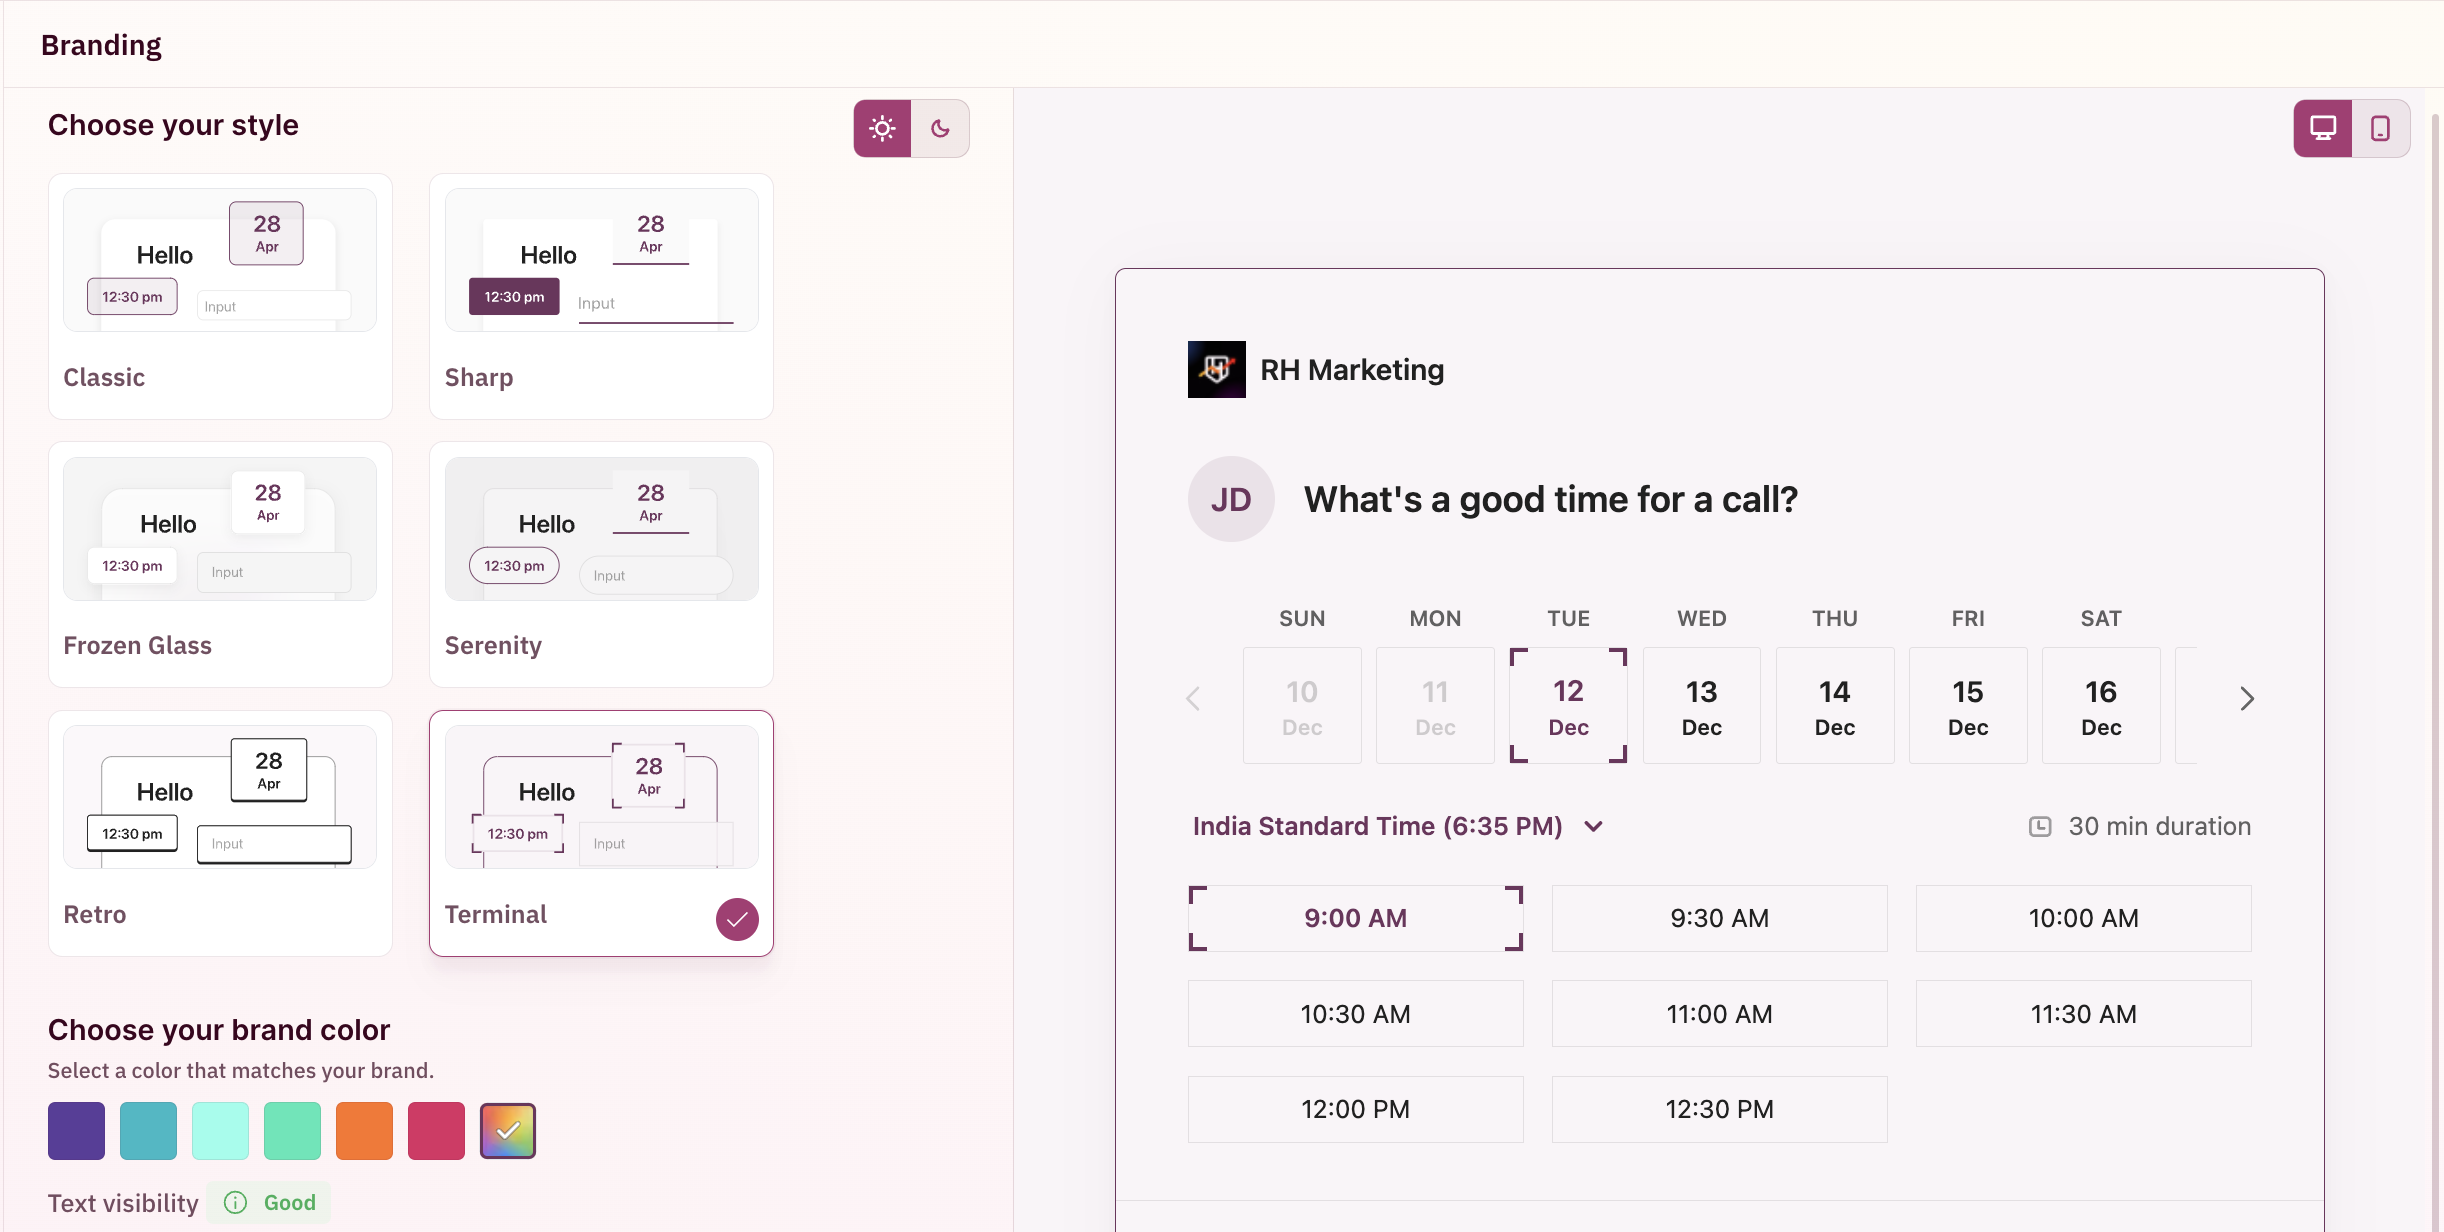 You can also toggle between light and darker themes using the icon highlighted in the screenshot in the top-right corner of the themes section.
 ## Choose your colors
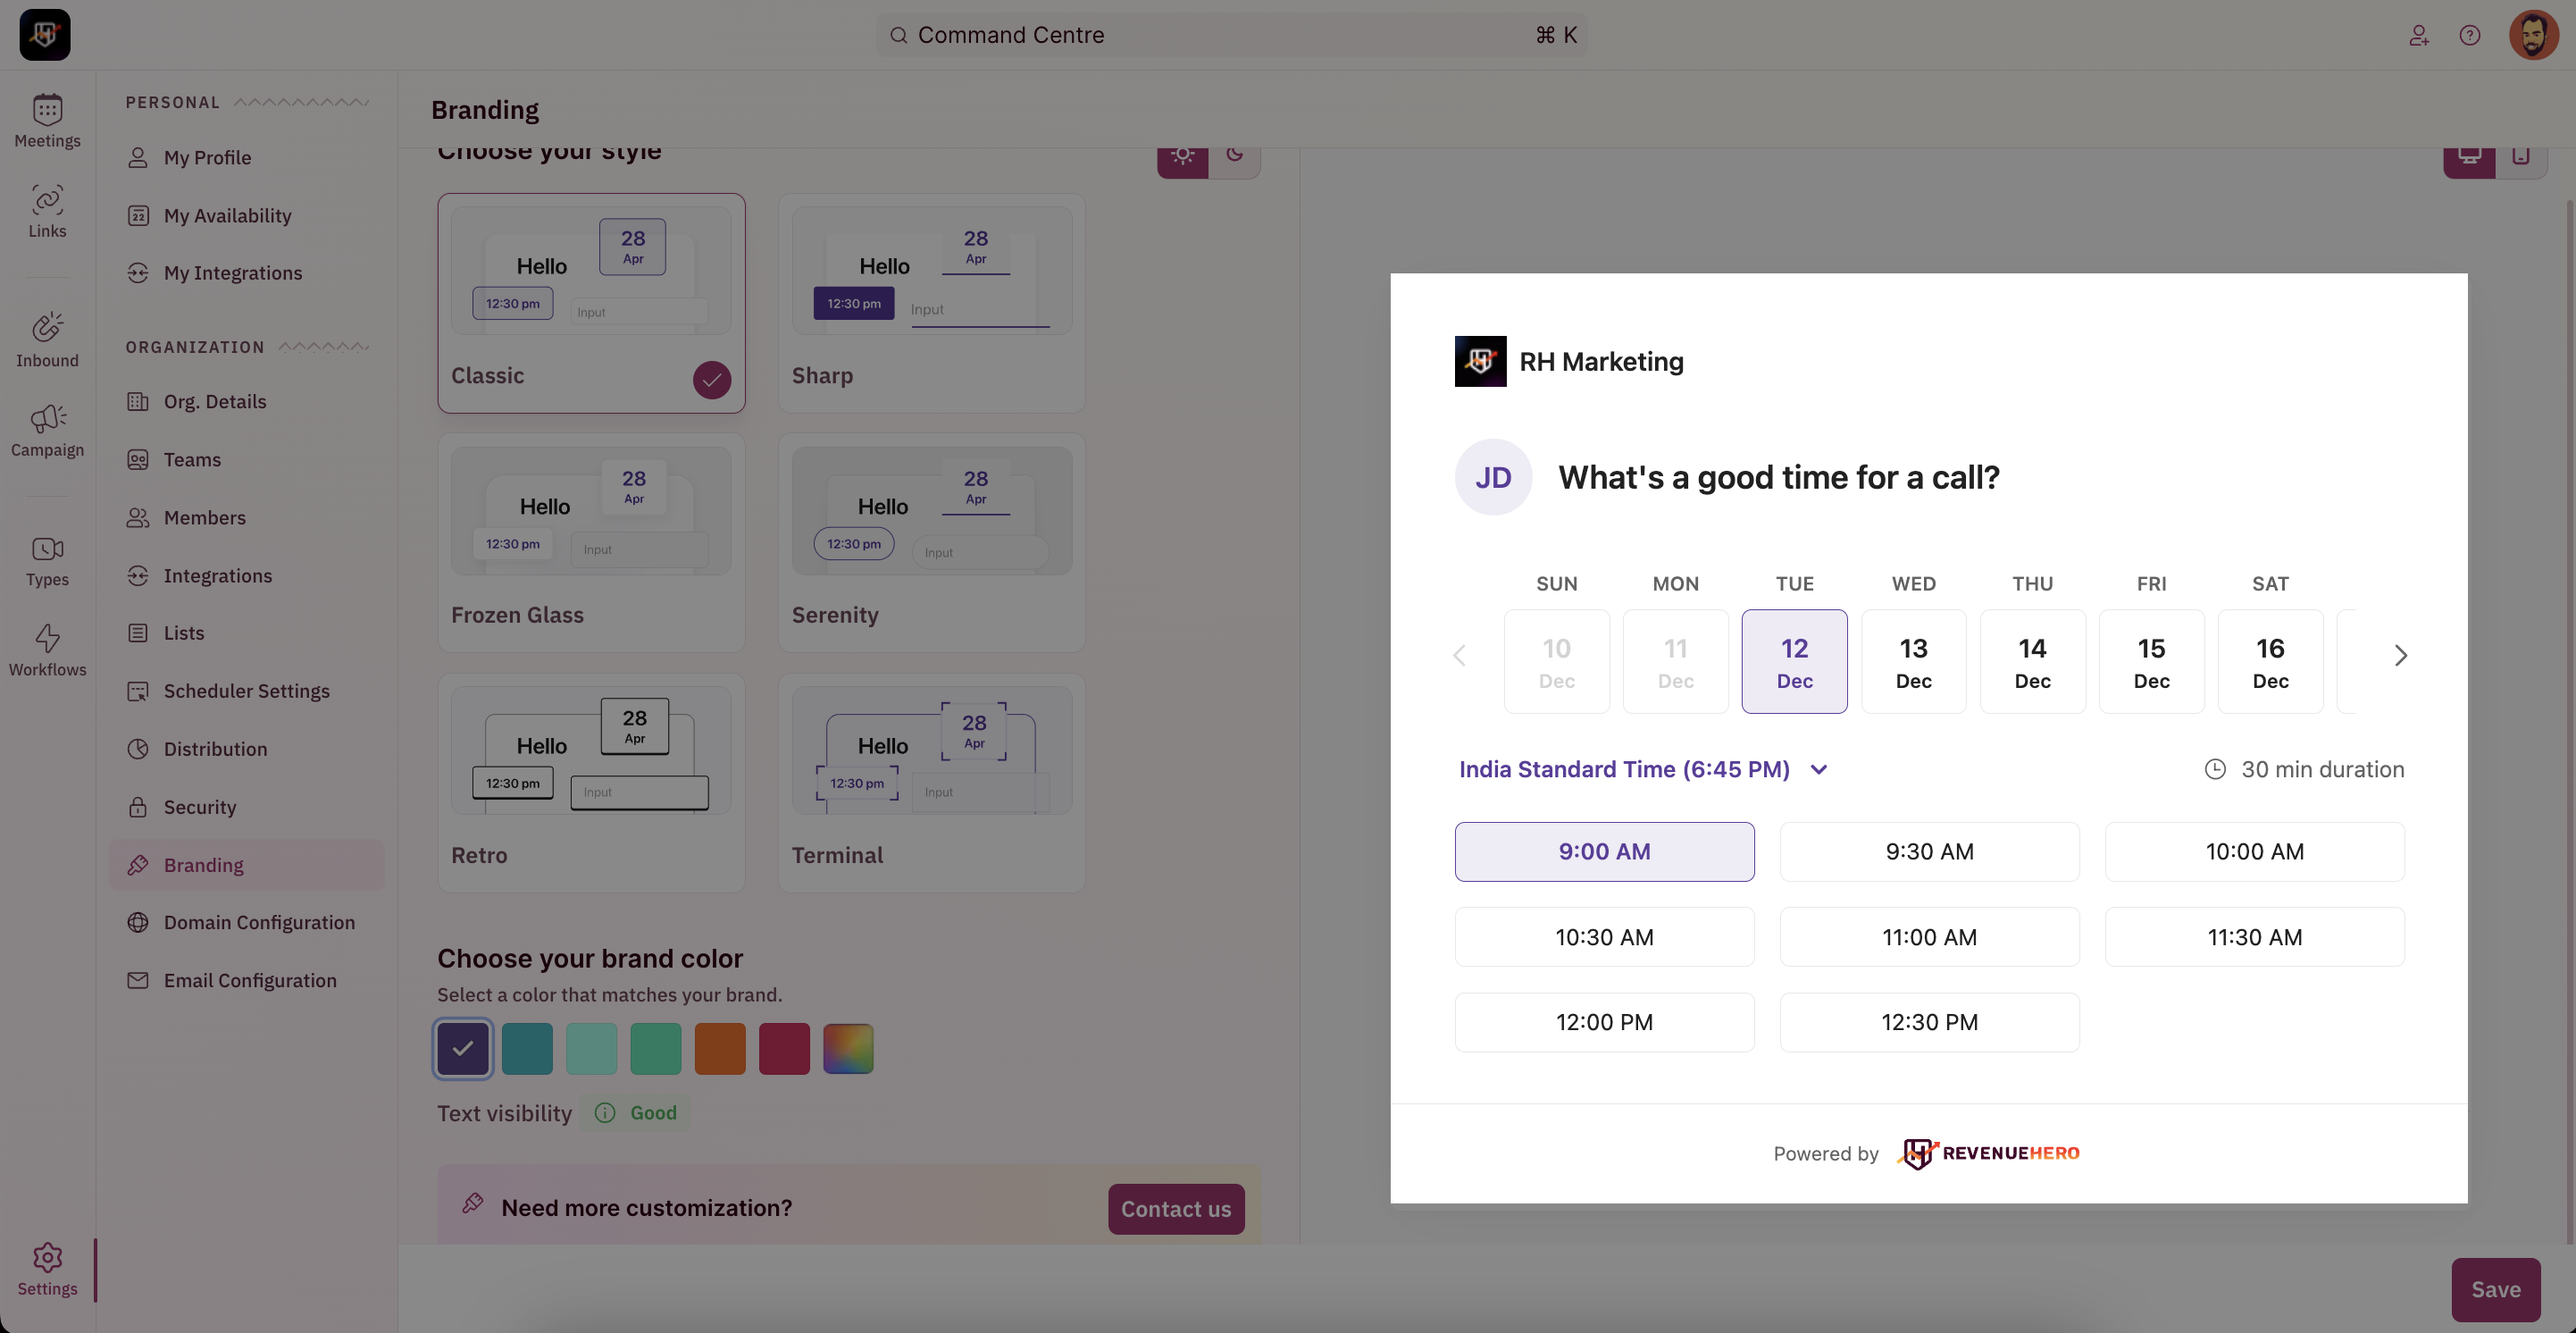
You can configure the color scheme of the RevenueHero booking widget by using the color-picker option. A real-time preview of the color changes can be seen on the right.
## Choose your colors
You can configure the color scheme of the RevenueHero booking widget by using the color-picker option. A real-time preview of the color changes can be seen on the right.
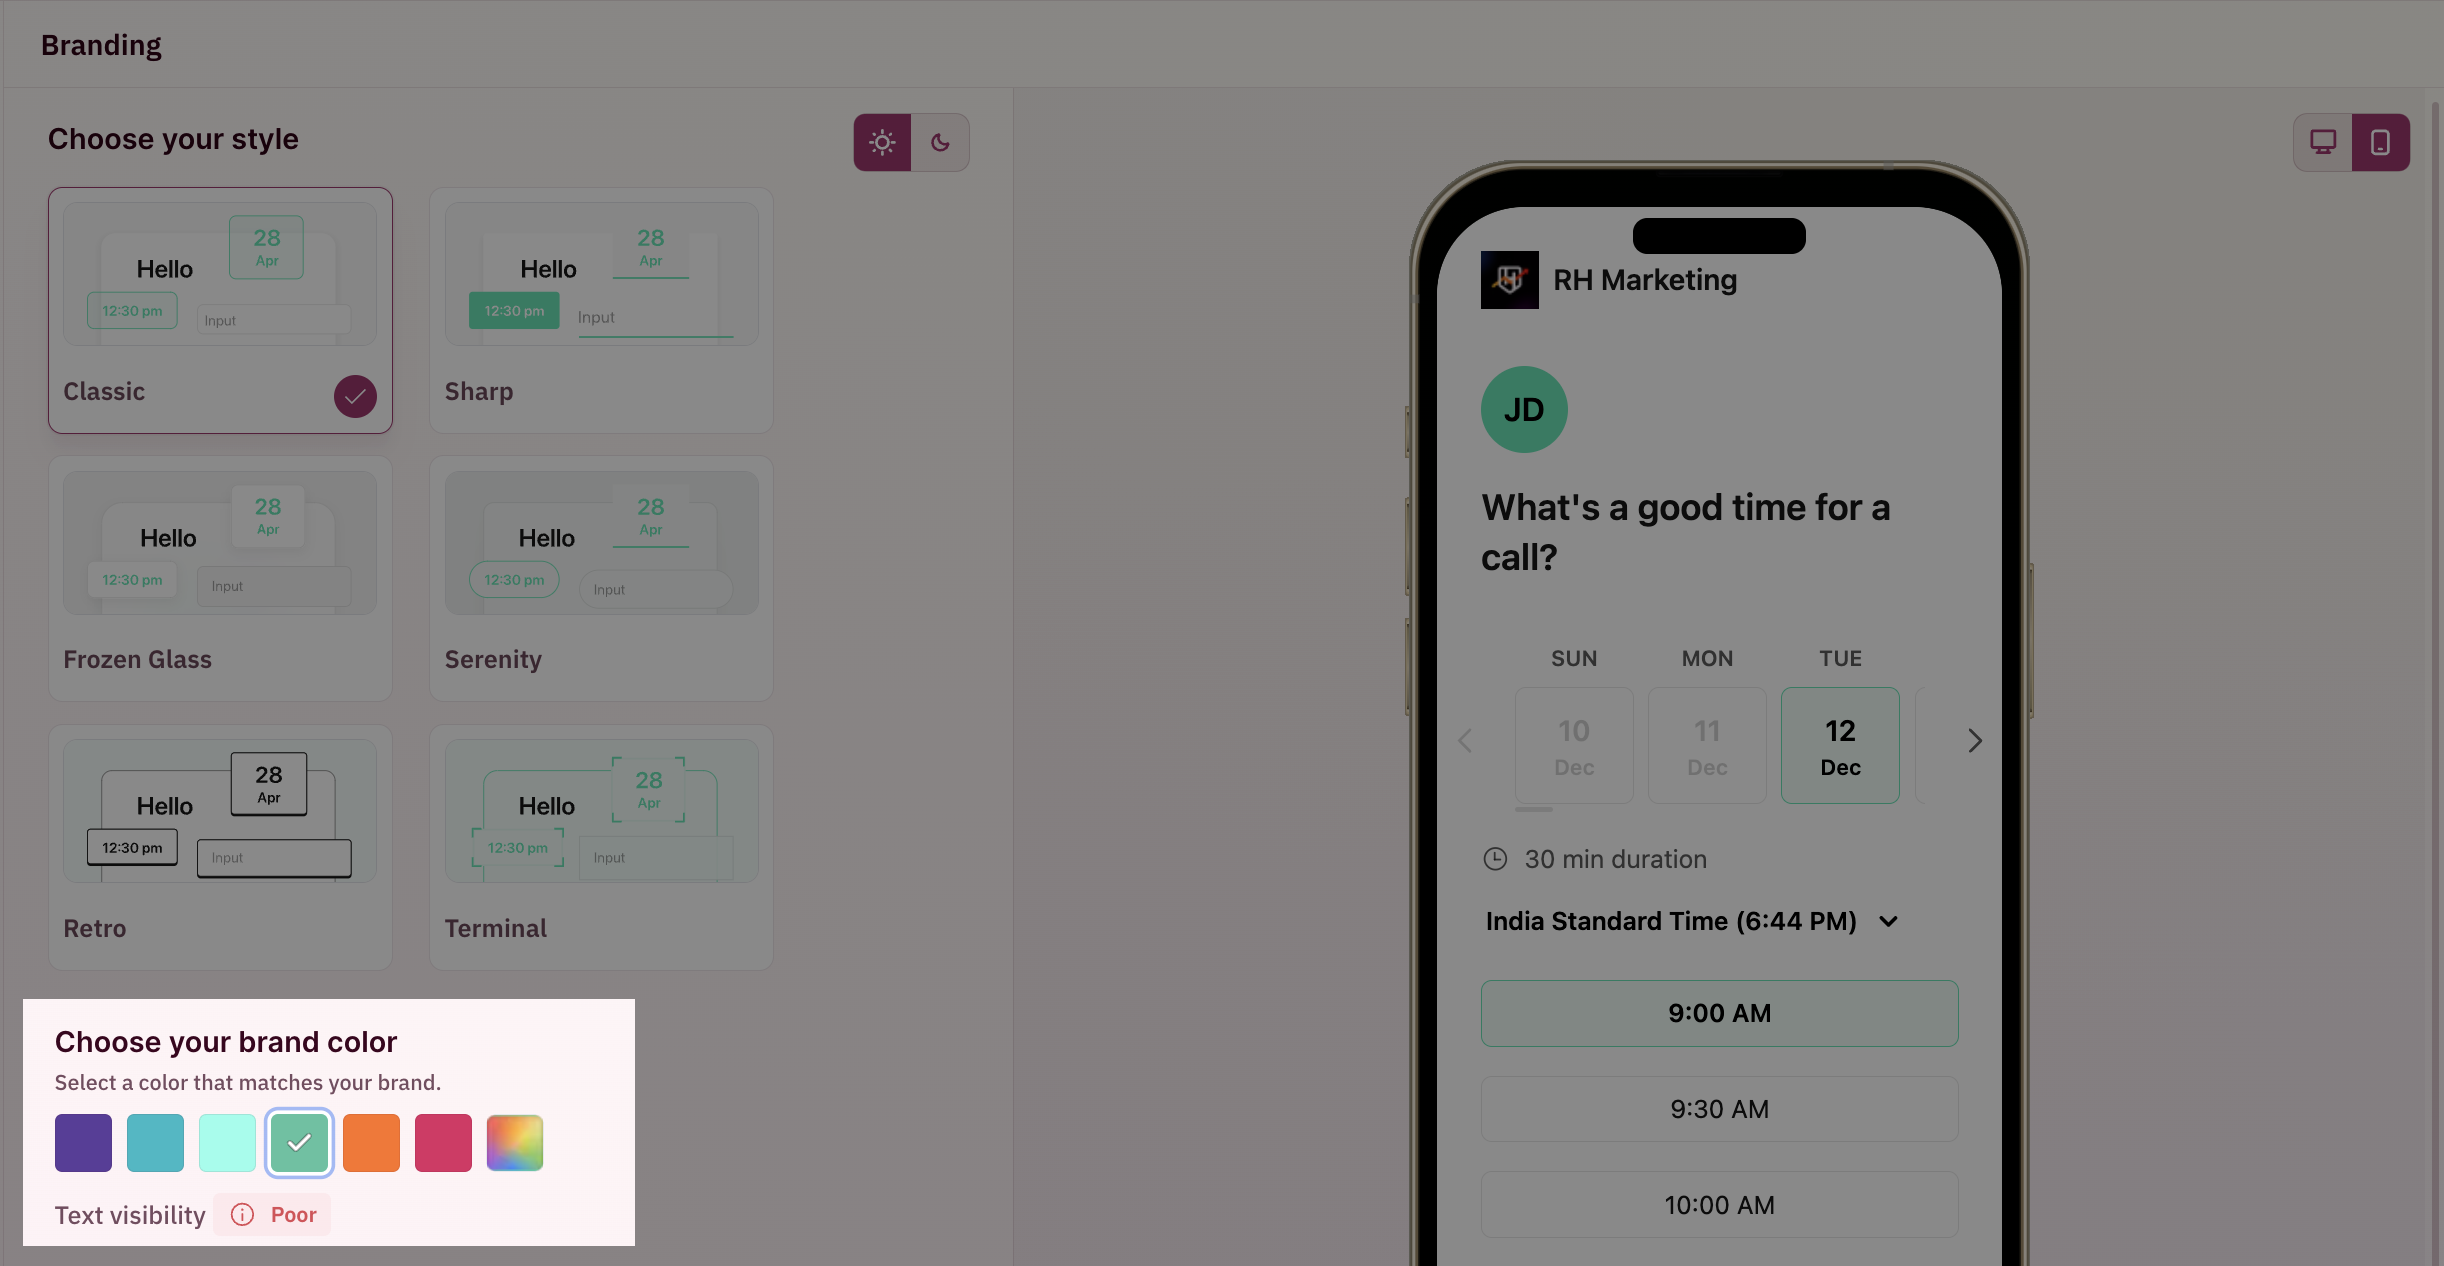
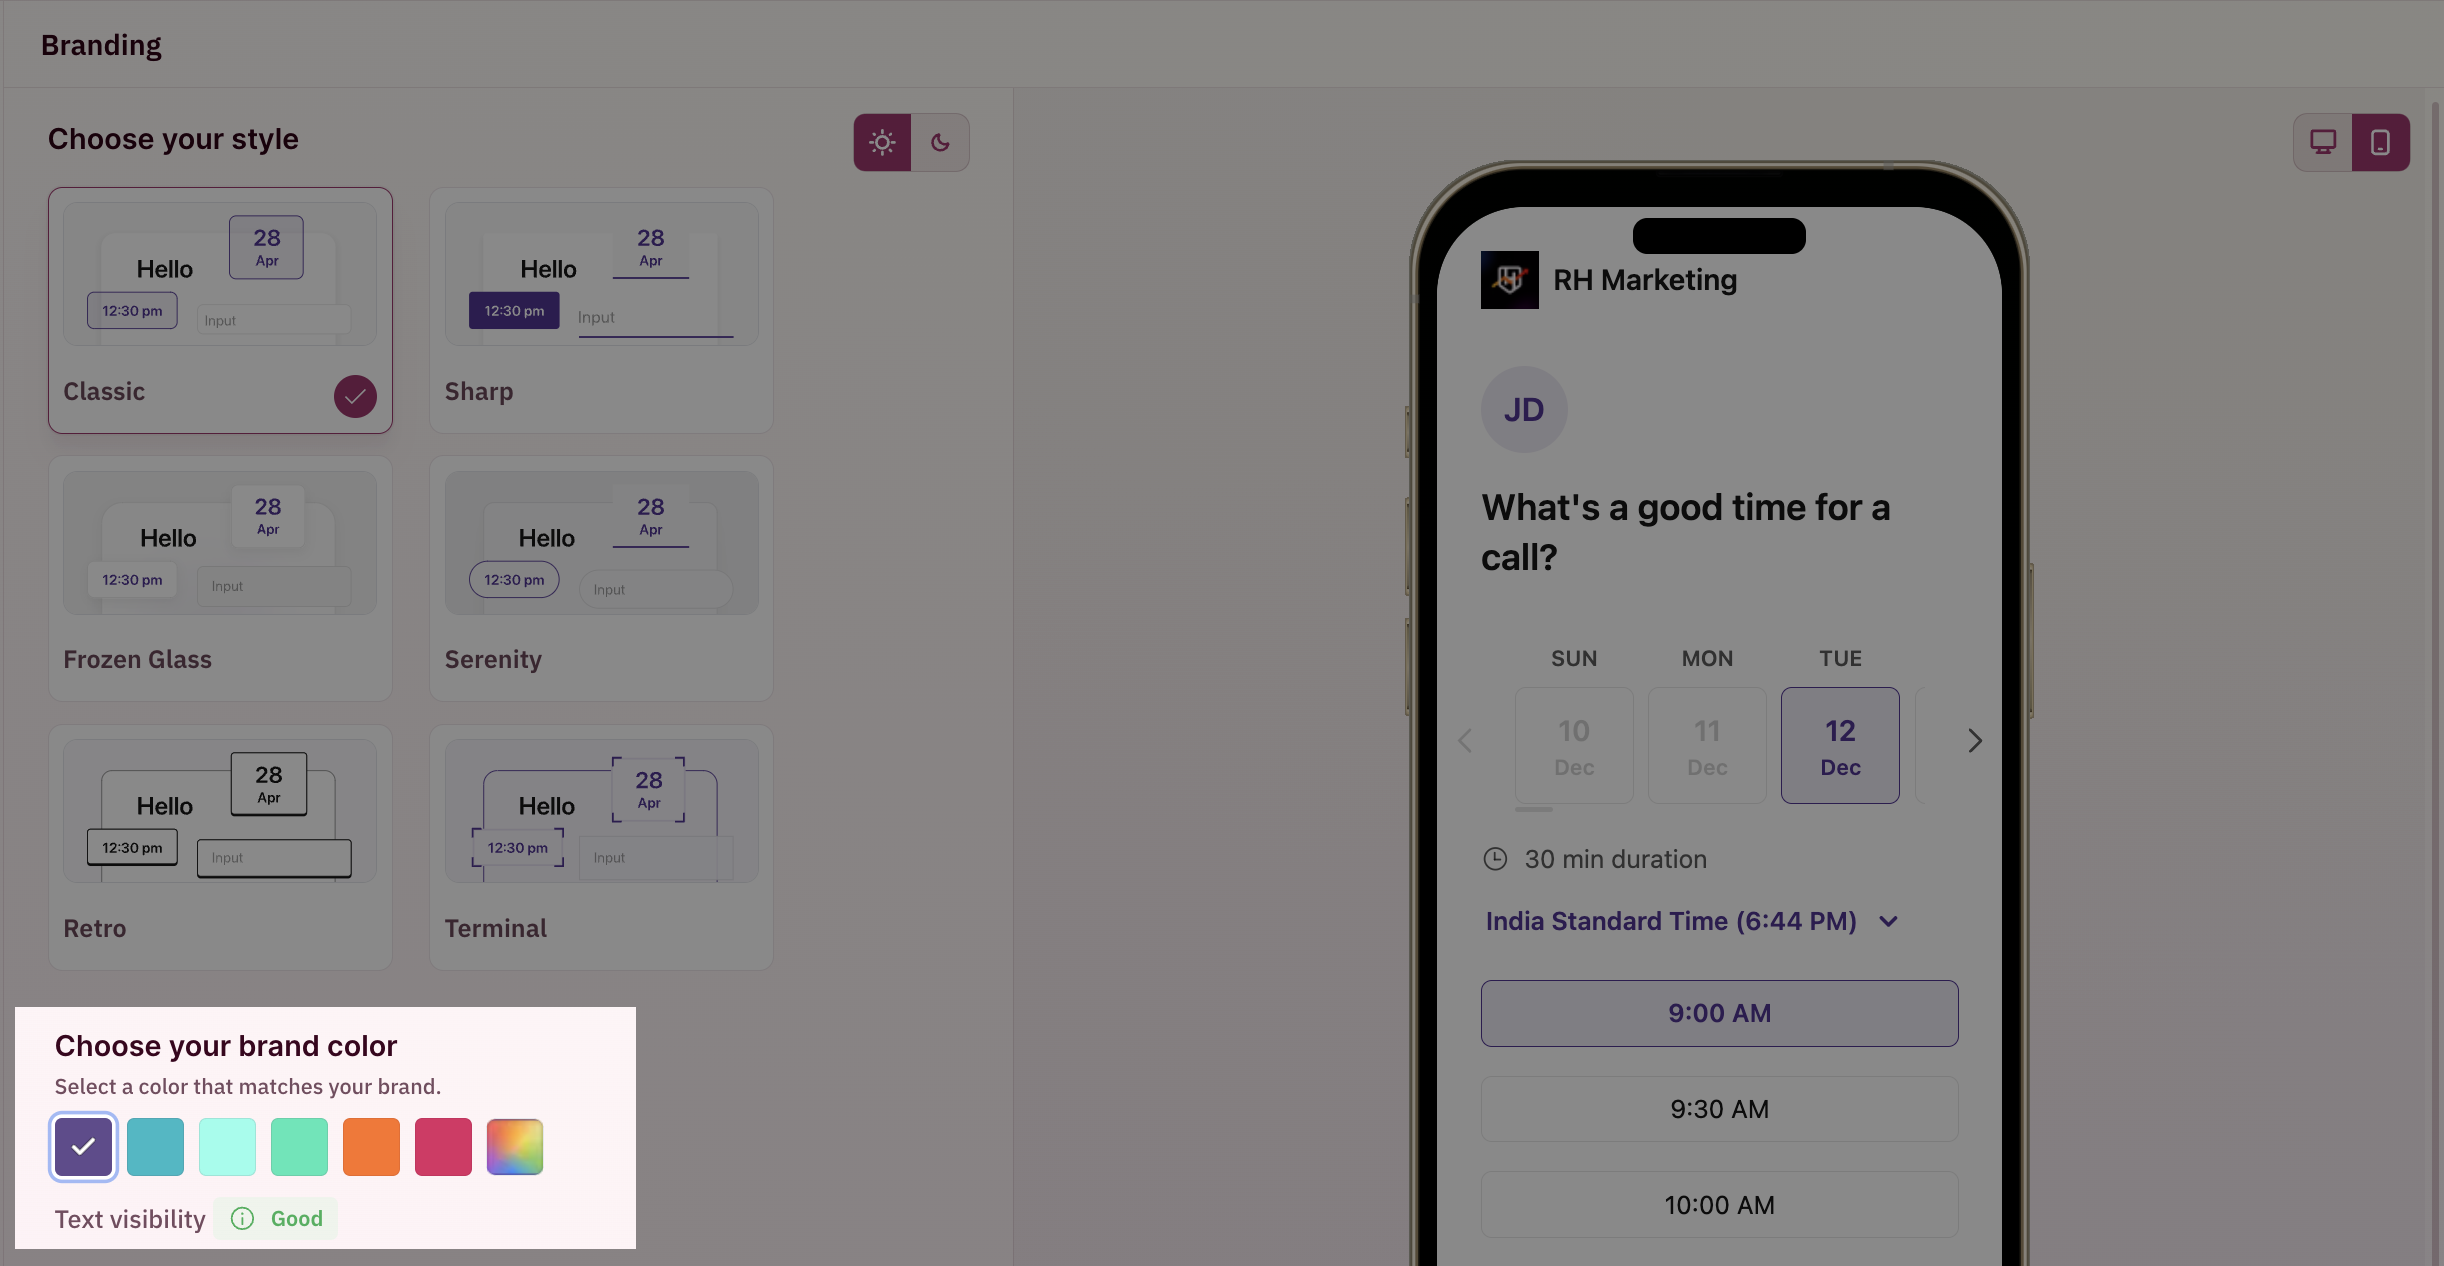 There's also a text visibility indicator that indicates the readability of text in chosen color based on a [standard measure](https://www.w3.org/WAI/WCAG21/Understanding/contrast-minimum.html). You can see that for **Light Green**, the readability indication for **Poor**, whereas for **Purple** the readability indication was **Good** in the previous screenshots.
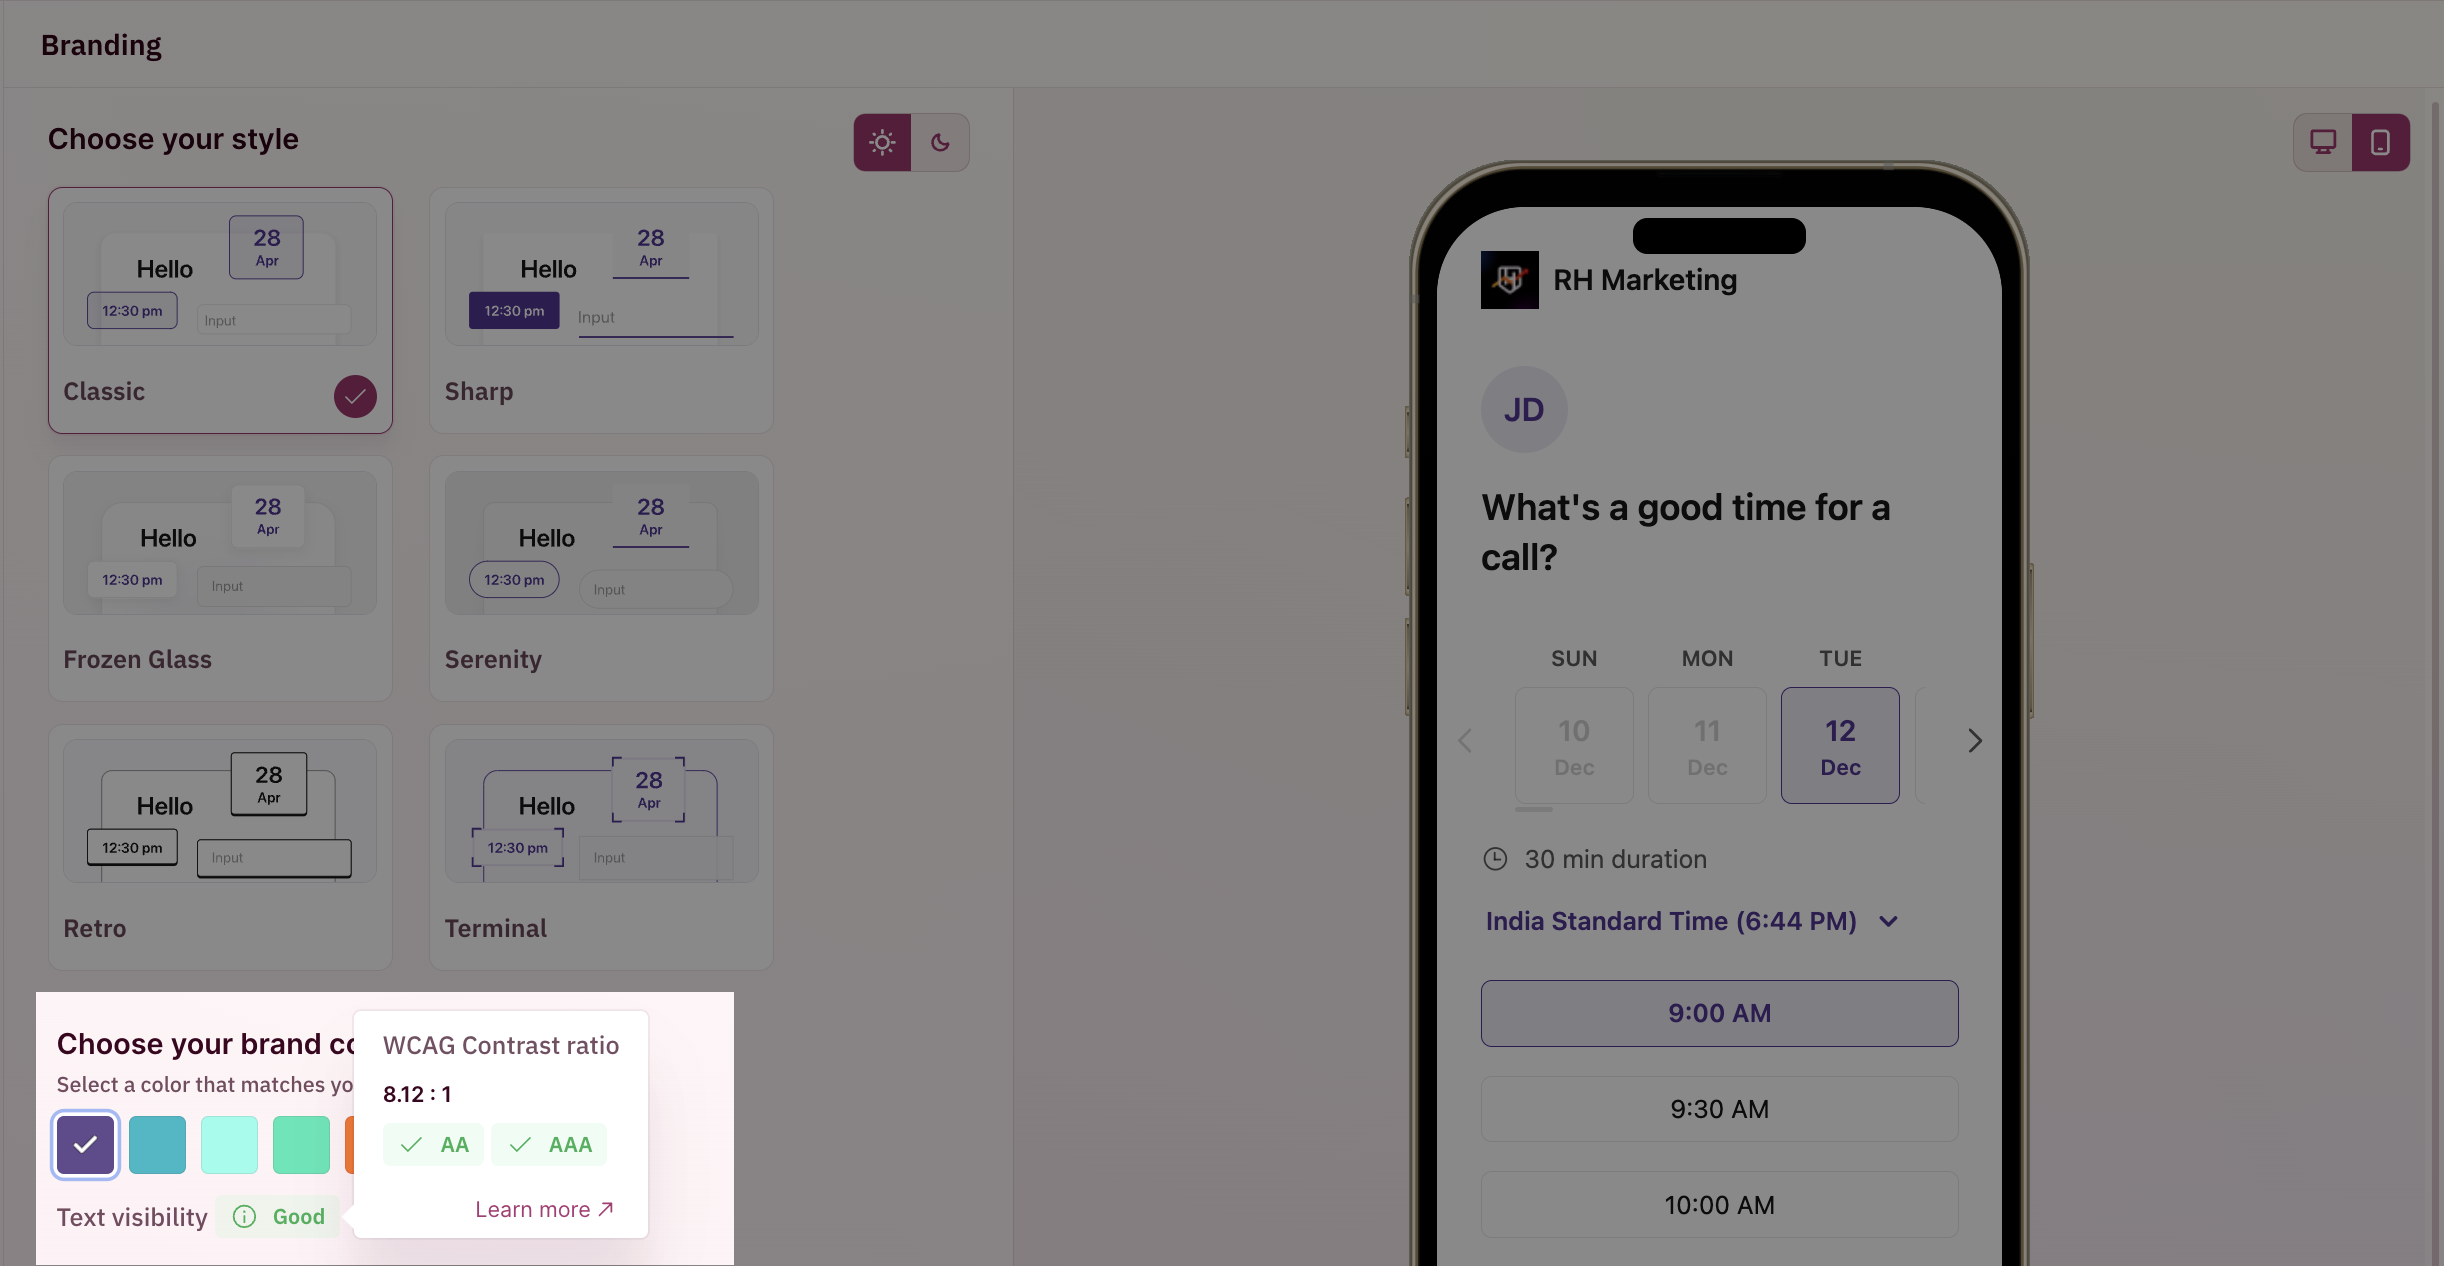 Your Organization's name and logo that you have updated in the "[Organization Details](/settings/organization/details)" section will be displayed on the booking widget.
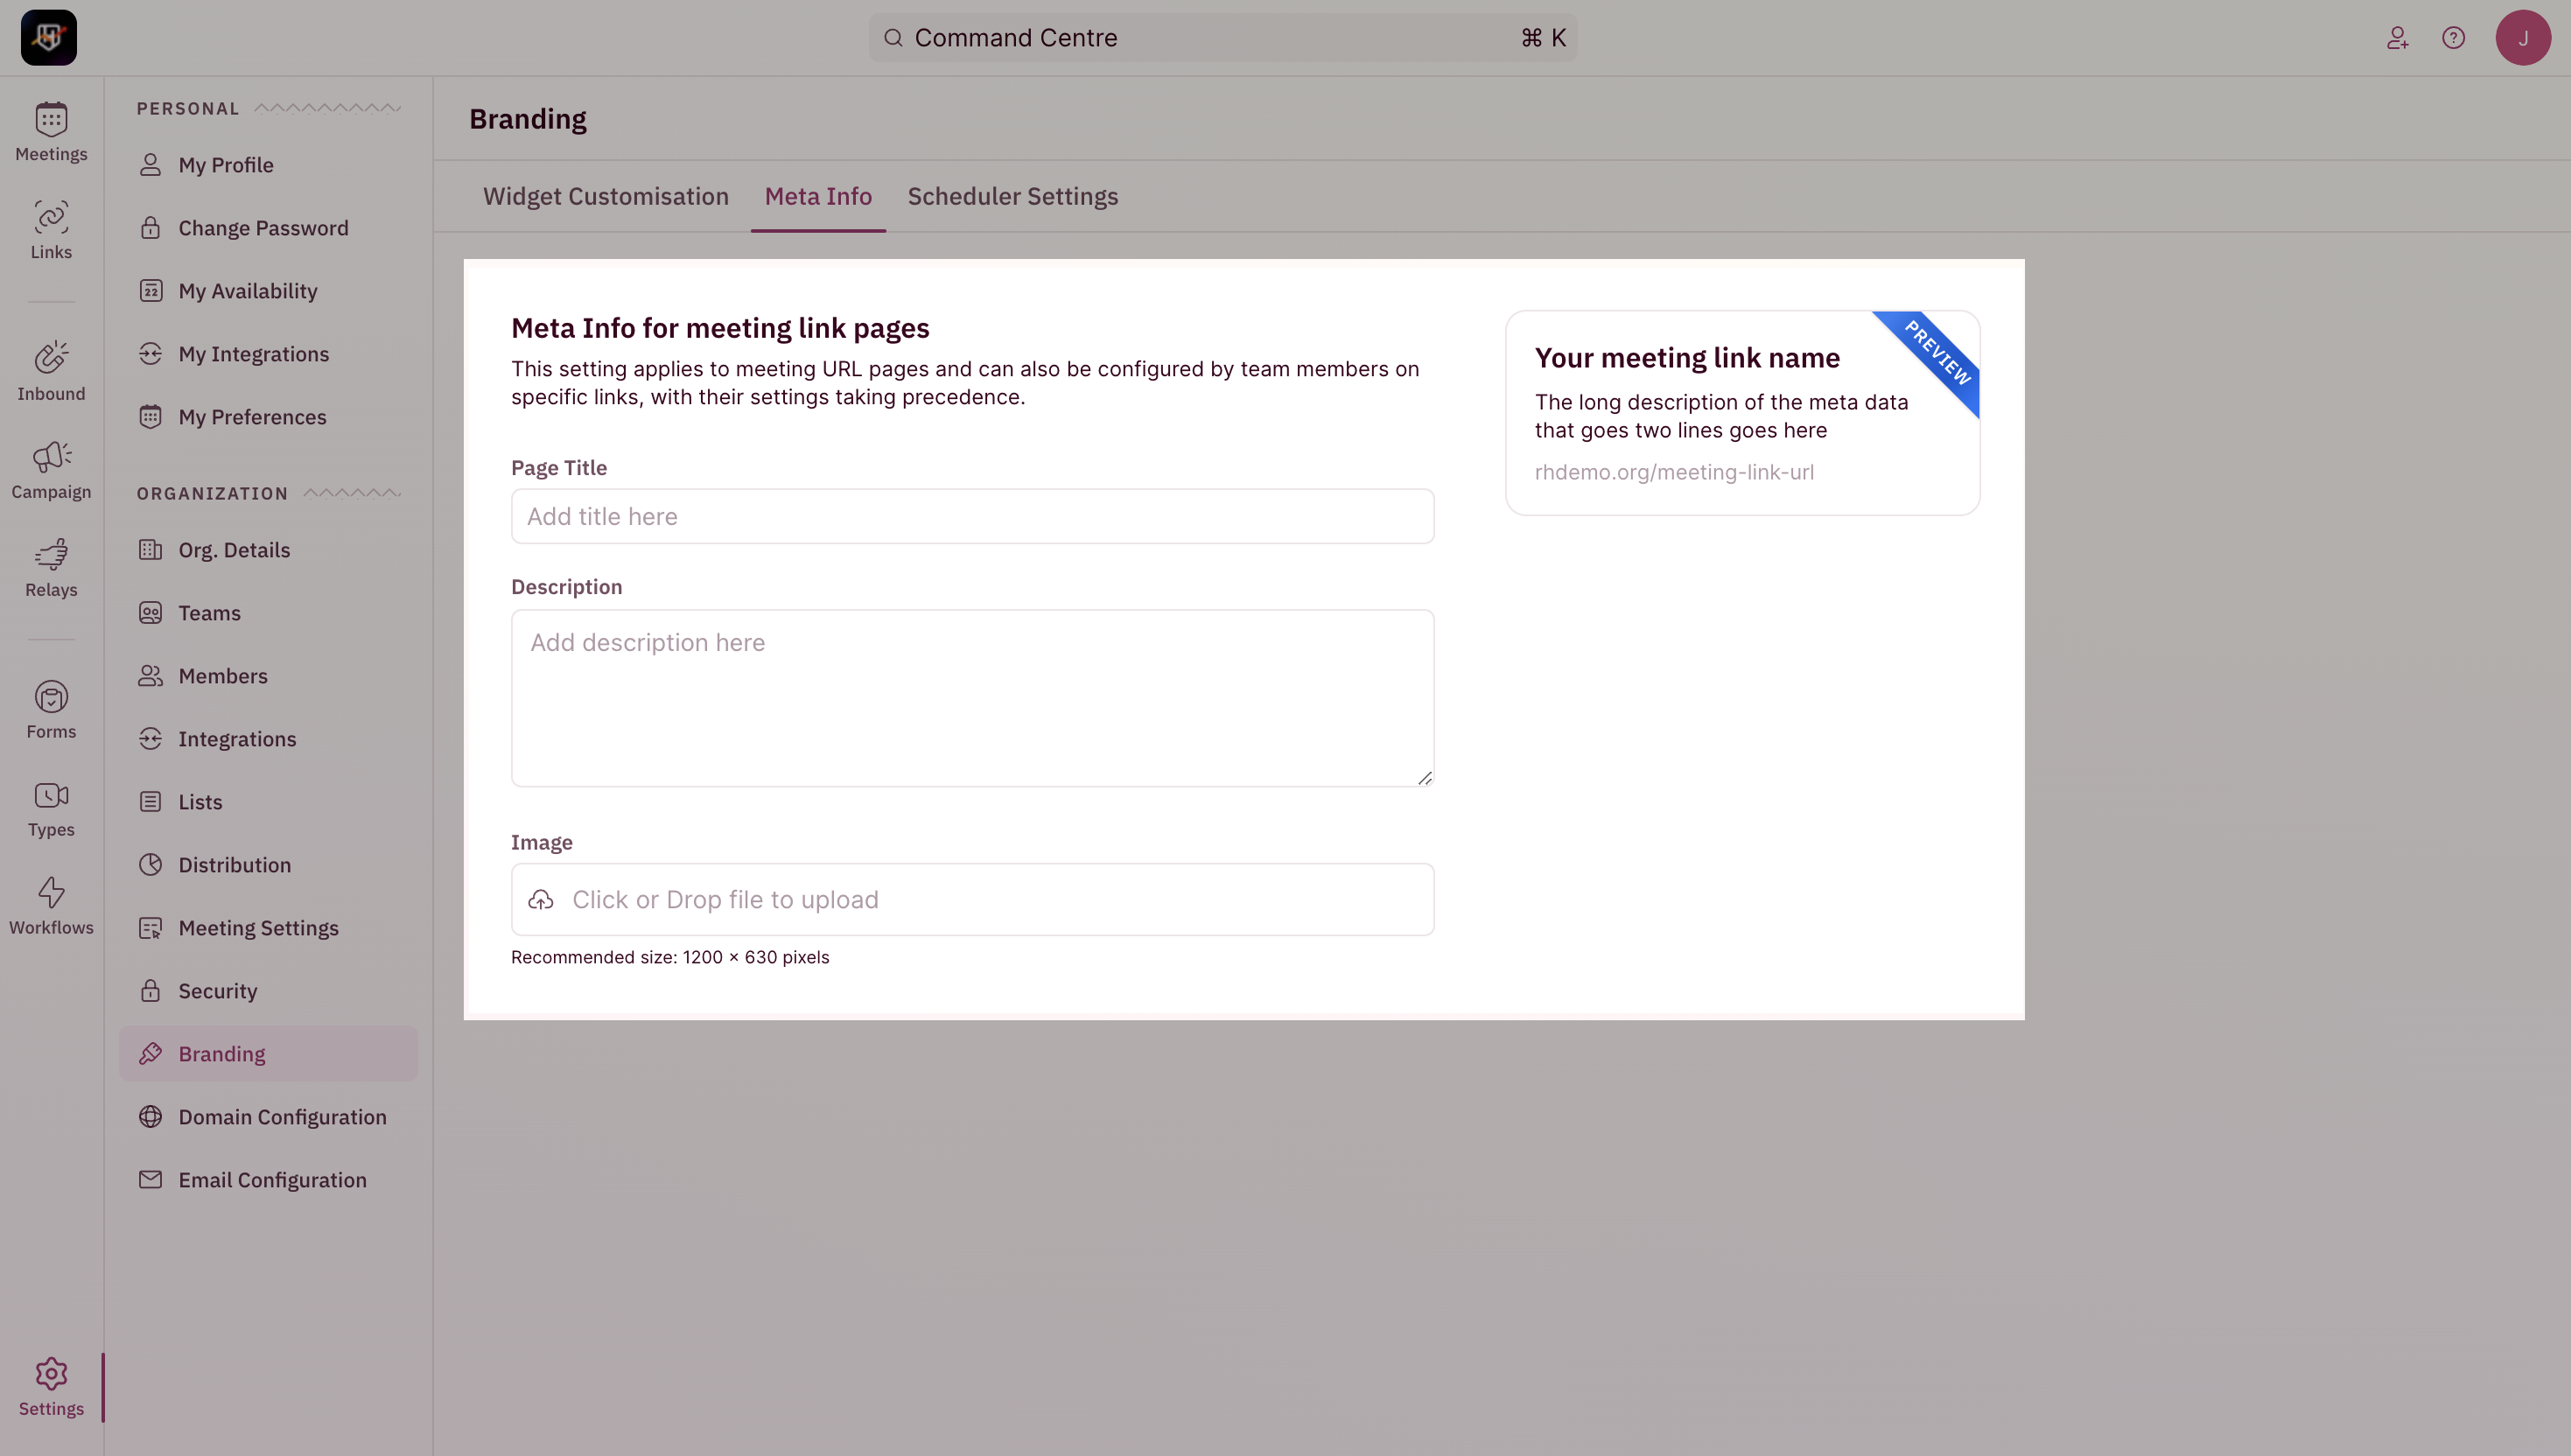
 Add descriptions that would be added to previews for your meeting links.
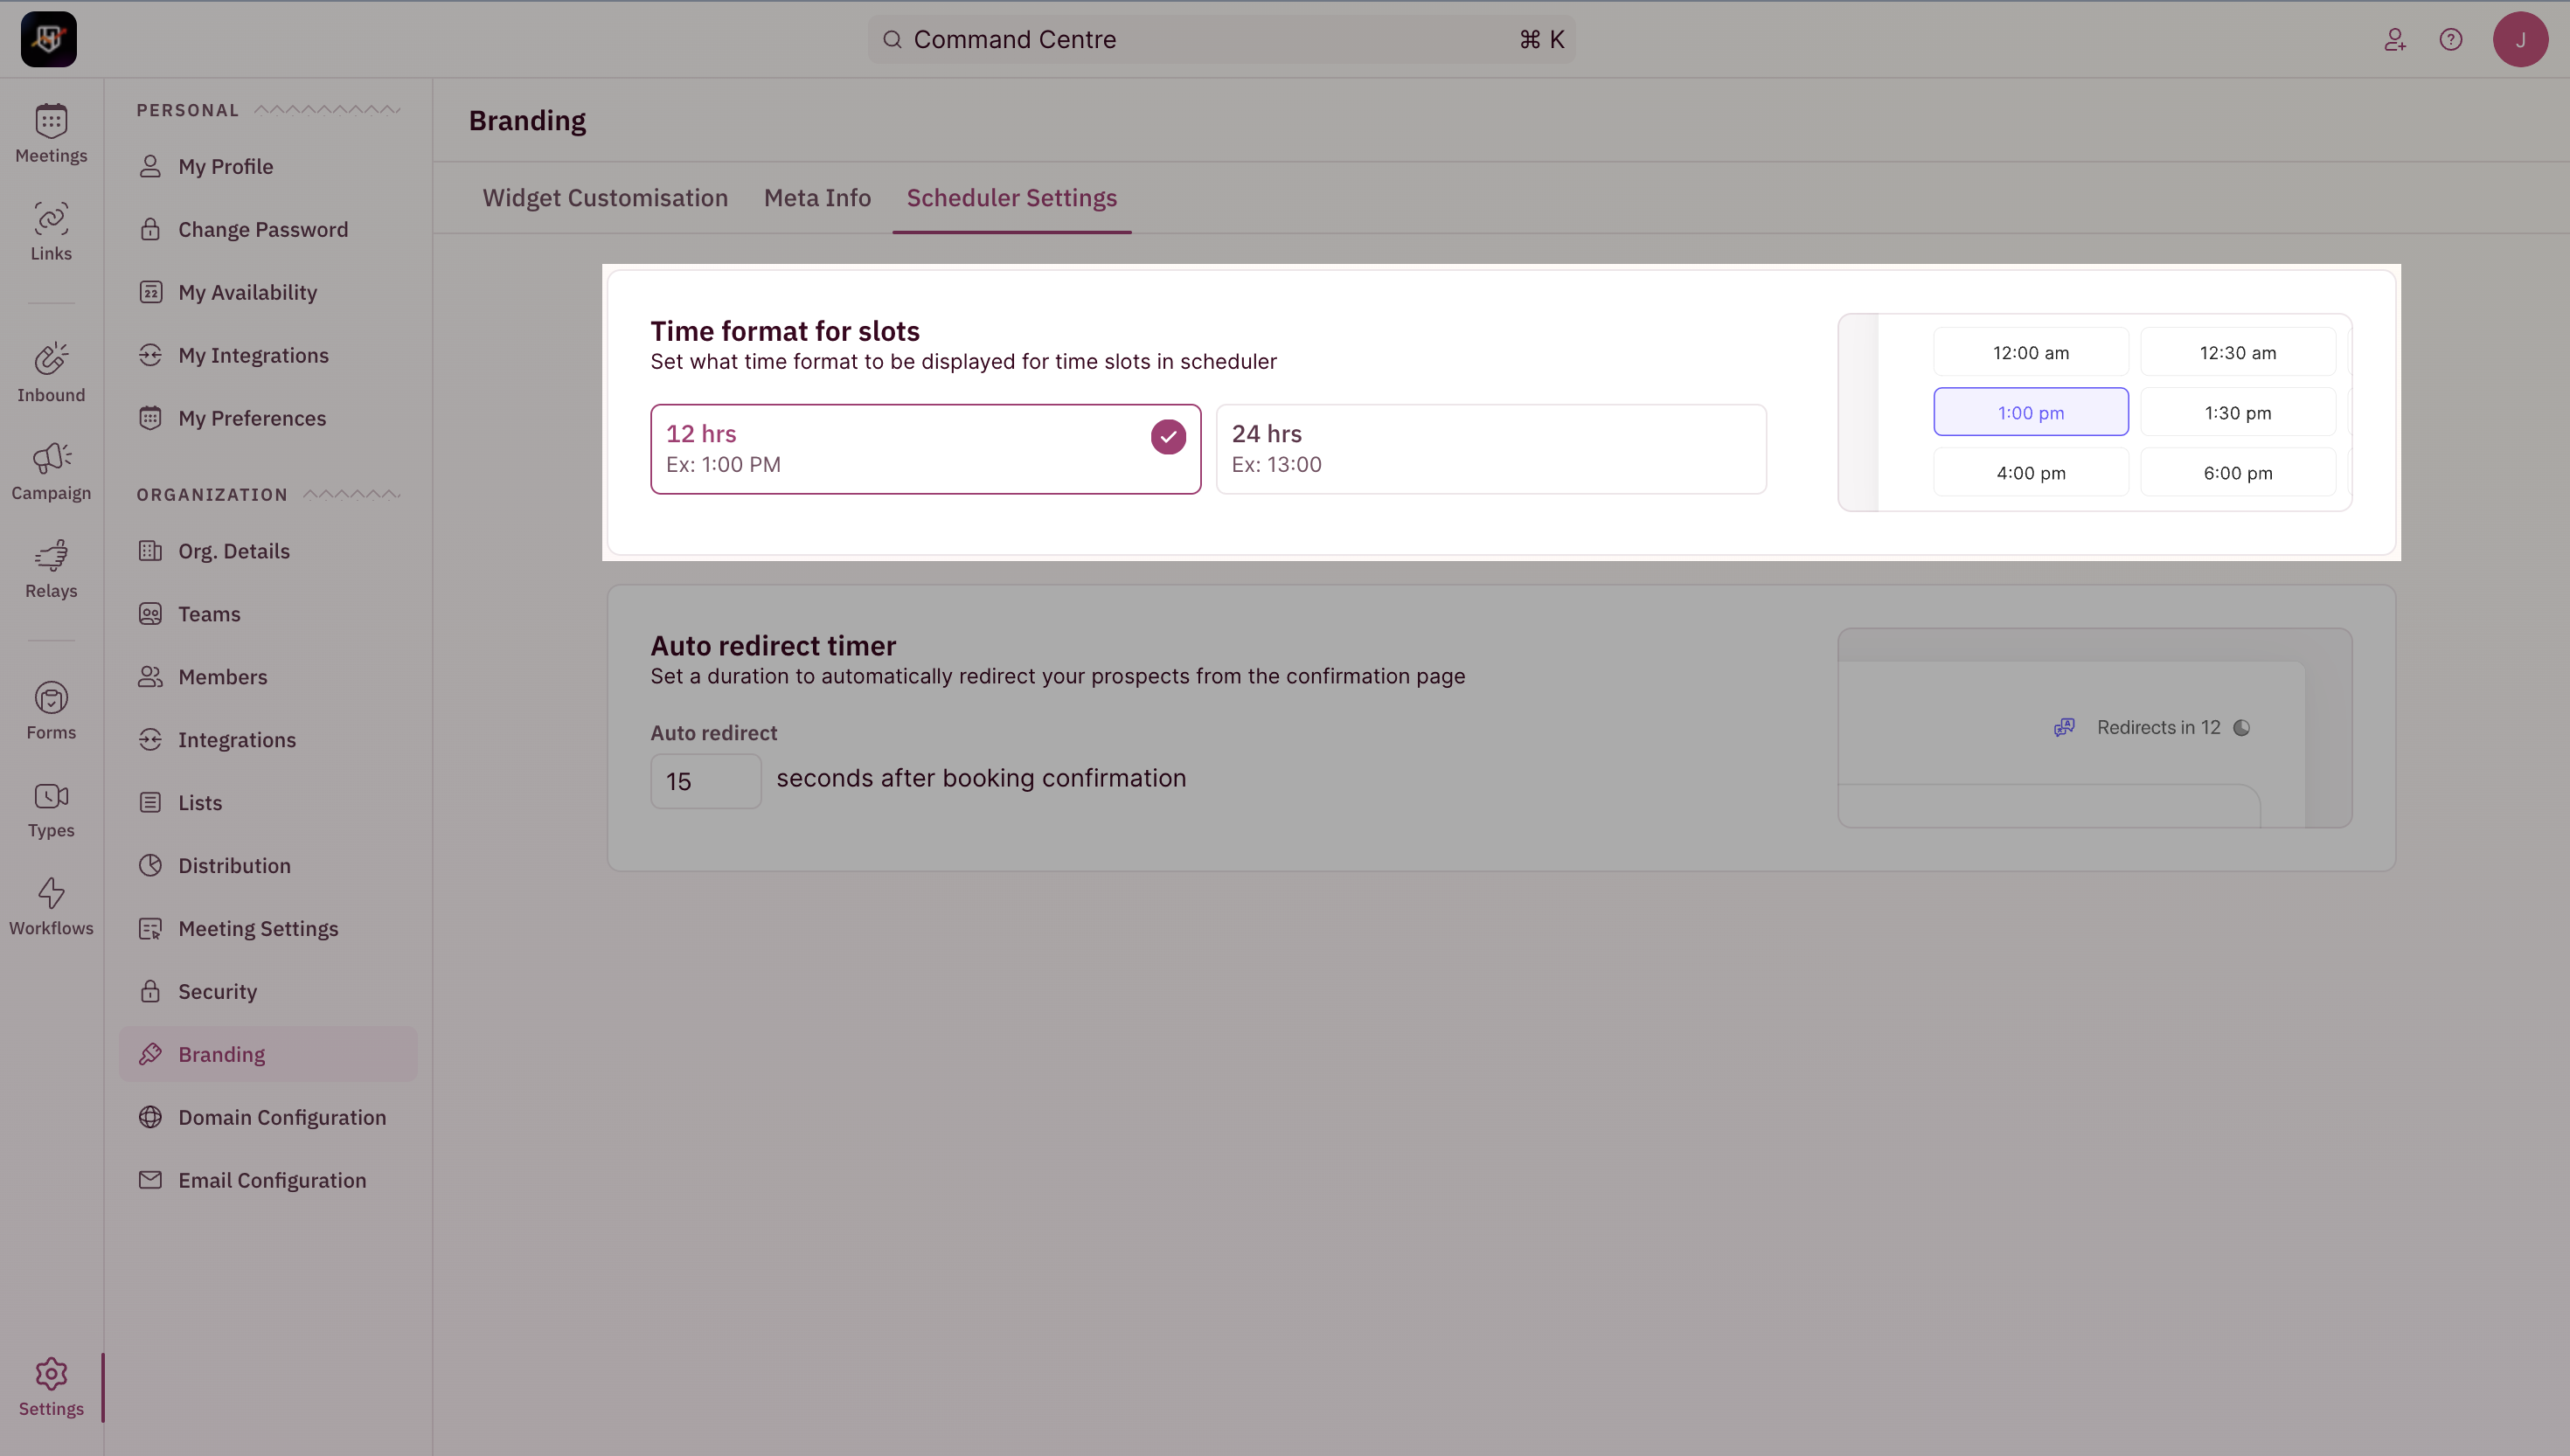
 **Time Format**
Toggle between 12hr and 24hr format for your scheduler widgets.
**Time Format**
Toggle between 12hr and 24hr format for your scheduler widgets.
 **Redirection Timer**
Set a duration to automatically redirect your prospects from the confirmation page to the [redirection page](/routers/inbound/create-inbound-router#redirection) of your choice.
**Redirection Timer**
Set a duration to automatically redirect your prospects from the confirmation page to the [redirection page](/routers/inbound/create-inbound-router#redirection) of your choice.