> ## Documentation Index
> Fetch the complete documentation index at: https://help.revenuehero.io/llms.txt
> Use this file to discover all available pages before exploring further.
# How to create lists in RevenueHero?
Lists can be created in RevenueHero and used in routing conditions to check values against i.e if the value is part/not part of a list.
Here's how you can create a list:
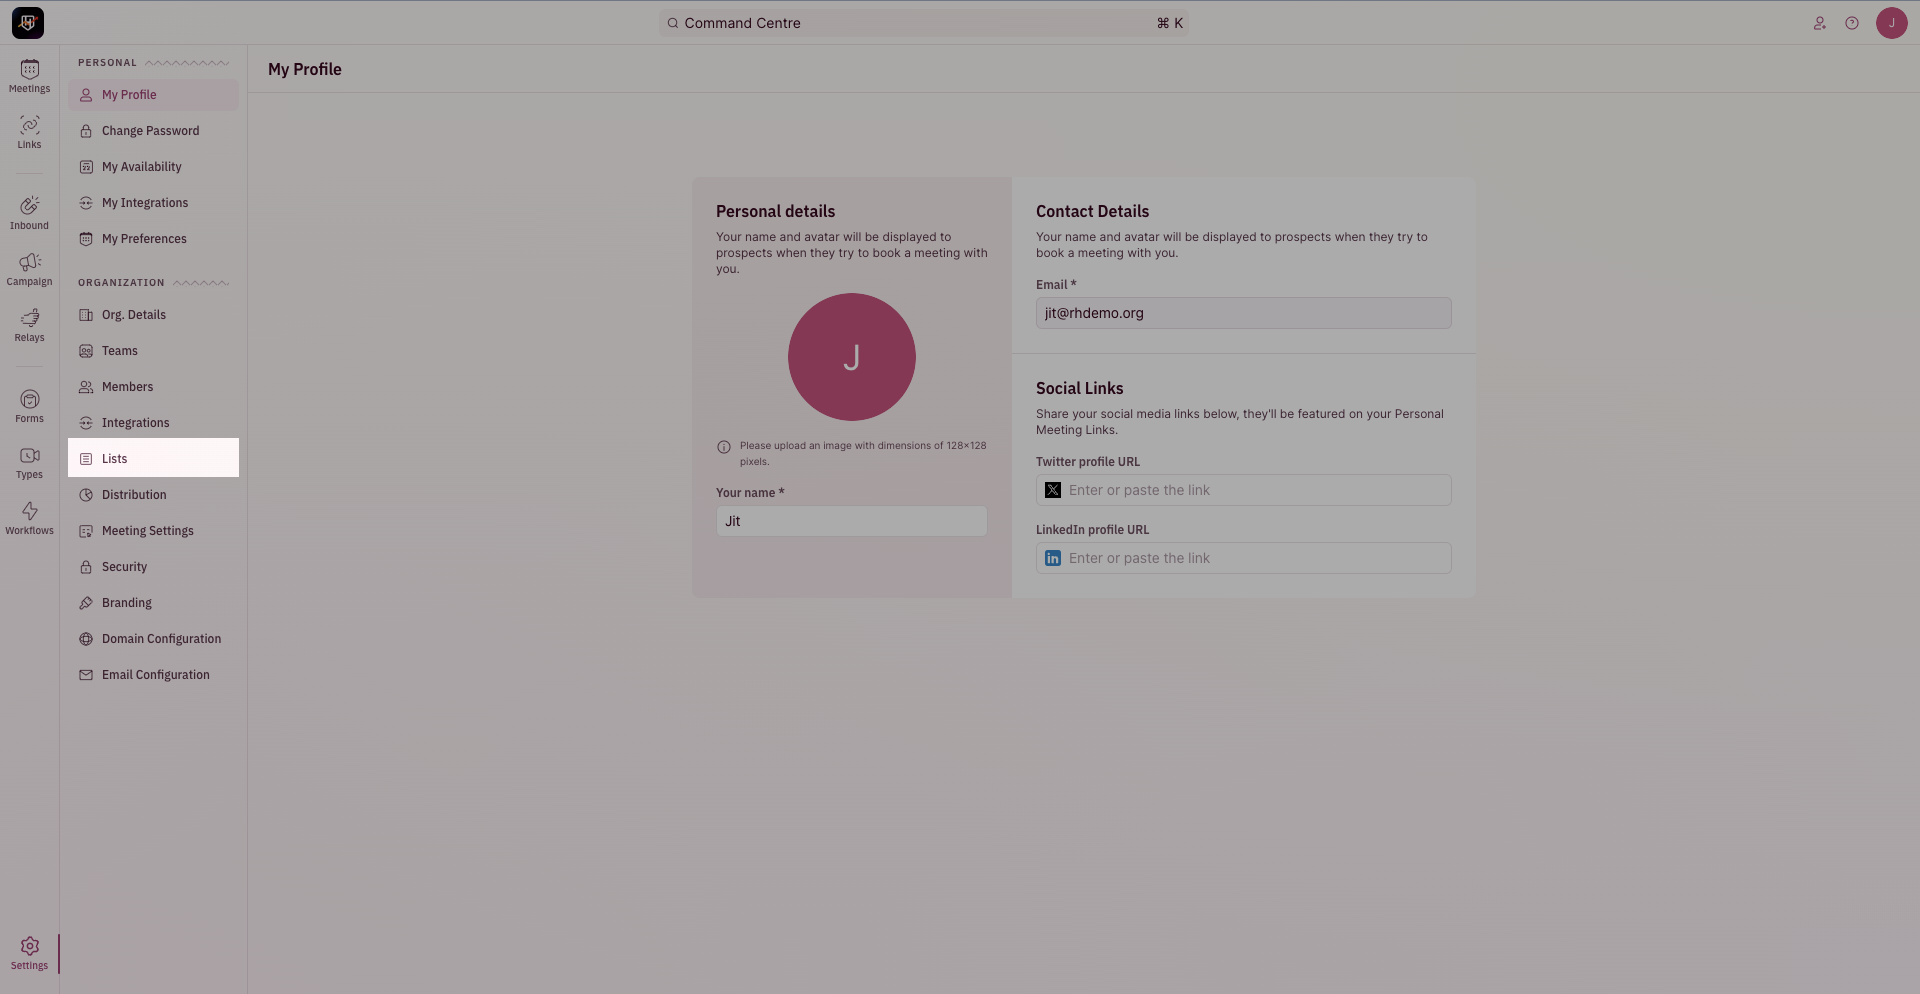
1. Go to Settings and click on Lists.
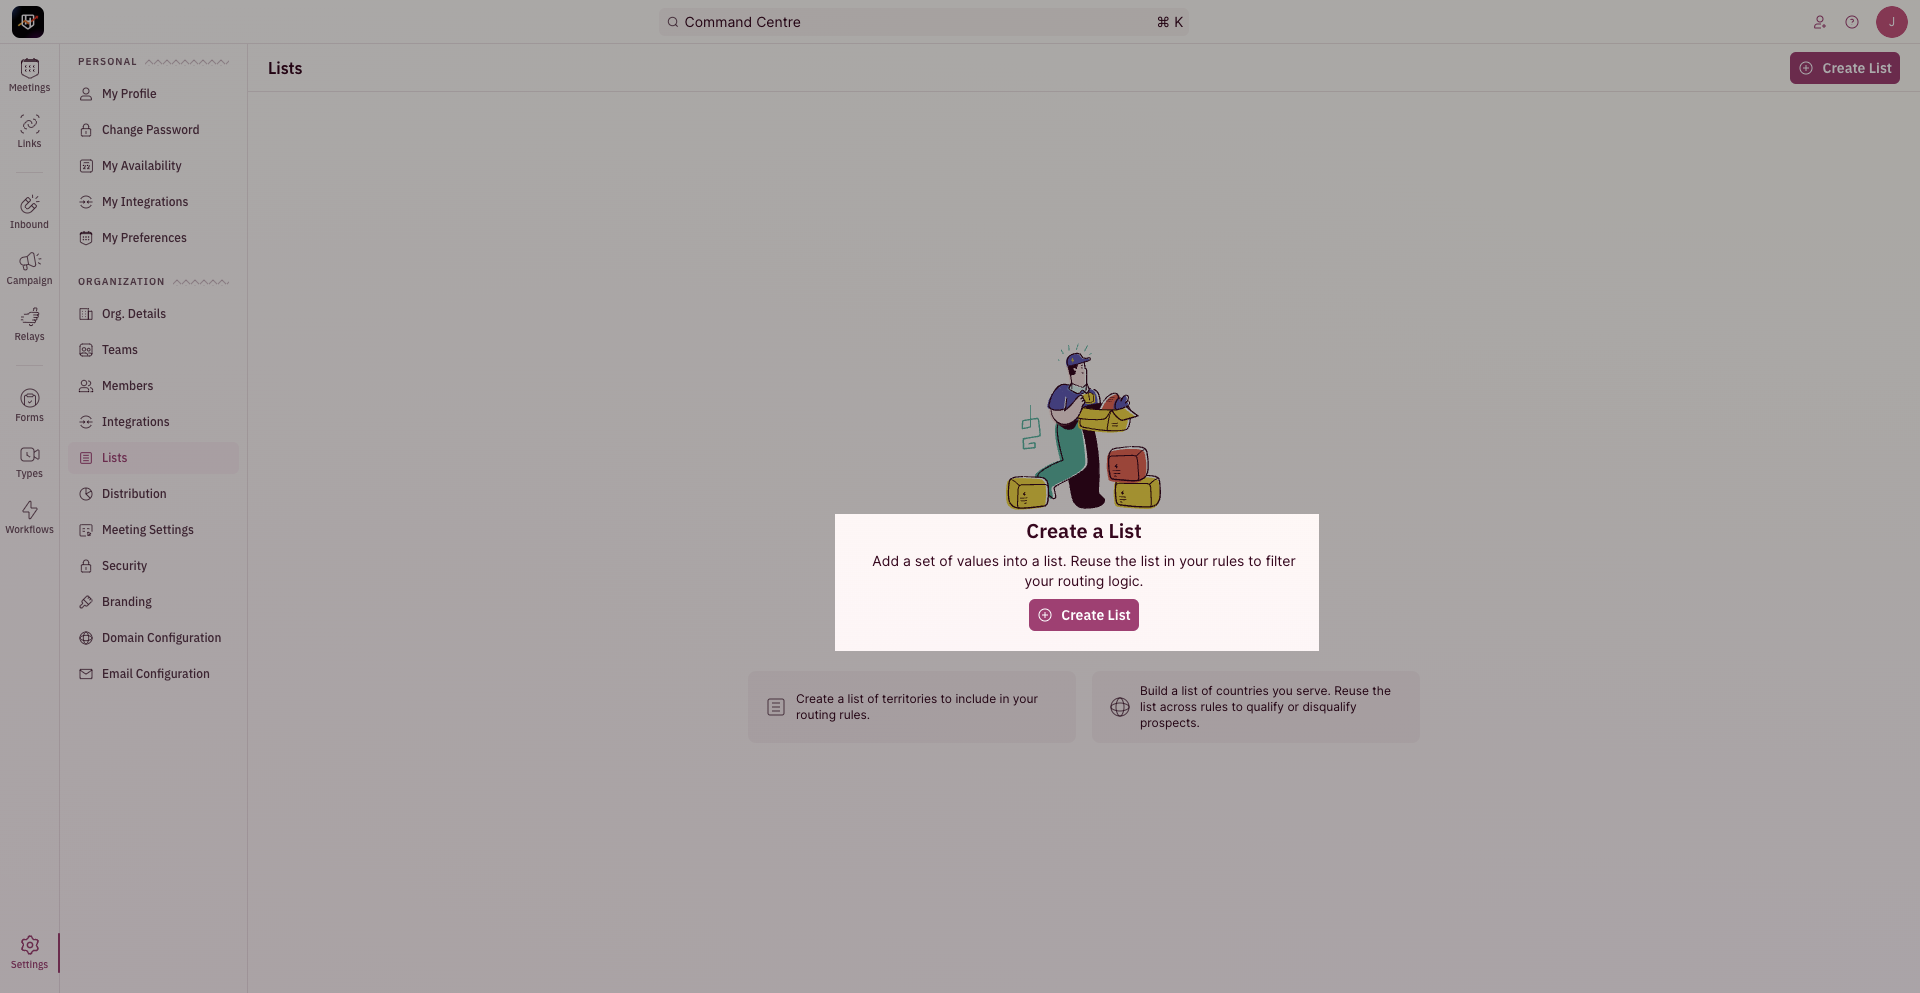
 2. Click on **Create list**.
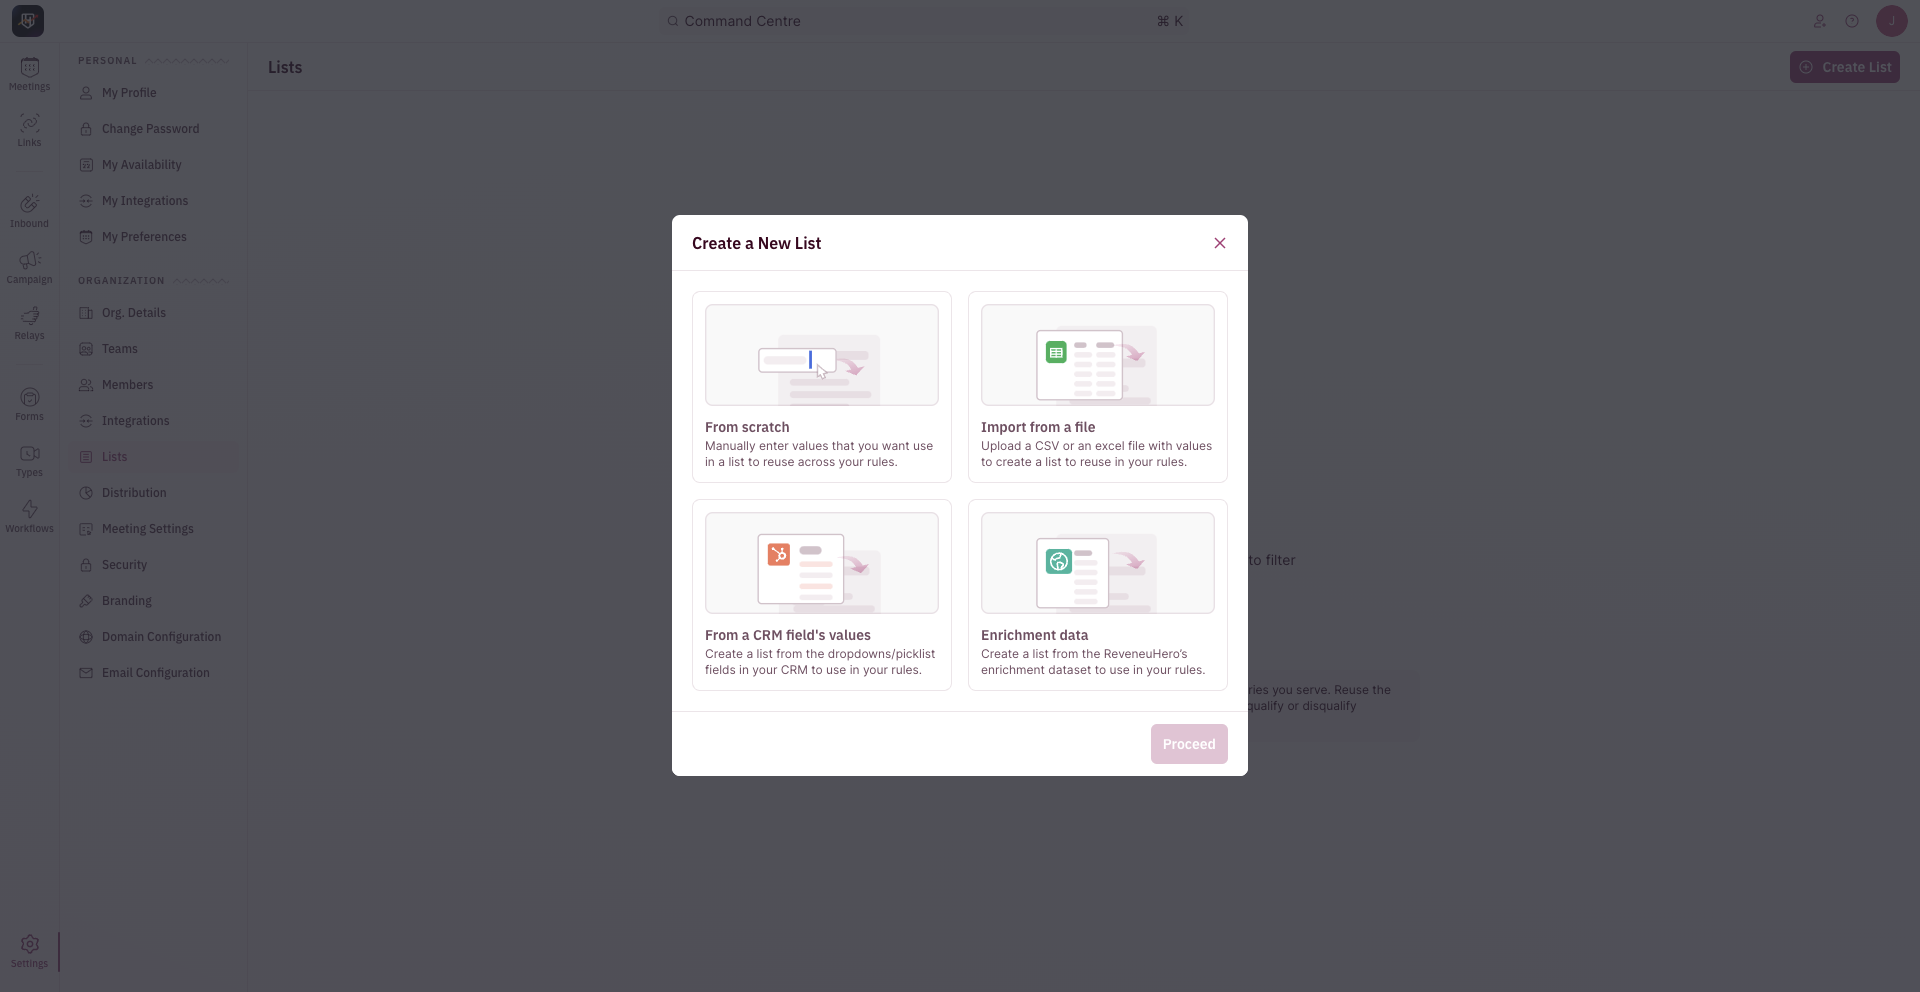
 3. Pick the option of your choice from the menu.
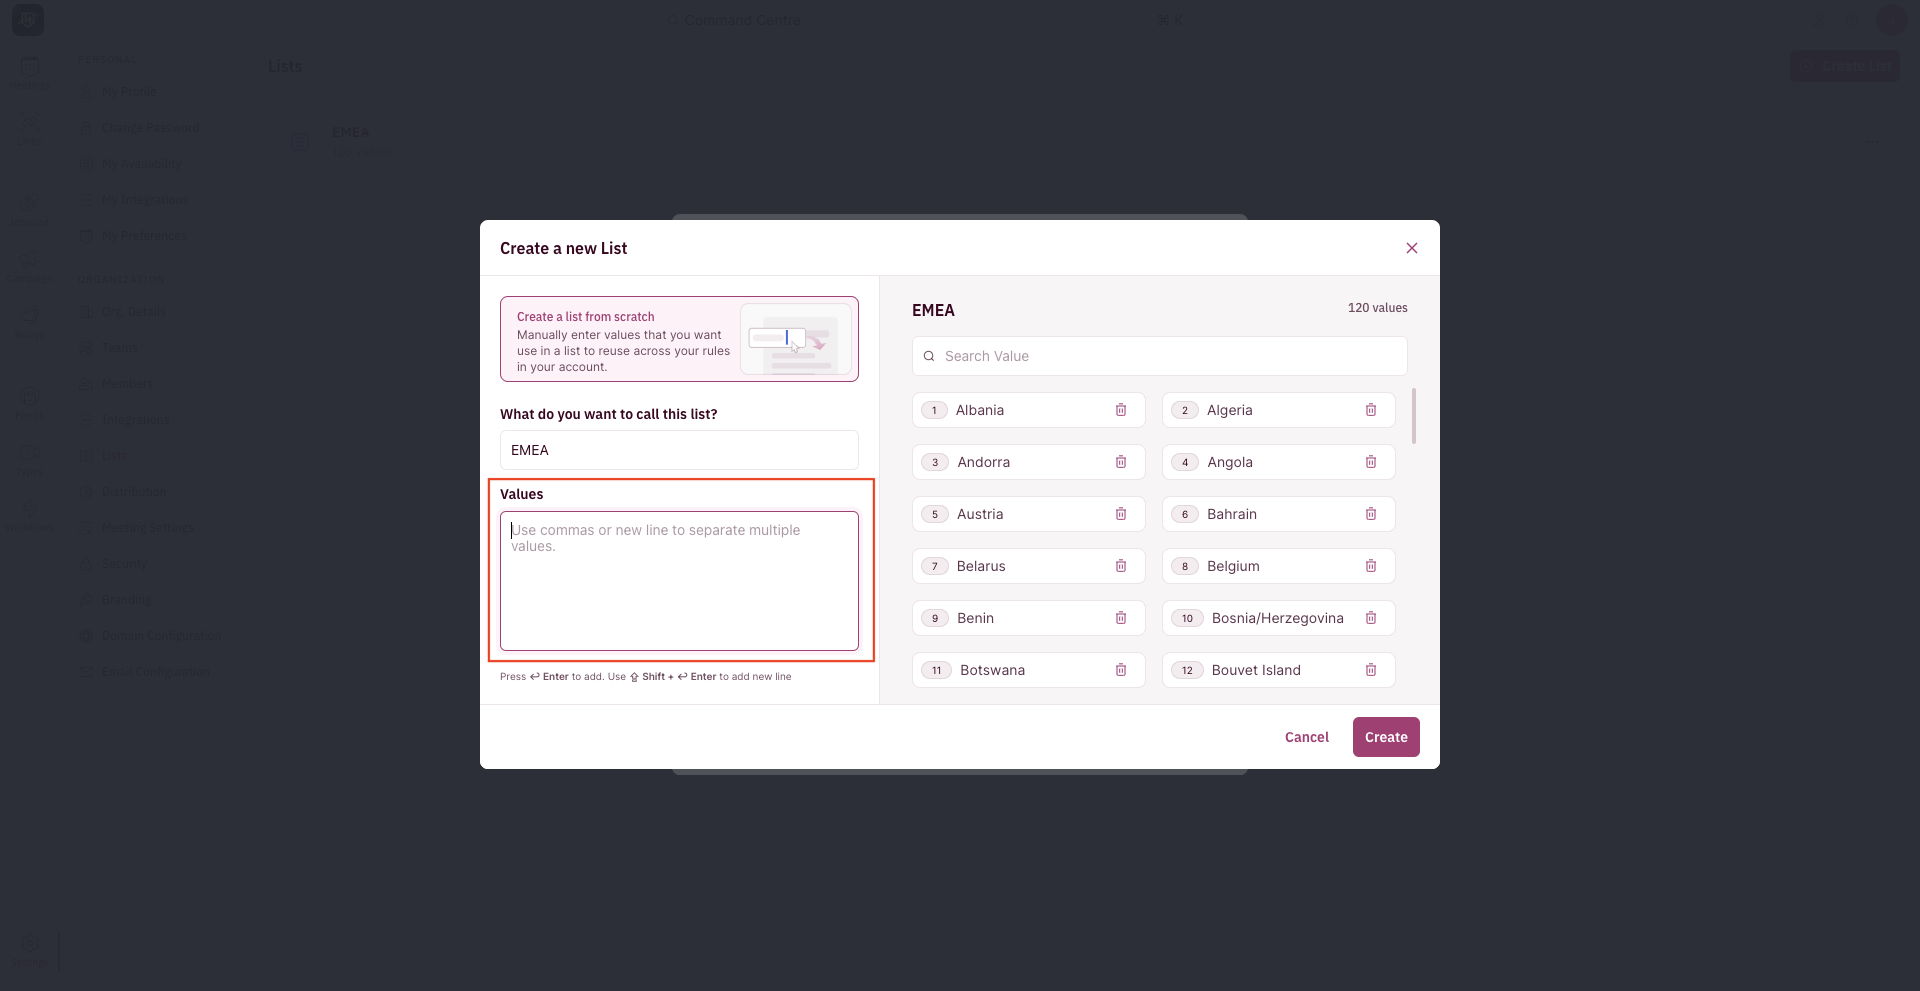
 1. Enter the name for the list.
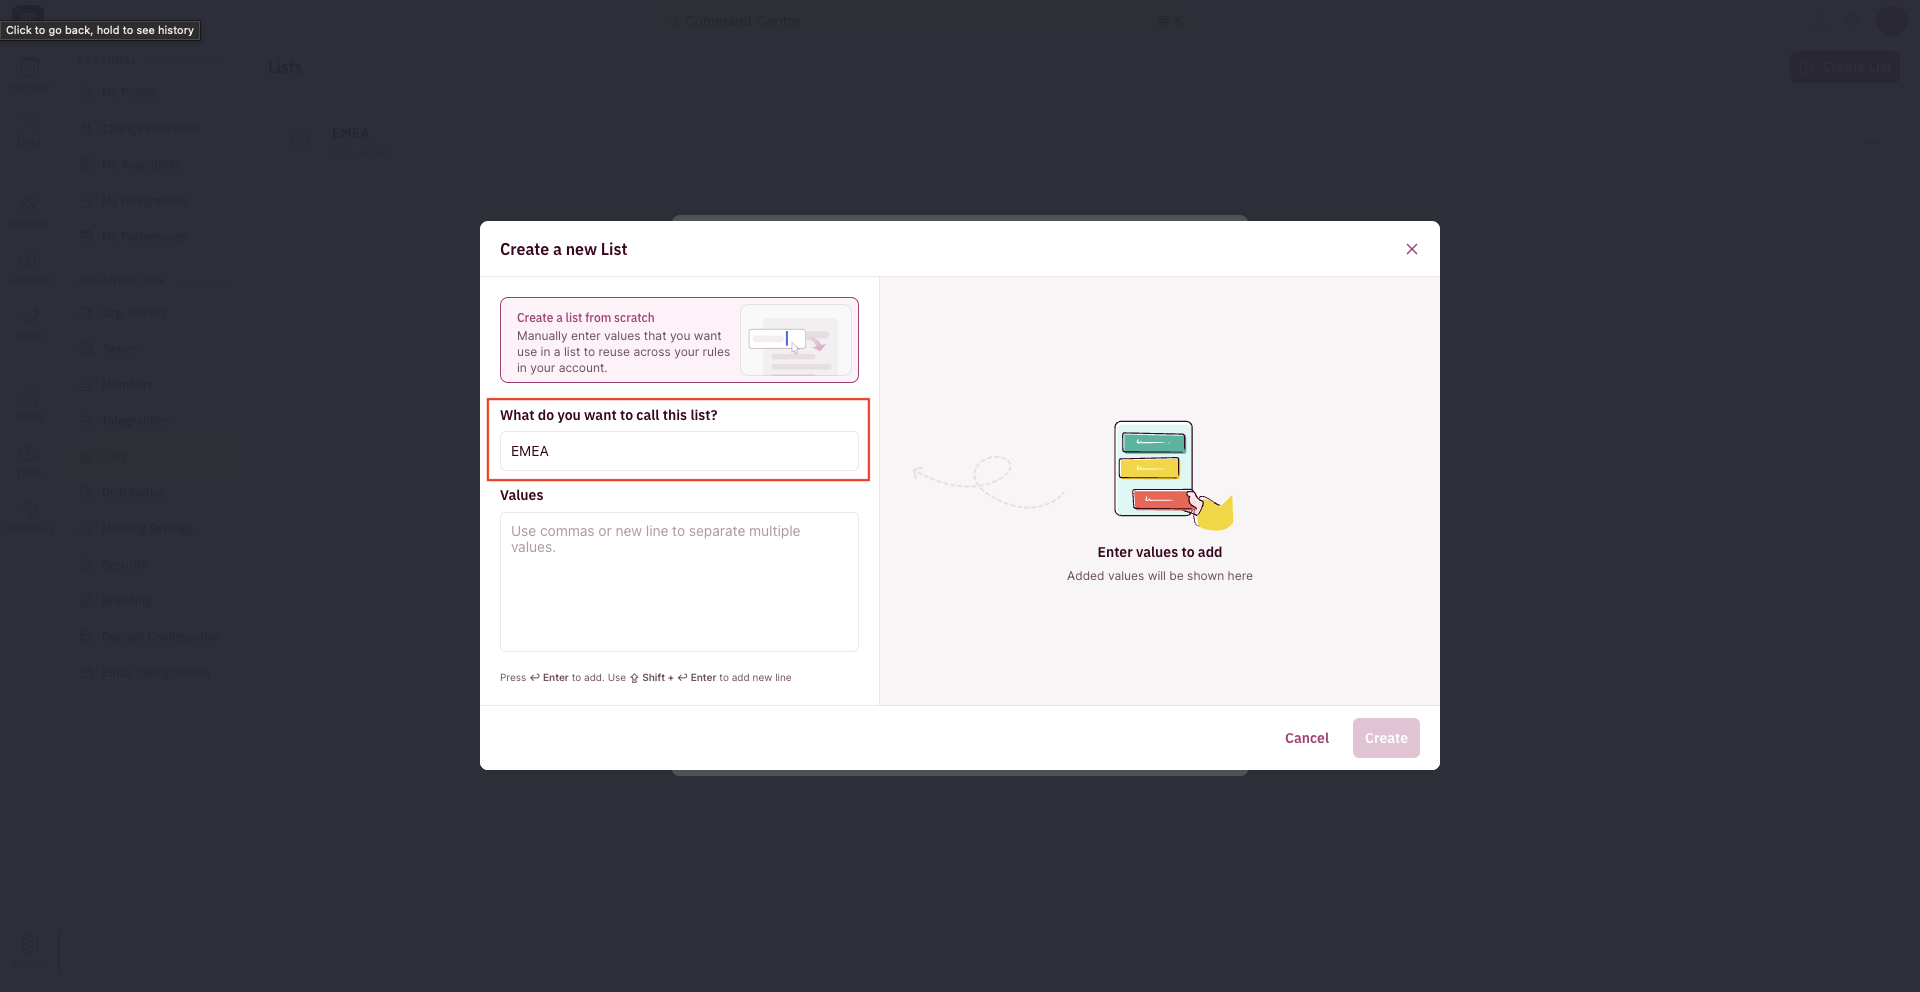 2. Enter the values you want to add to the list.
 1. Enter the name for the list.
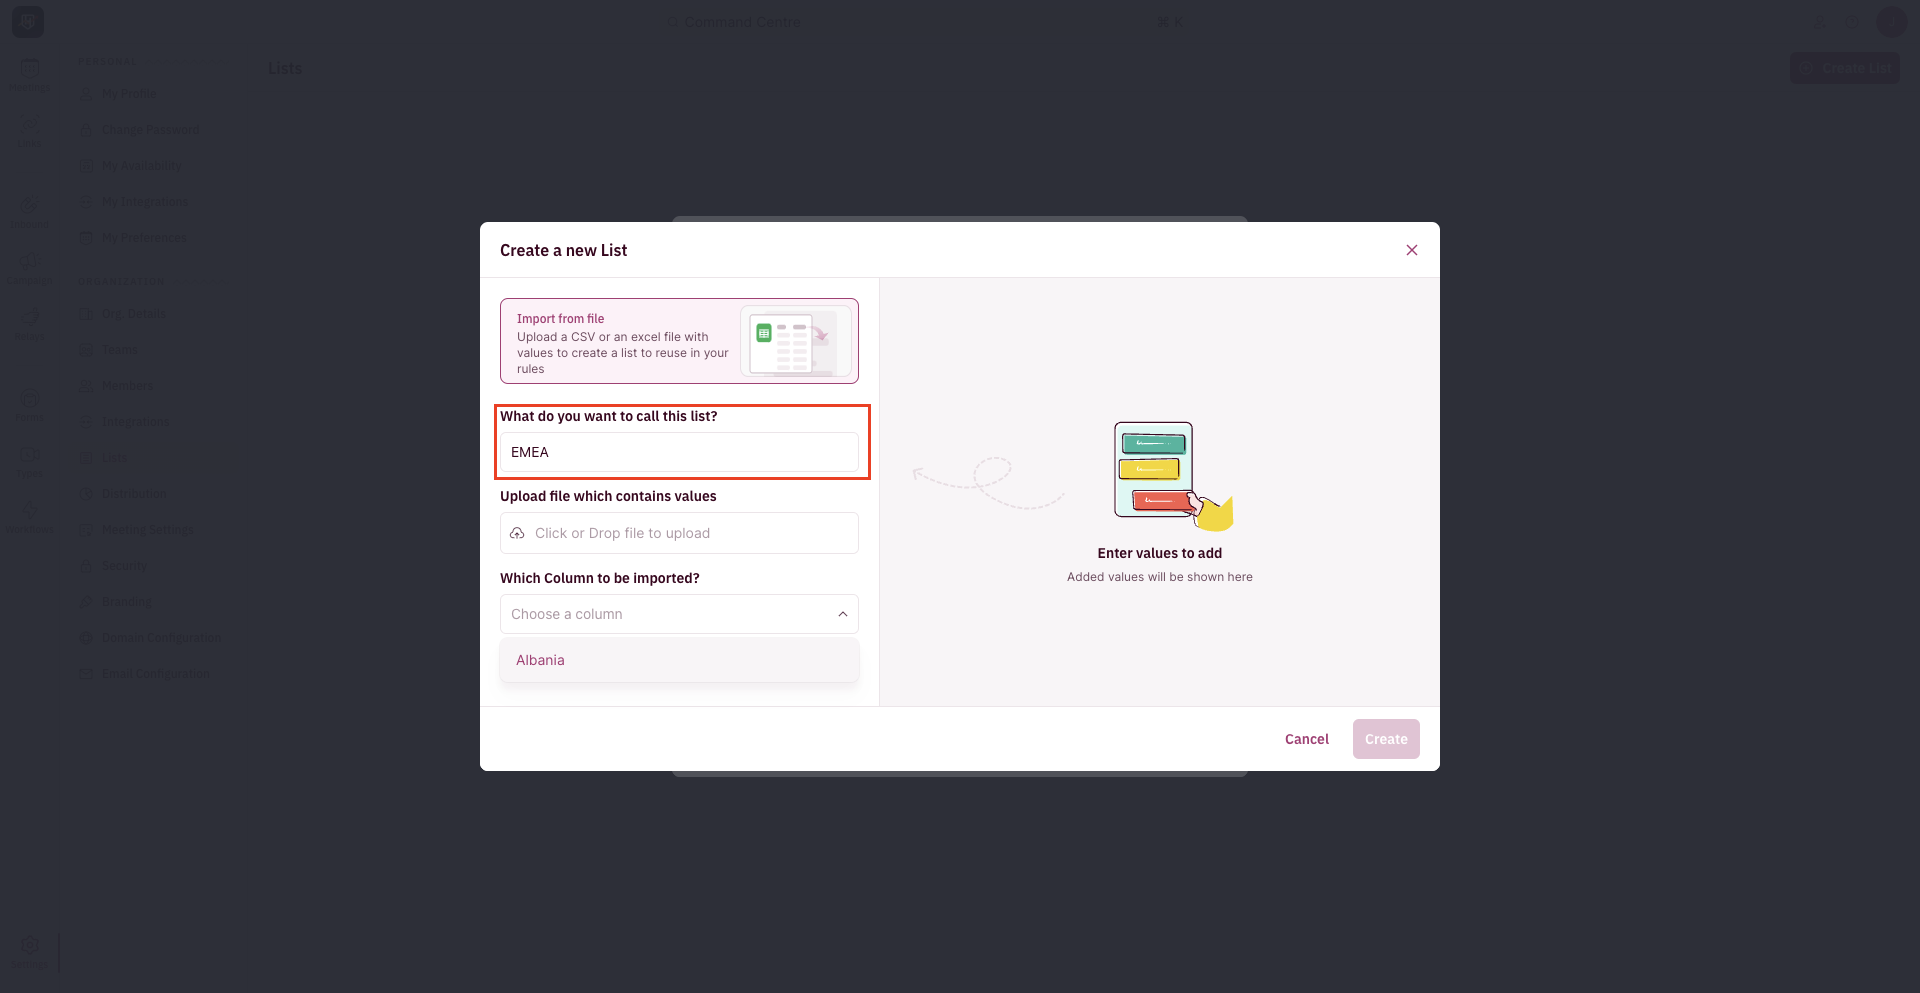 2. Upload the **csv** file you want to pick the values from.
3. Select the column you want to add to the list.
2. Upload the **csv** file you want to pick the values from.
3. Select the column you want to add to the list.
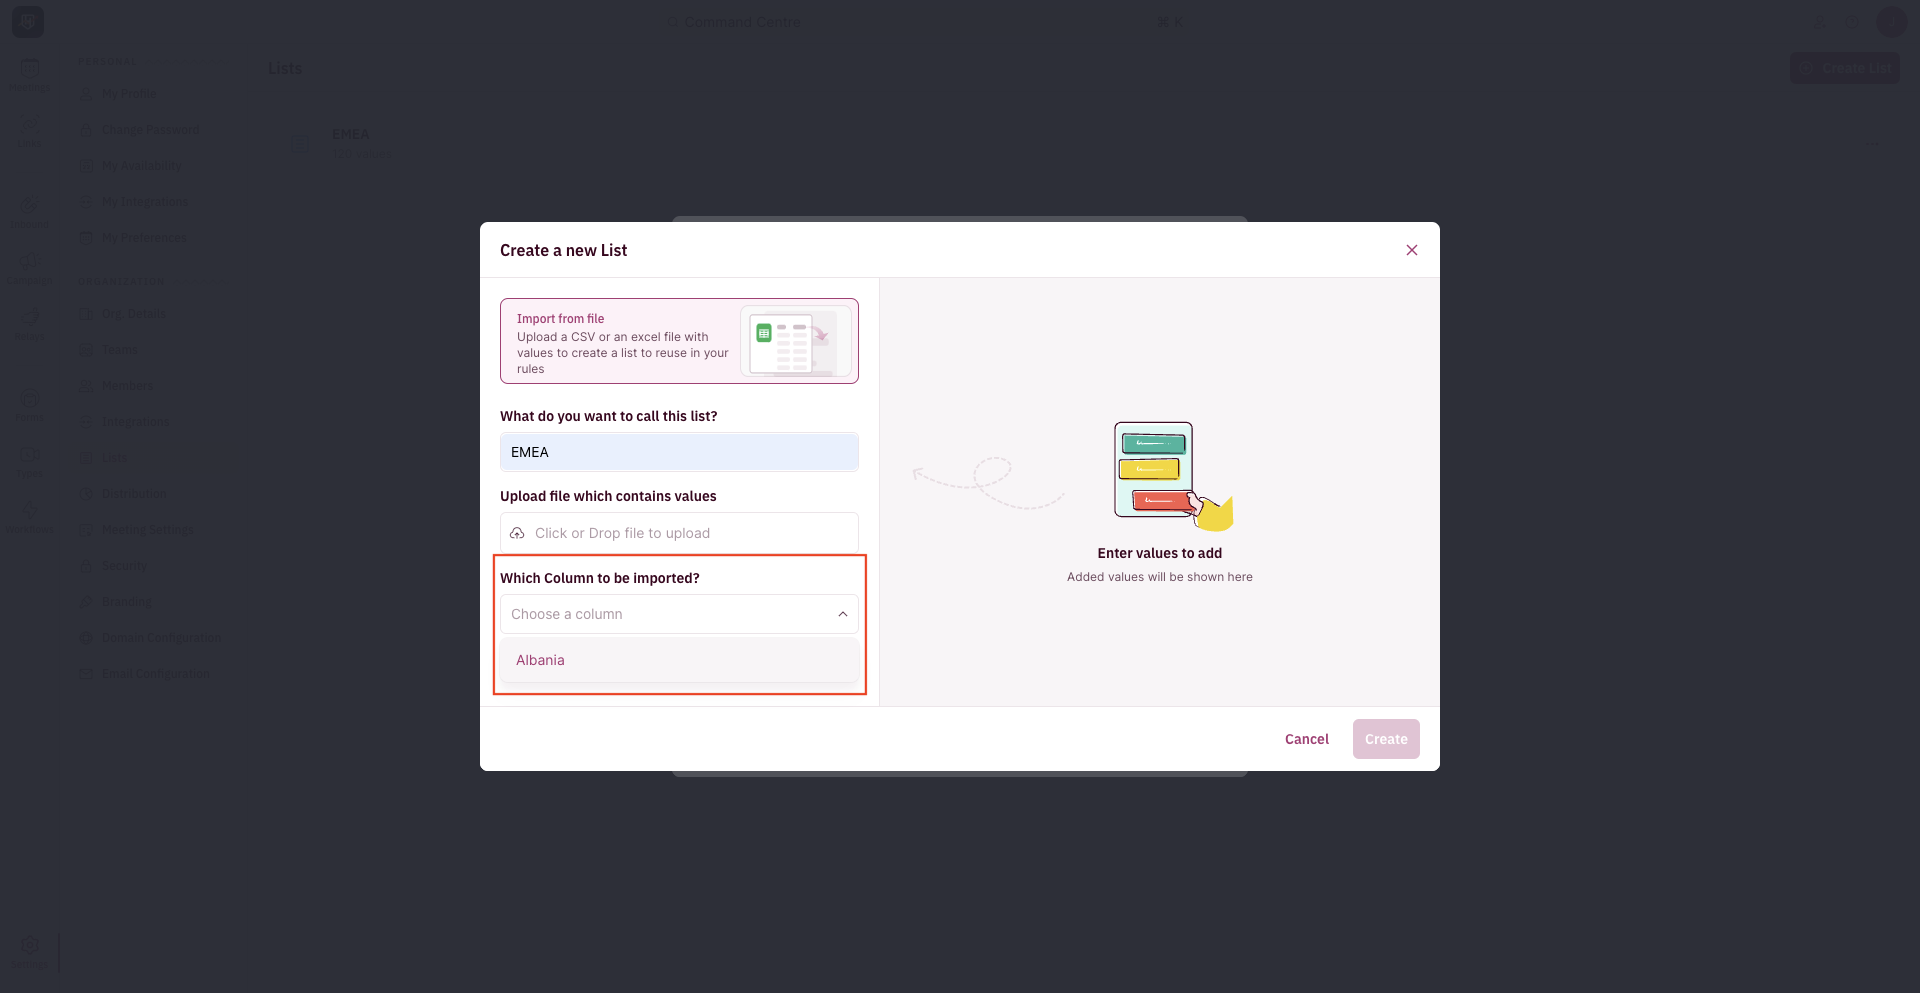 4. Ensure that the values are the ones to be added from the preview.
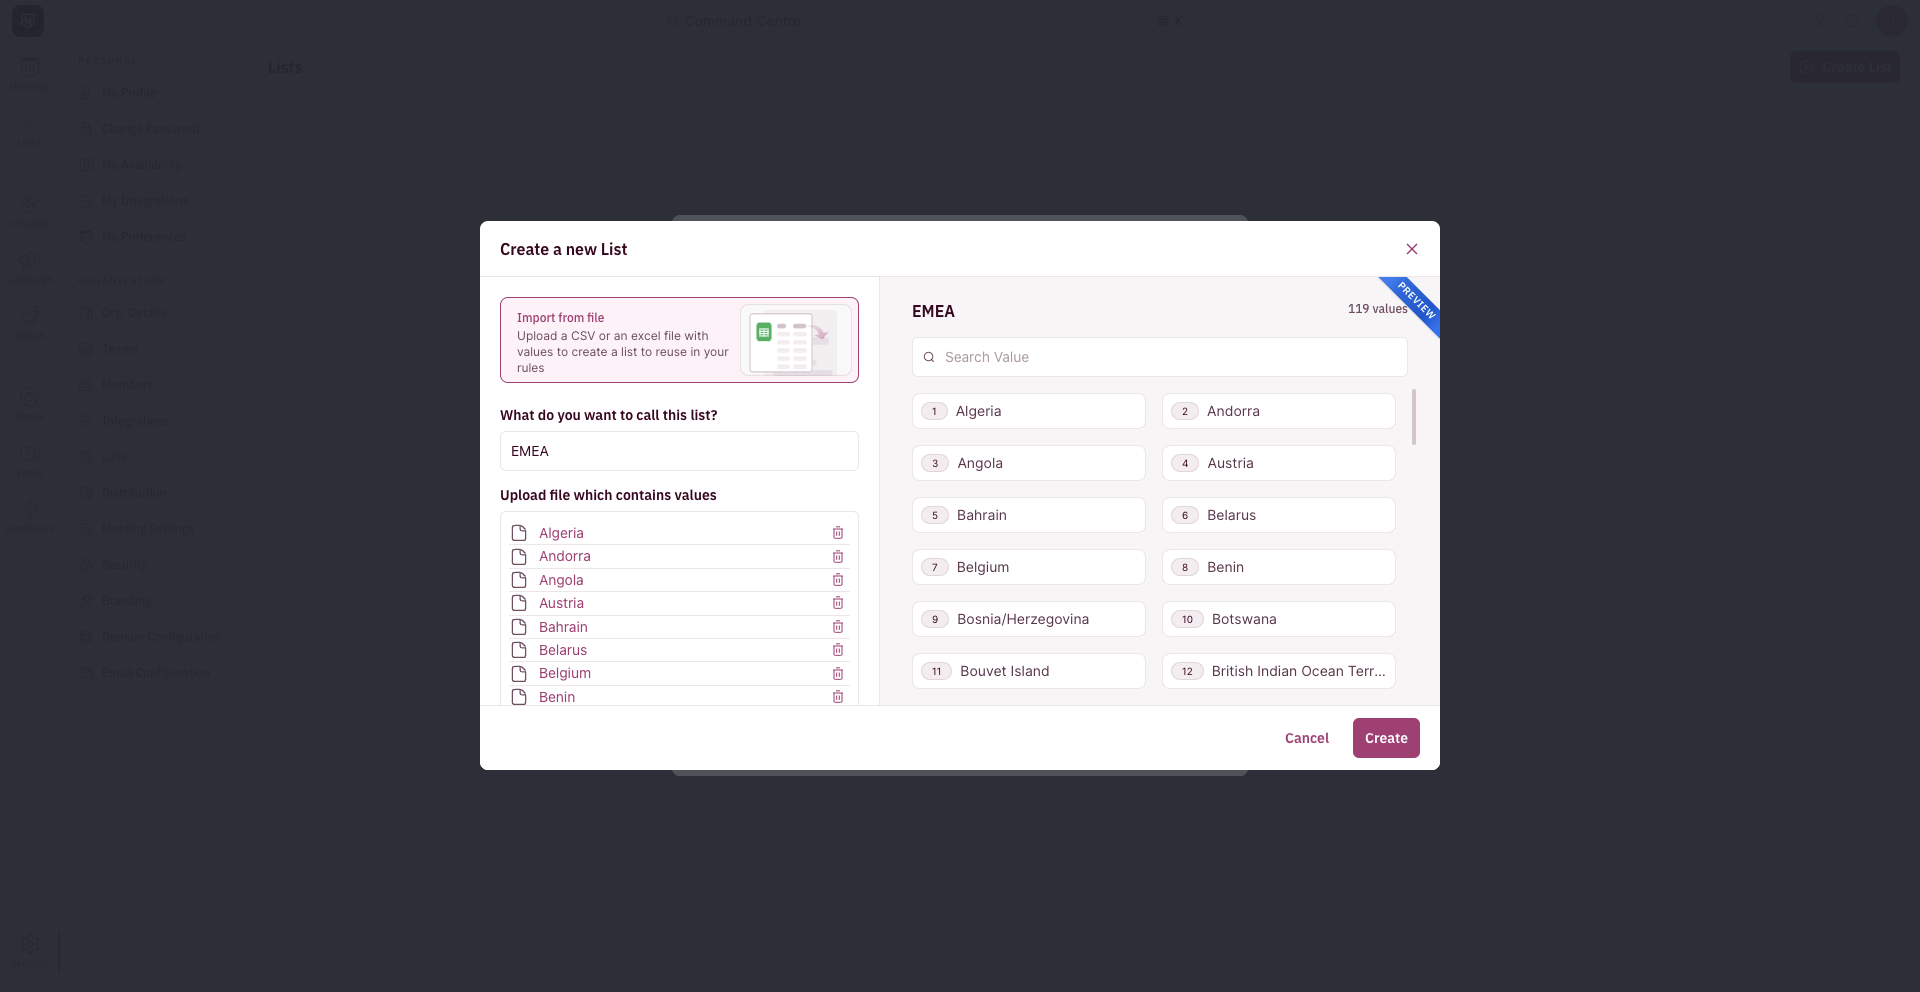 1. Enter the name for the list.
2. Pick the object from which you want to pick the field from - Leads, Contacts, Accounts/Company.
3. Pick the field from the list.
4. Select the values you would like to add to the list.
1. Enter the name for the list.
2. Pick the Enrichment data set from the options.
1. Enter the name for the list.
2. Pick the object from which you want to pick the field from - Leads, Contacts, Accounts/Company.
3. Pick the field from the list.
4. Select the values you would like to add to the list.
1. Enter the name for the list.
2. Pick the Enrichment data set from the options.
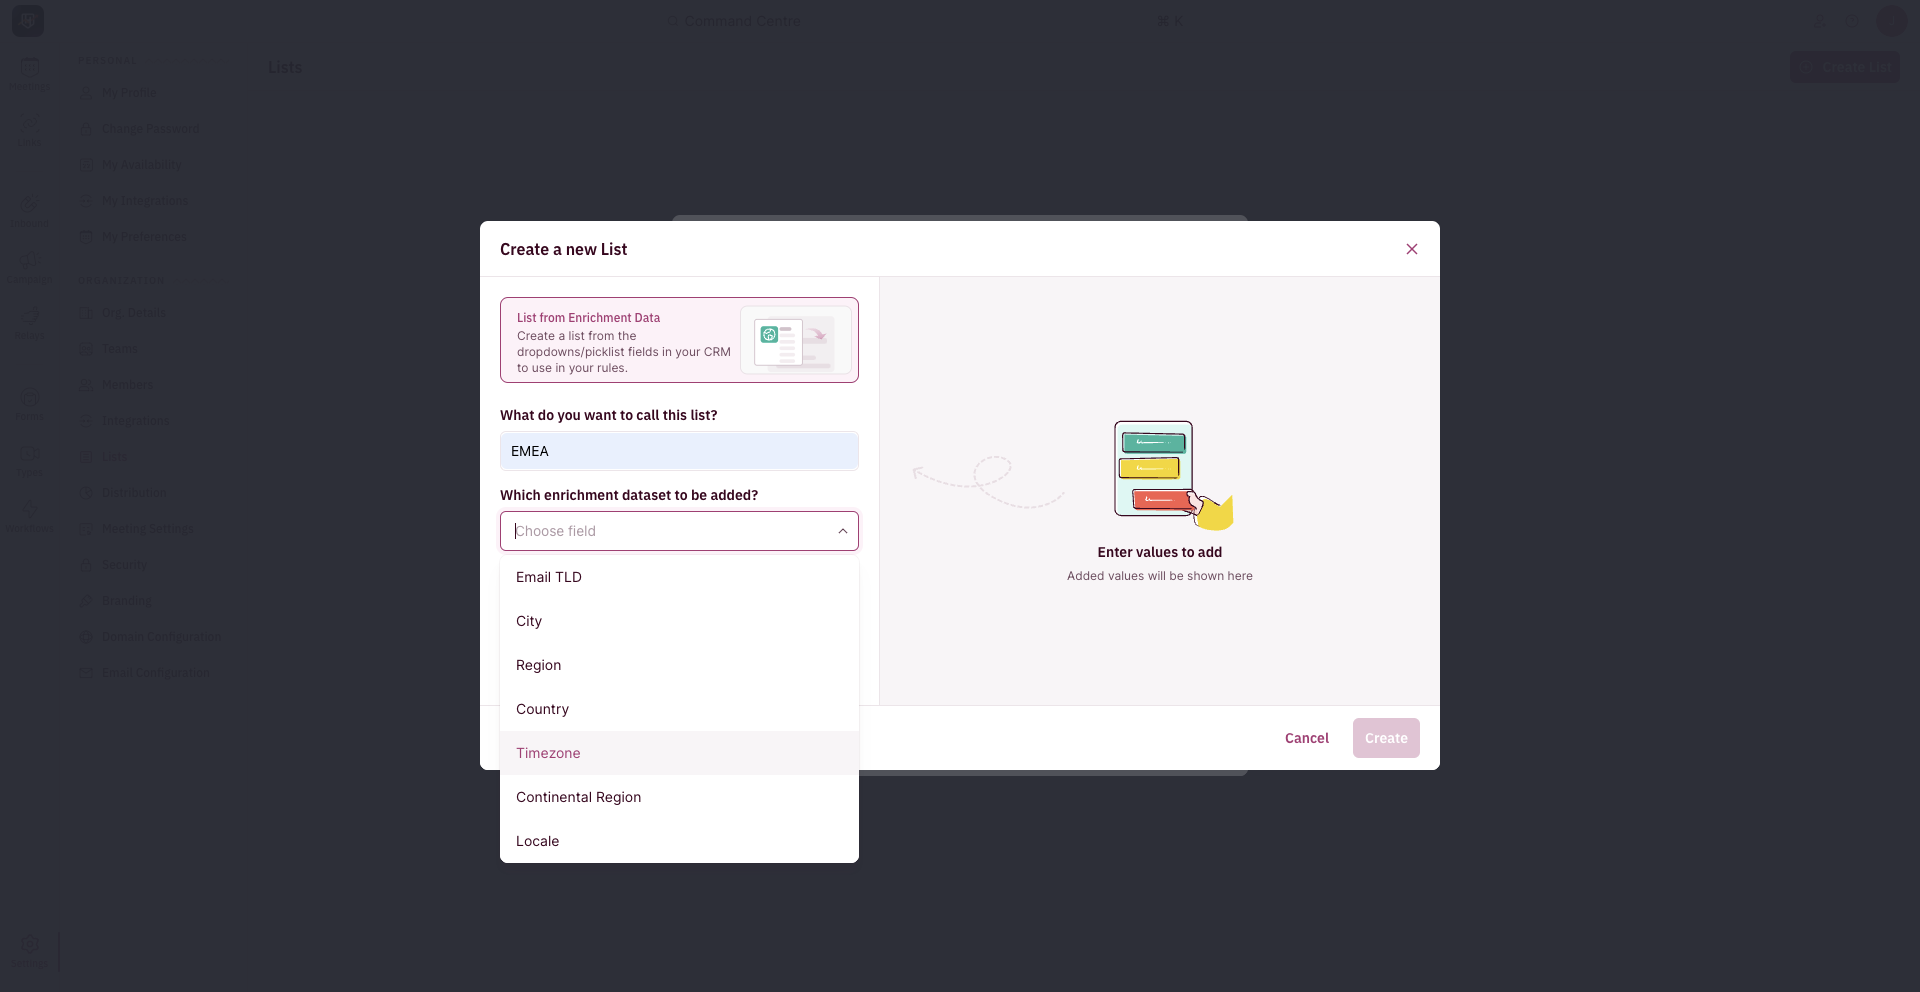 3.Choose the specific values you would like to add to the list.
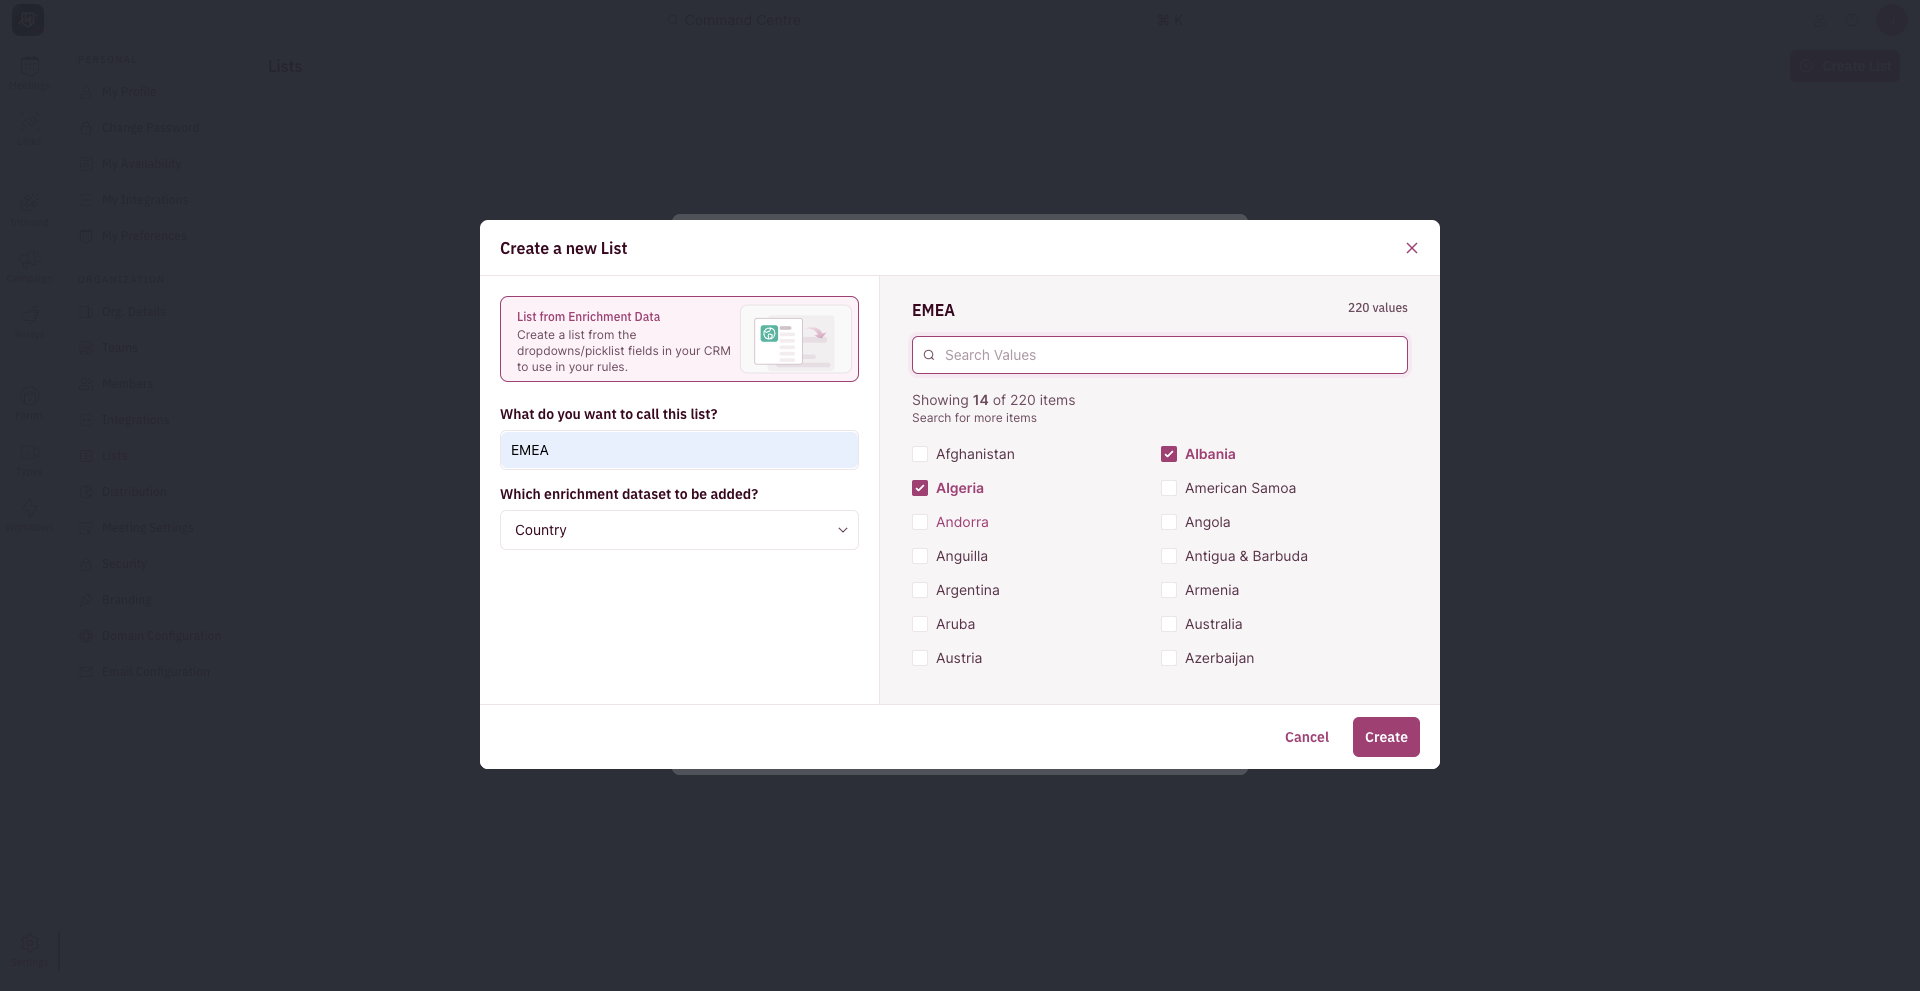 Once the list has been created, you can add it to the routing logic.
3. Select the rule you'd like to add the list to and pick the field you want to match against the list.
Once the list has been created, you can add it to the routing logic.
3. Select the rule you'd like to add the list to and pick the field you want to match against the list.
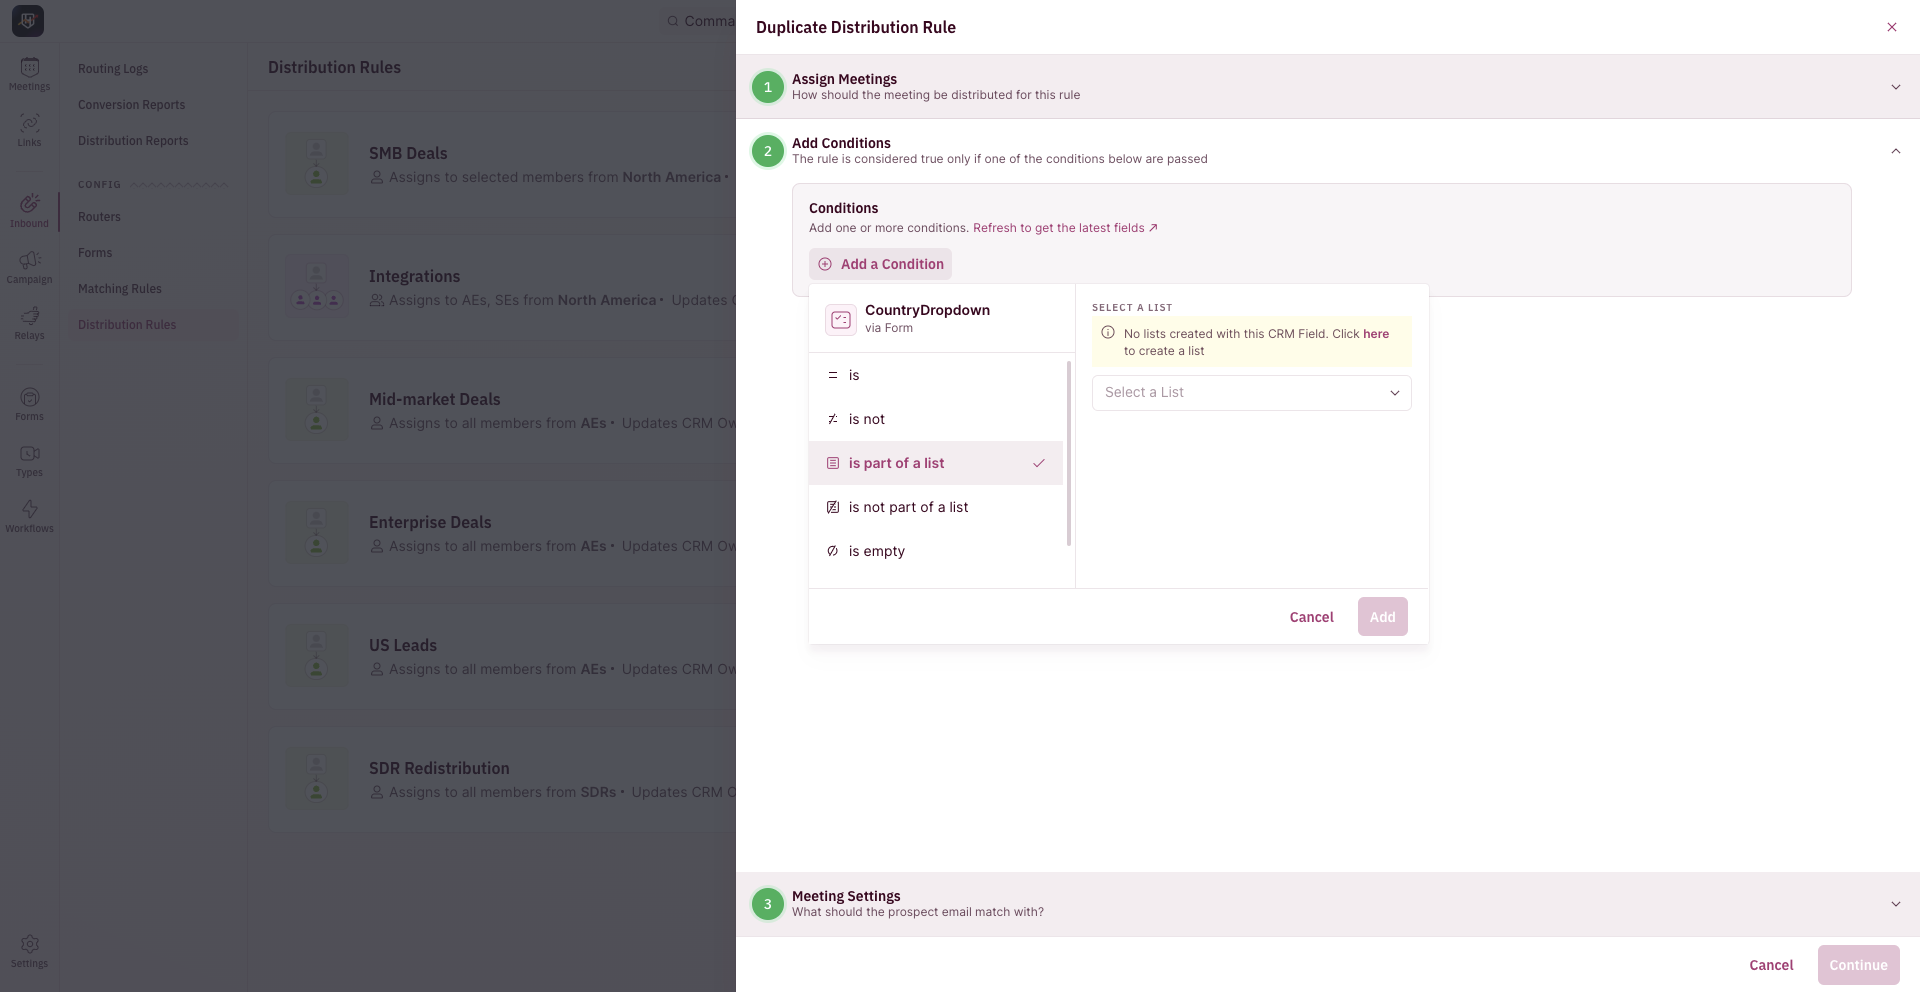 4. Select the list and choose between **is part of a list** or **is not part of a list**.
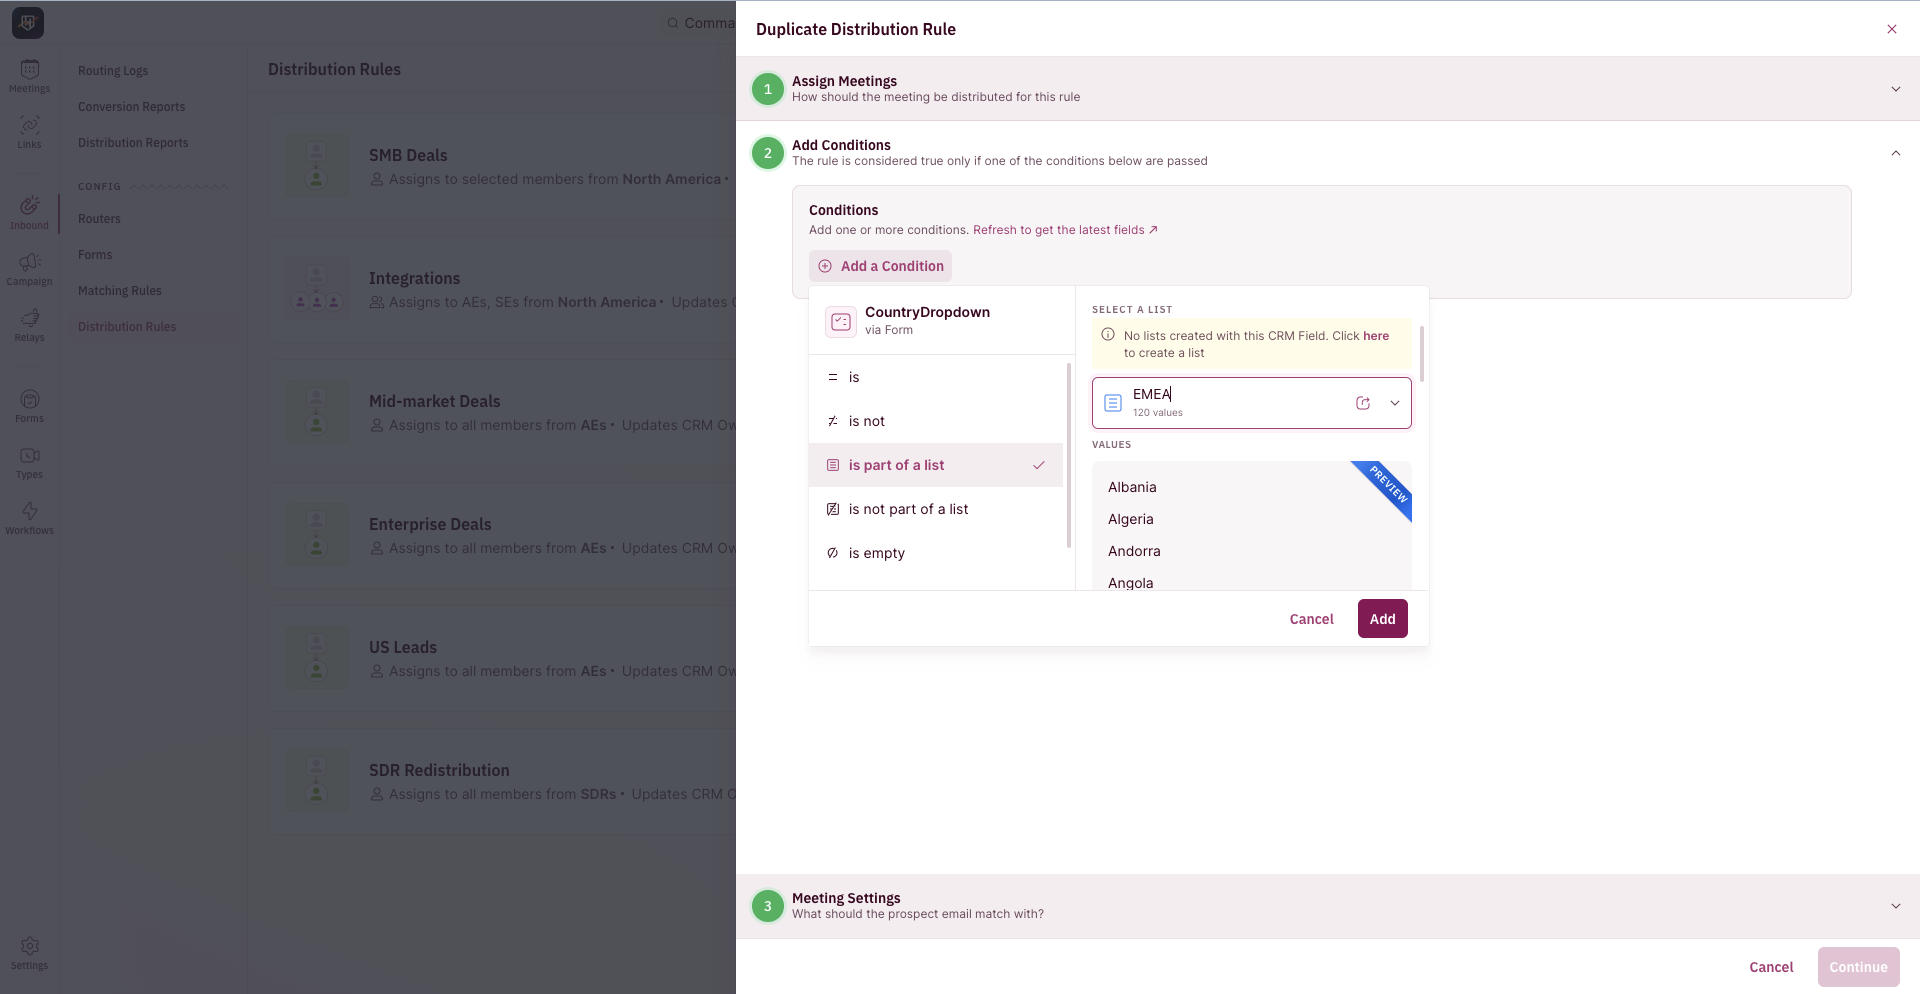 5. You're all set!