> ## Documentation Index
> Fetch the complete documentation index at: https://help.revenuehero.io/llms.txt
> Use this file to discover all available pages before exploring further.

# How to integrate RevenueHero with your Intercom widget?

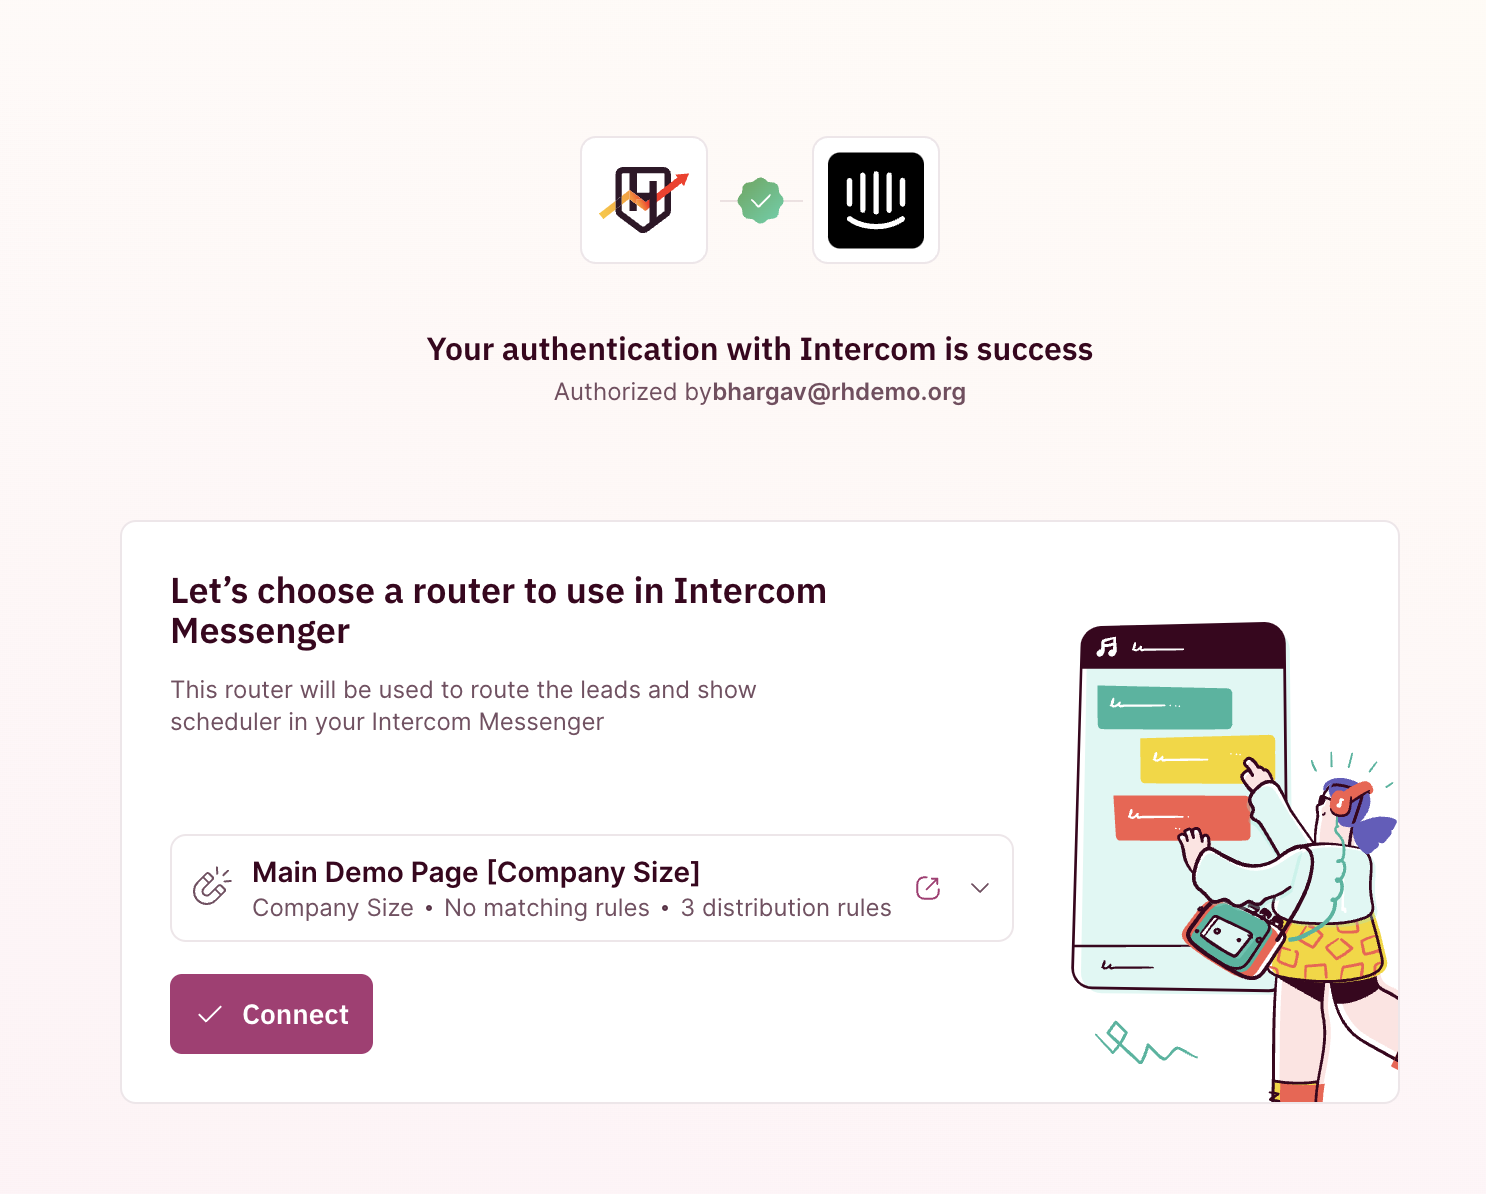
> Integrate RevenueHero's scheduler with your Intercom widget in 6 simple steps

<Note>
  **NOTE**

  You’ll need admin access in RevenueHero to set up the Intercom integration with RevenueHero.
</Note>

### RevenueHero setup

1. [Set up a new router](/routers/inbound/create-inbound-router) in RevenueHero, maybe with a distribution rule that checks whether the **email is not empty** and assigns the meeting to the team that should get the meetings coming in through RevenueHero.

2. Share the Router ID with the RevenueHero team. (This is to enable contact creation in your CRM for new contacts who book meetings through Intercom and might not be part of your CRM yet).

### Intercom setup

1. Login into your Intercom account.

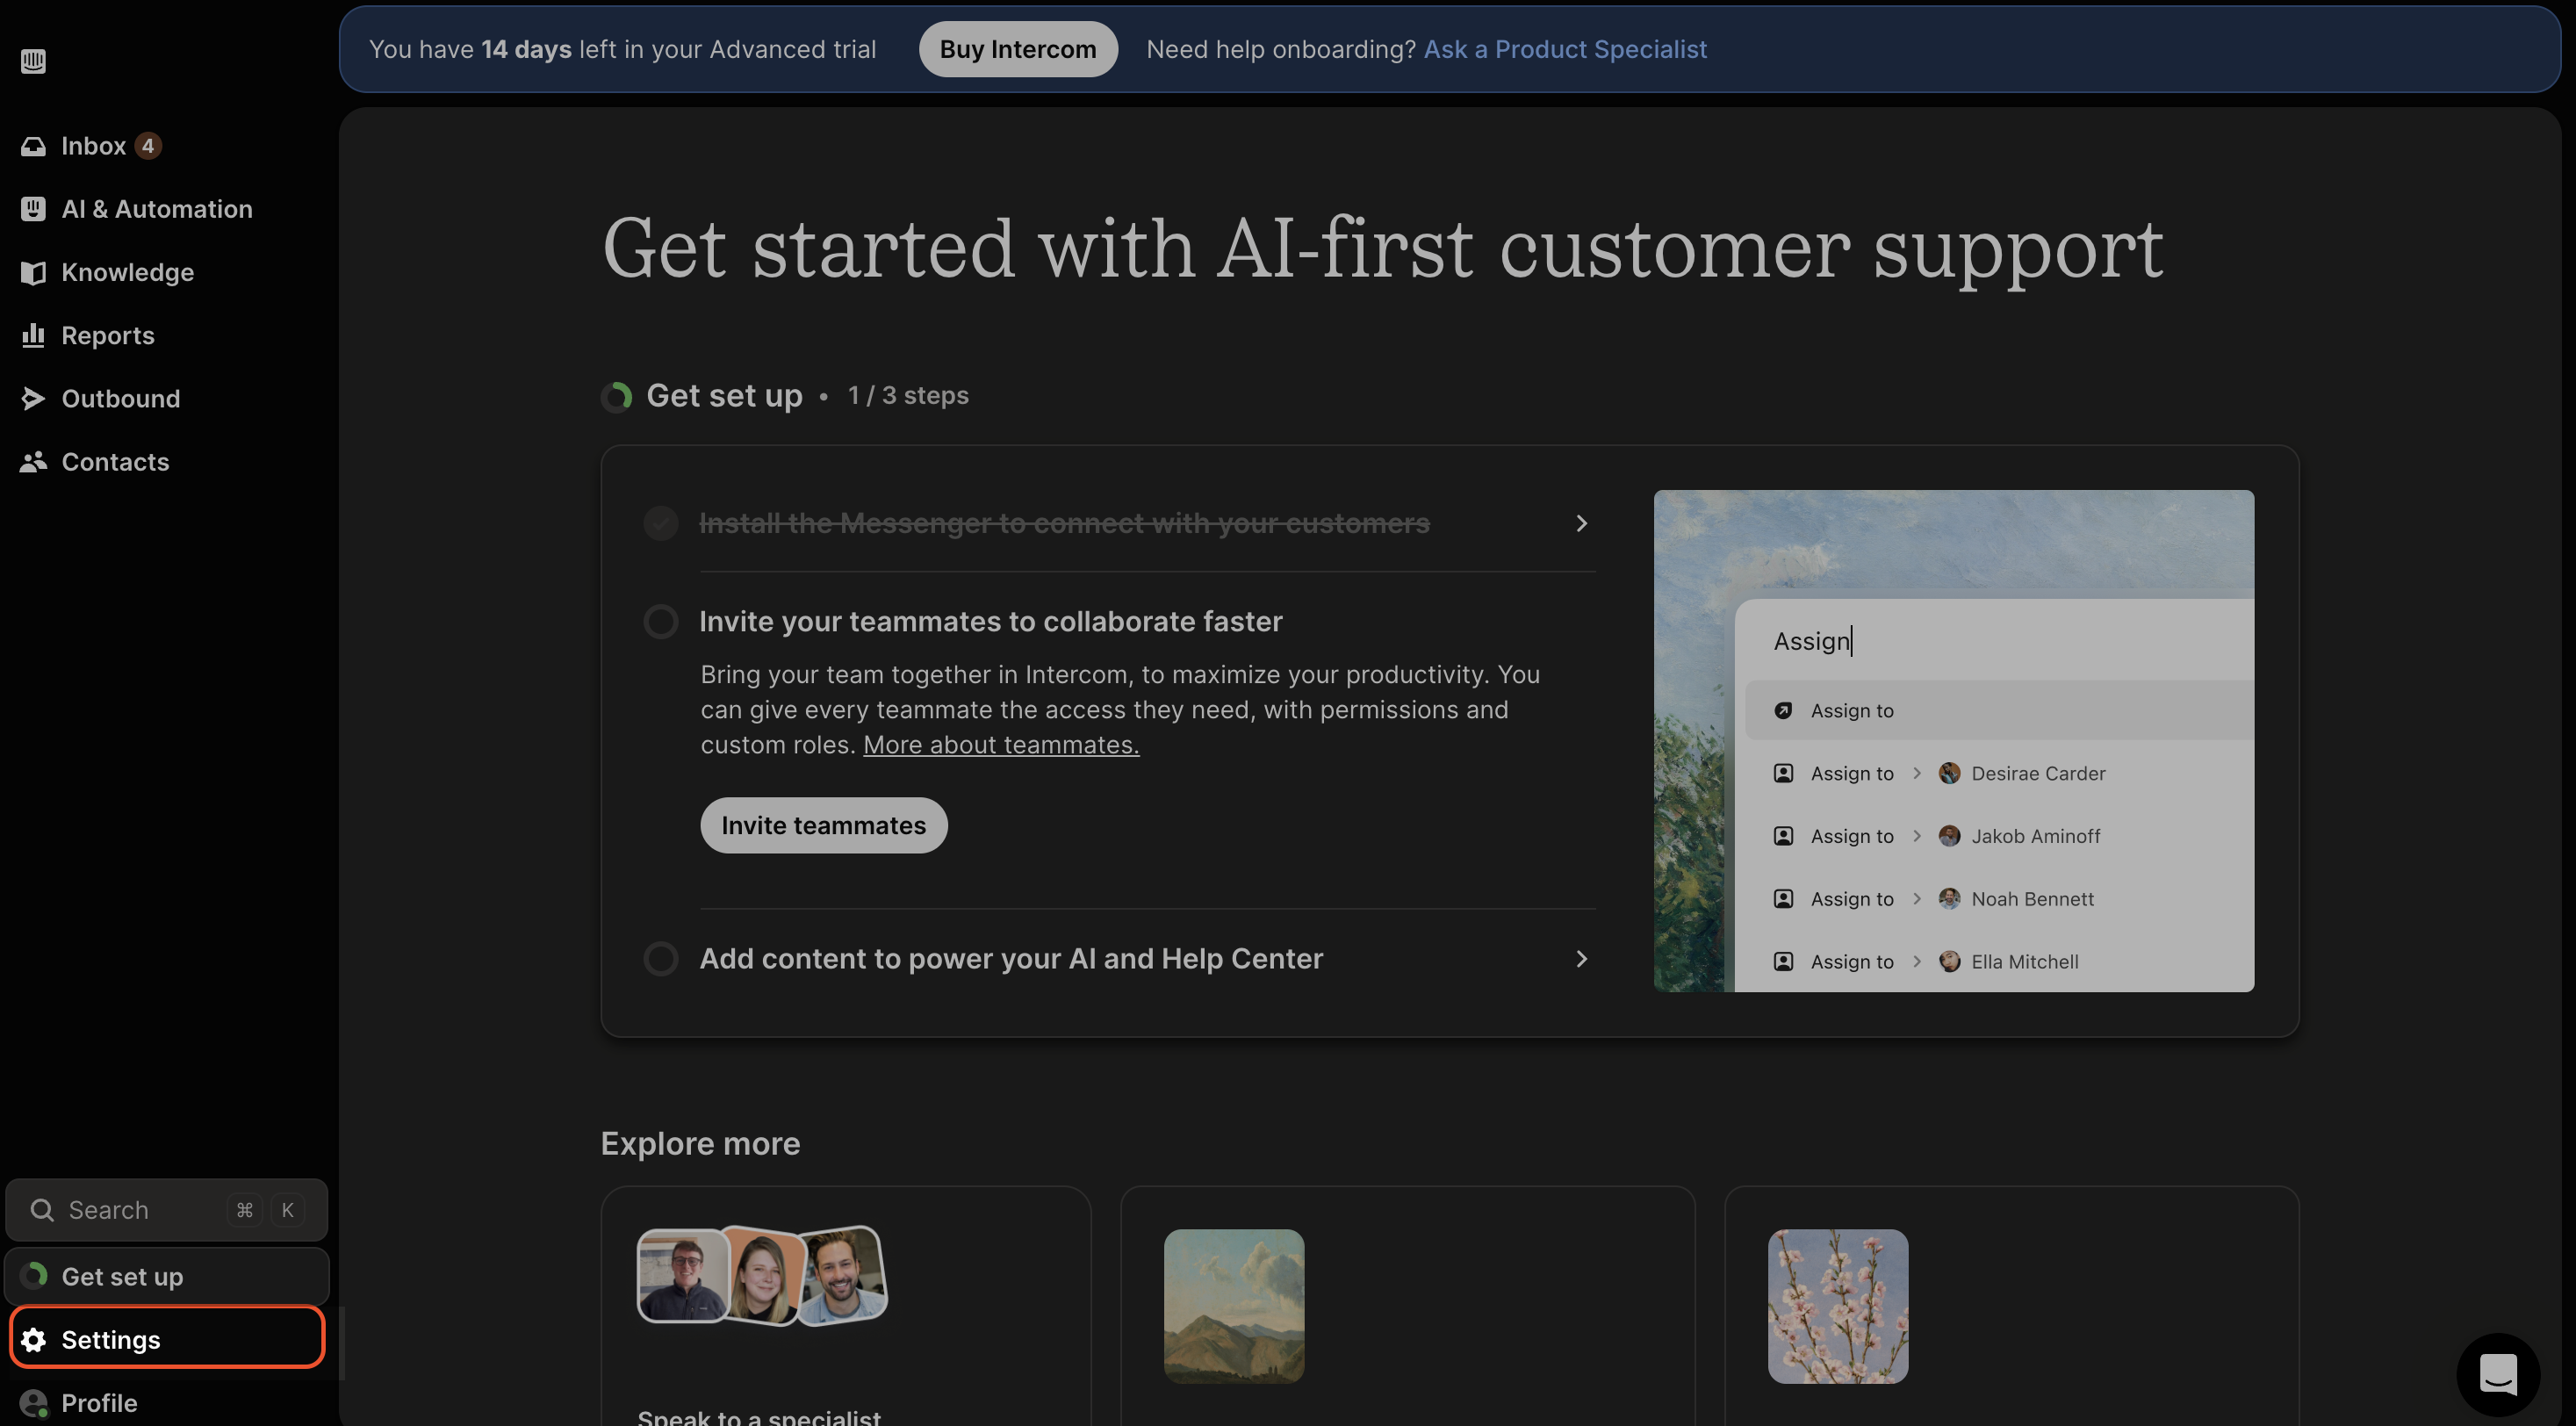
2. Open [https://developers.intercom.com](https://developers.intercom.com) in a new tab.

3. Click on **Your apps**.

   <Frame>
     <img src="https://mintcdn.com/revenuehero/YhChfmixKdN8nX7J/images/intercom_1.png?fit=max&auto=format&n=YhChfmixKdN8nX7J&q=85&s=1f9b242e86c608657cc58883f185cdb2" width="2934" height="1624" data-path="images/intercom_1.png" />
   </Frame>

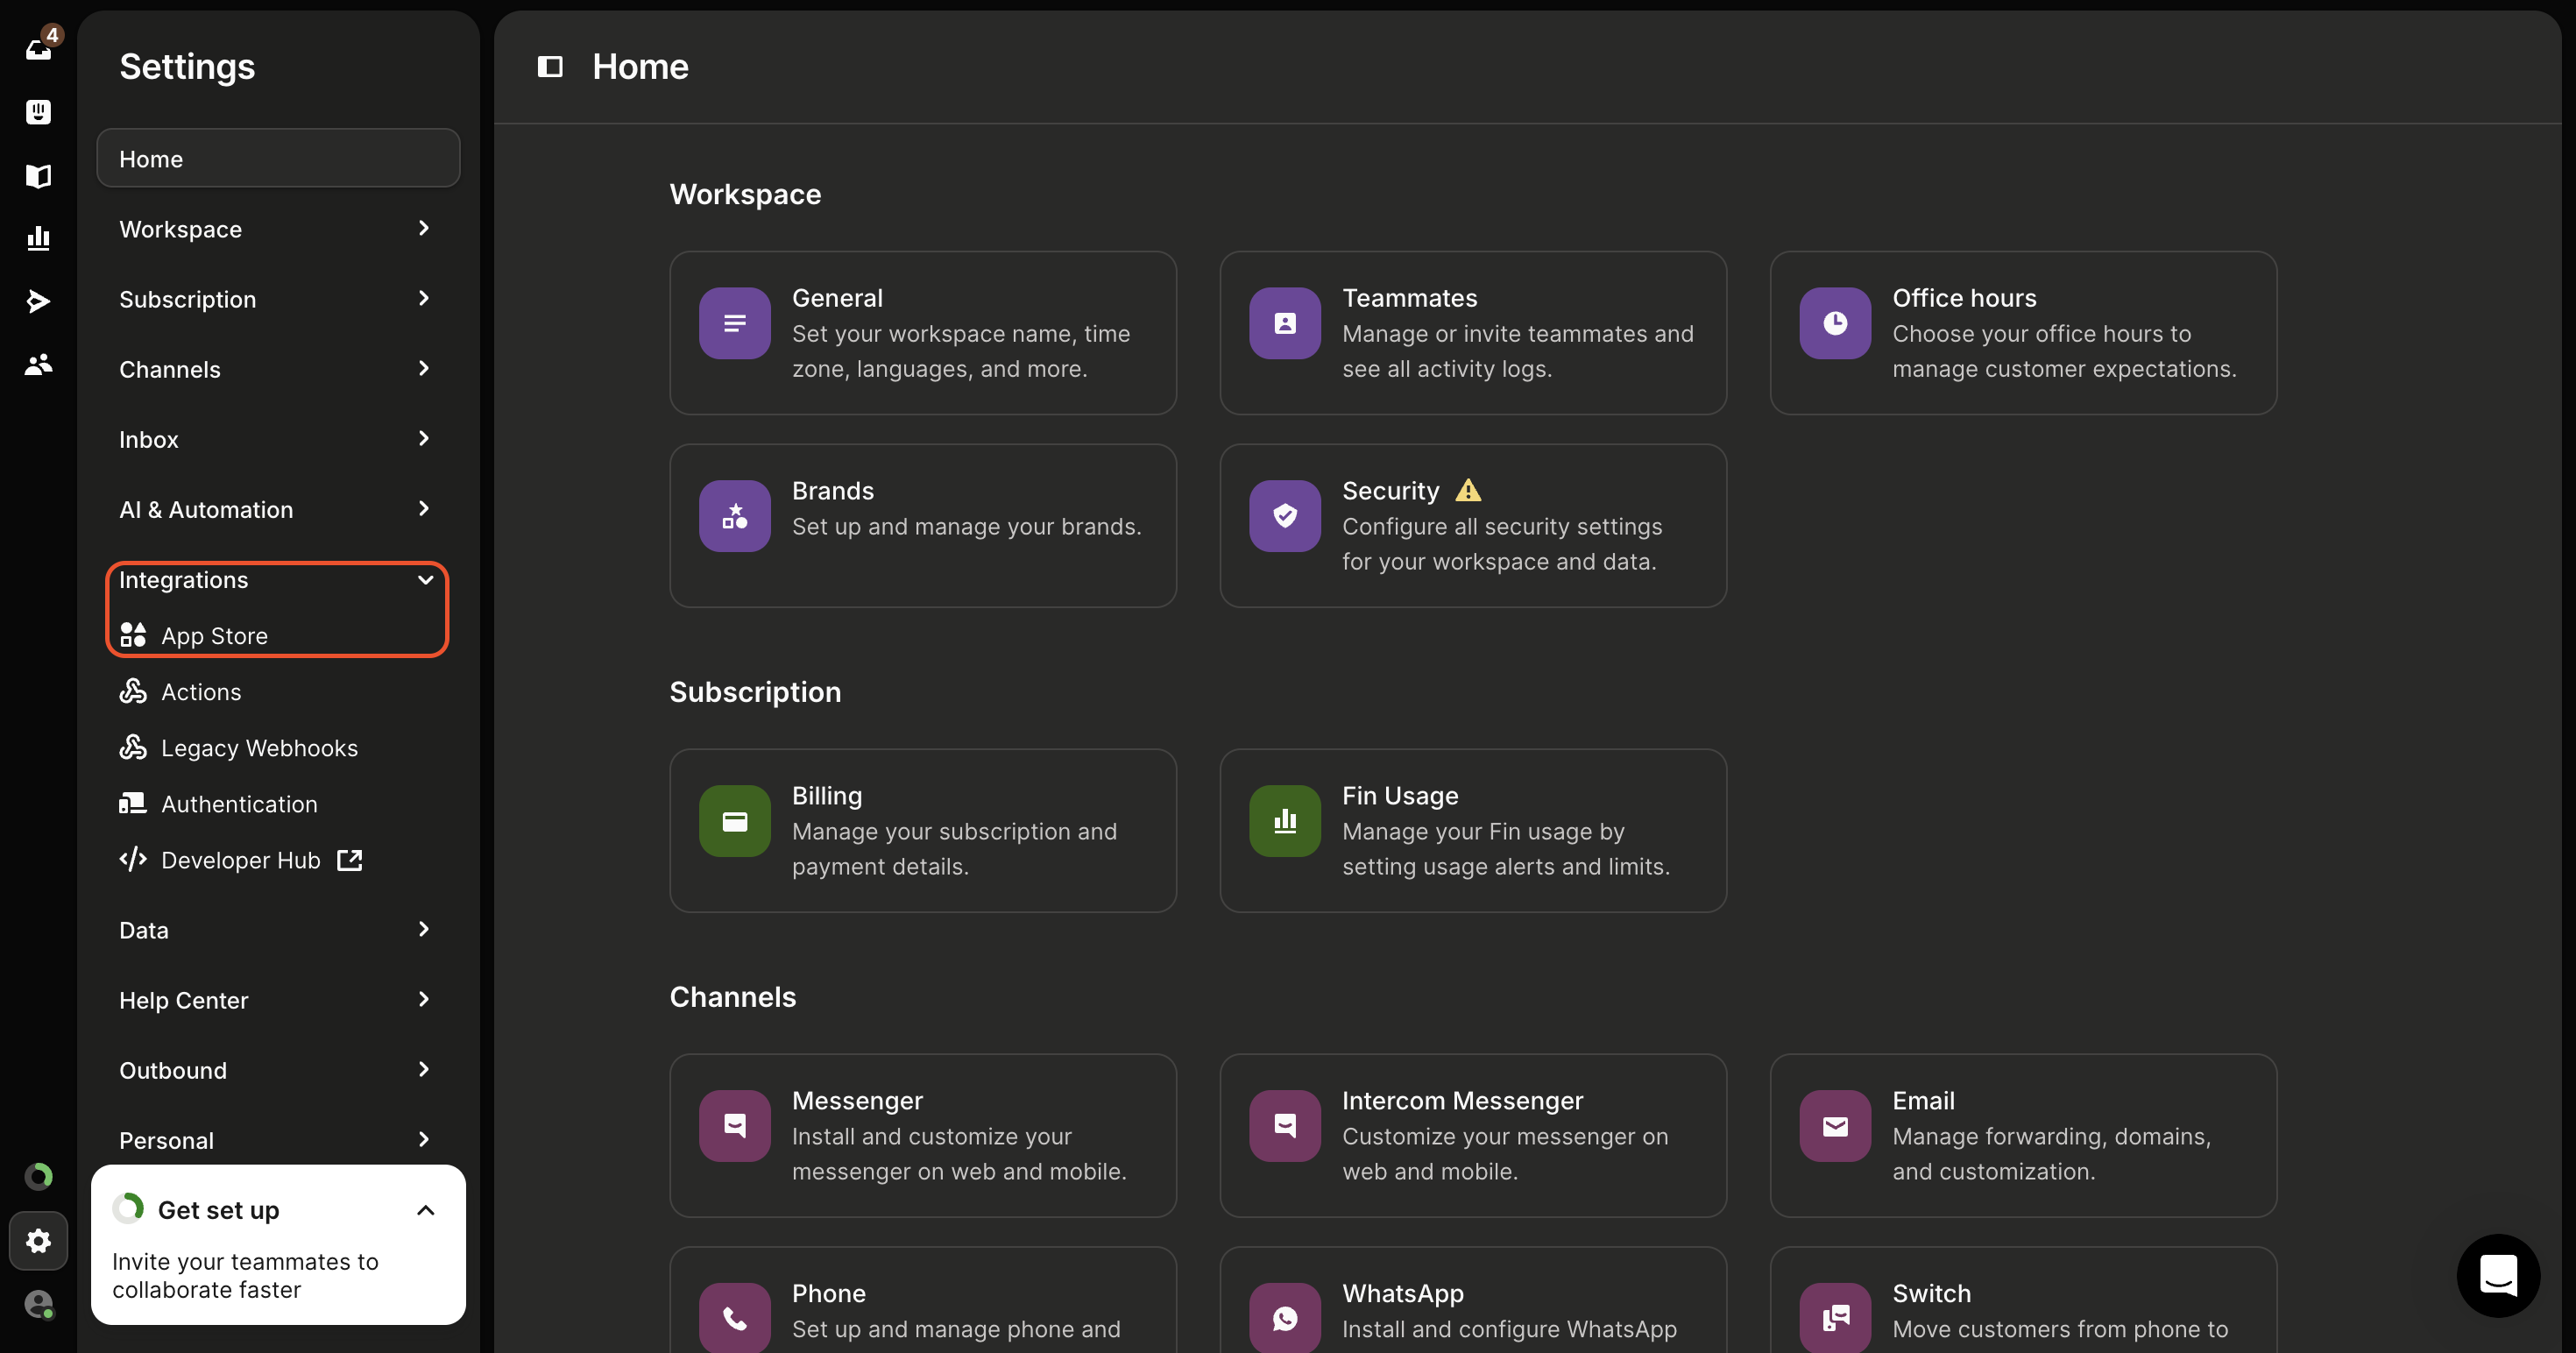
4. In the list of apps, click on **New app** to create a custom app and click on **Create app**.
   <Frame>
     <img src="https://mintcdn.com/revenuehero/YhChfmixKdN8nX7J/images/intercom_2.png?fit=max&auto=format&n=YhChfmixKdN8nX7J&q=85&s=a7567a5bdff828f4bfca8d5aeb383d40" width="2940" height="1544" data-path="images/intercom_2.png" />
   </Frame>

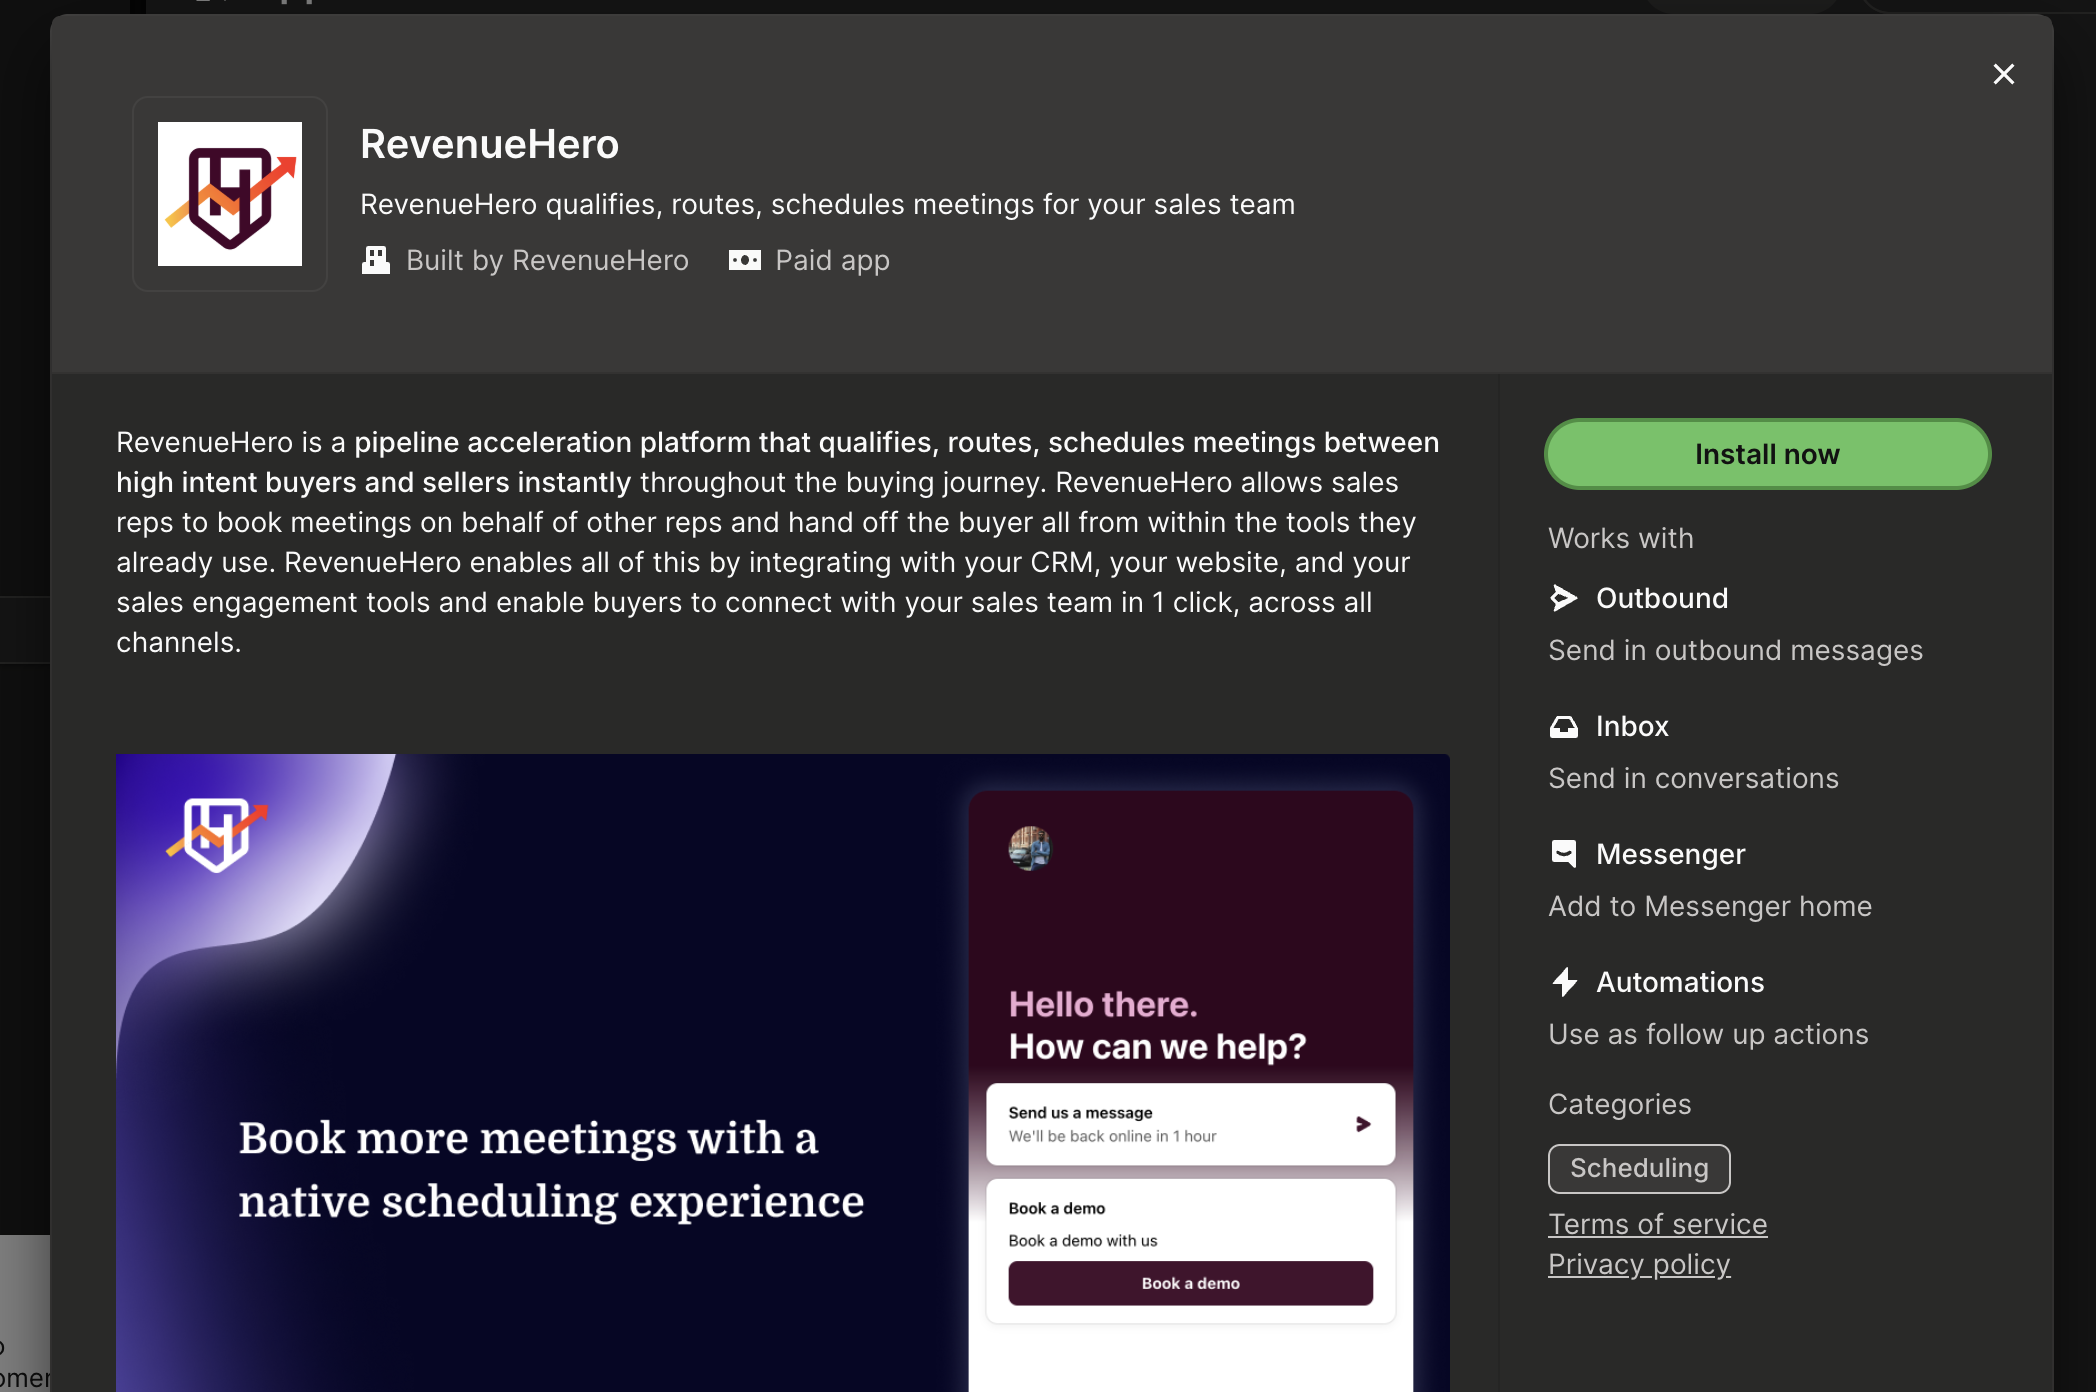
5. In the configure section in the app, click on **Canvas kit**.

   * Under **Configure app capabilities**, click on **For users, leads and visitors**.
   * In the locations where you would like RevenueHero displayed, choose **Messenger**.
   <Frame>
     <img src="https://mintcdn.com/revenuehero/YhChfmixKdN8nX7J/images/intercom_3.png?fit=max&auto=format&n=YhChfmixKdN8nX7J&q=85&s=ce8b423db13d50dfa9f357ba61c9768b" width="2096" height="1392" data-path="images/intercom_3.png" />
   </Frame>

6. In the Webhook URLs, paste the following and save --

   * Under **Initialise**
     <p>`https://intercom-three.vercel.app/api/initialize/{{rh-router-id}}`</p>

   <Note>
     **NOTE**

     Replace `{{rh-router-id}}` with your actual Router ID from Step #1 of RevenueHero setup
   </Note>

   * Under **Submit flow webhook URL**
     <p>`https://intercom-three.vercel.app/api/submit`</p>

   <Frame>
     <img src="https://mintcdn.com/revenuehero/YhChfmixKdN8nX7J/images/intercom_4.png?fit=max&auto=format&n=YhChfmixKdN8nX7J&q=85&s=e6cd4c064e7ba74816e1ea25a720bf69" width="1486" height="1194" data-path="images/intercom_4.png" />
   </Frame>

7. The Router ID in the URL determines which team’s availabilities are shown in the scheduler.

That’s it! Your Intercom integration is set up. 🎉🎉🎉

Take it out for a spin by doing a test submit and checking your routing logs to see if it works as intended.