> ## Documentation Index
> Fetch the complete documentation index at: https://help.revenuehero.io/llms.txt
> Use this file to discover all available pages before exploring further.
# How to create a Workflow?
> Creating a Workflow is simple and easy. It's just 4 steps, and this article walks you through each step in detail.
## Steps to create a Workflow
### Navigate to Workflows
1. To create a Workflow, use the side nav bar and click on **Workflows**
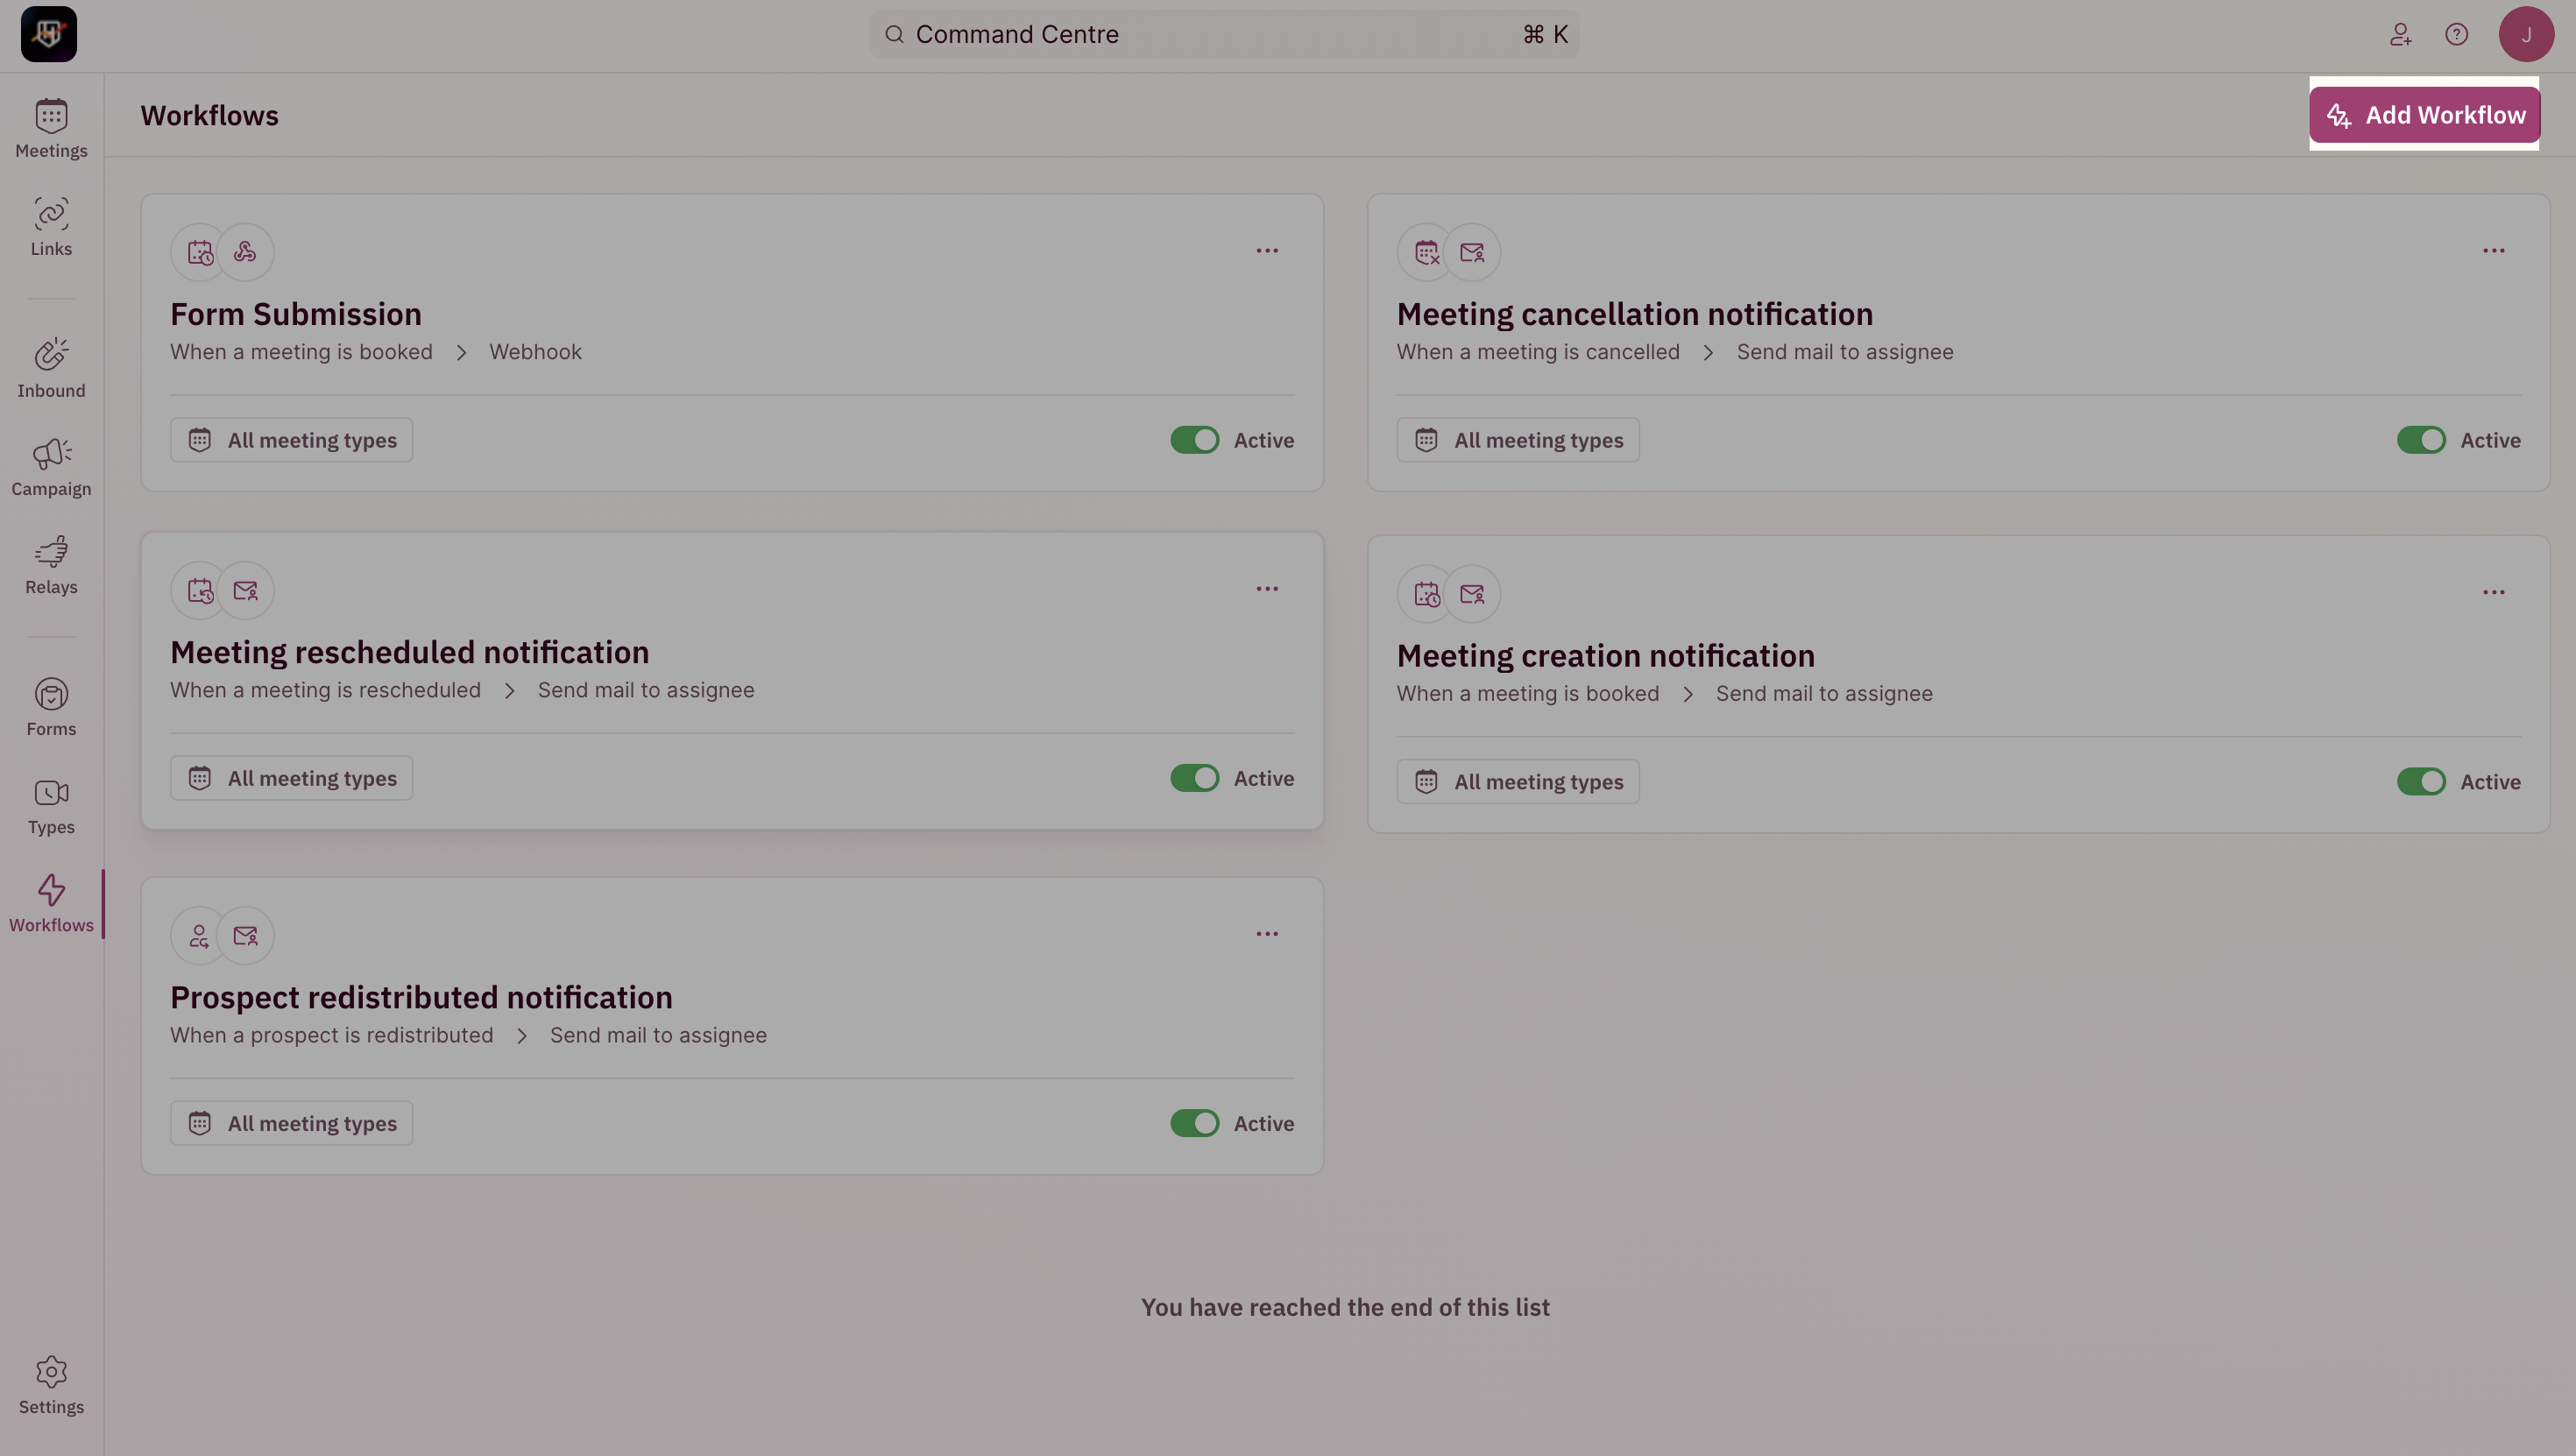
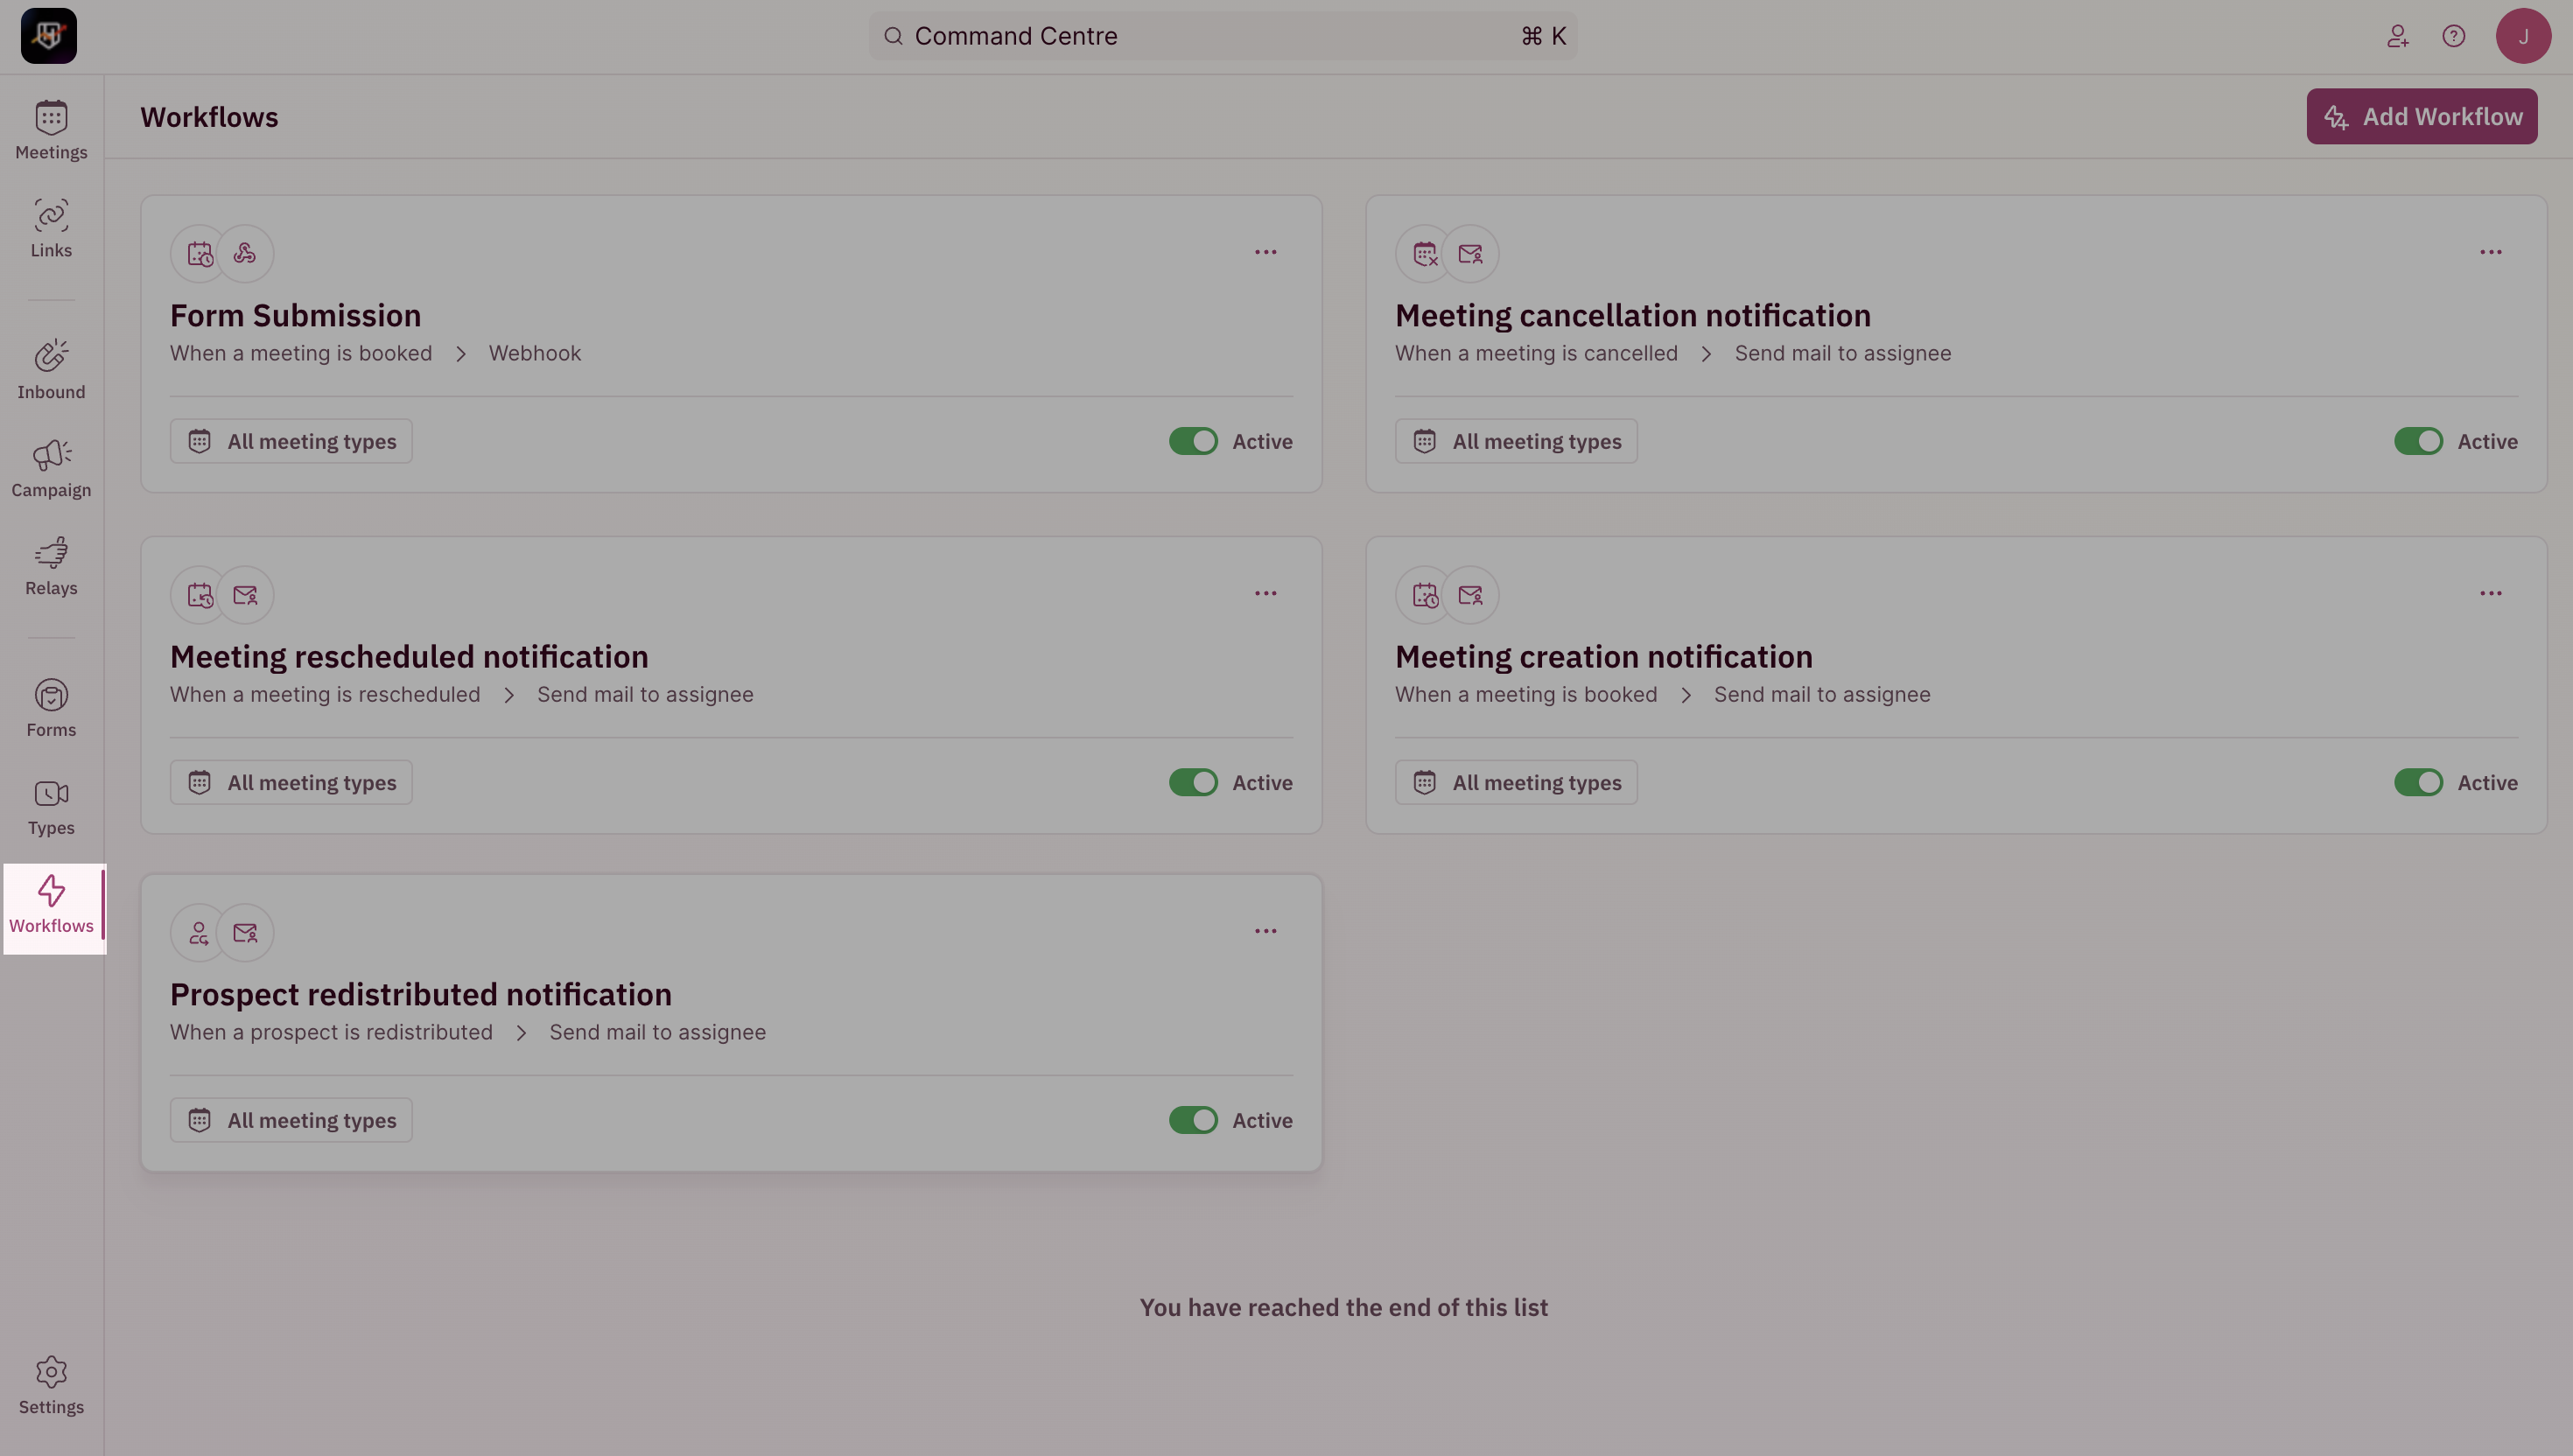 2. Once you're inside the Workflows page, click on the **Add Workflow** button.
 The first step in creating your Workflow is to choose the trigger that will run the workflow
***
### Select Trigger
The first step in creating your Workflow is to choose the trigger that will run the workflow
***
### Select Trigger
 For a detailed list of supported triggers, check [here.](/workflows/overview#workflow-trigger)
Once the trigger has been selected, you'll see a slide-out open on the right that shows the selected trigger. The next step would be to choose the Meeting Types to restrict this workflow to run on
***
### Select applicable Meeting Types
While selecting the Meeting Types to restrict the workflow to run on, you can either choose the workflow to run for **All Meeting Types** or for **Selected Meeting Types** to choose the subset of Meeting Types.
For a detailed list of supported triggers, check [here.](/workflows/overview#workflow-trigger)
Once the trigger has been selected, you'll see a slide-out open on the right that shows the selected trigger. The next step would be to choose the Meeting Types to restrict this workflow to run on
***
### Select applicable Meeting Types
While selecting the Meeting Types to restrict the workflow to run on, you can either choose the workflow to run for **All Meeting Types** or for **Selected Meeting Types** to choose the subset of Meeting Types.
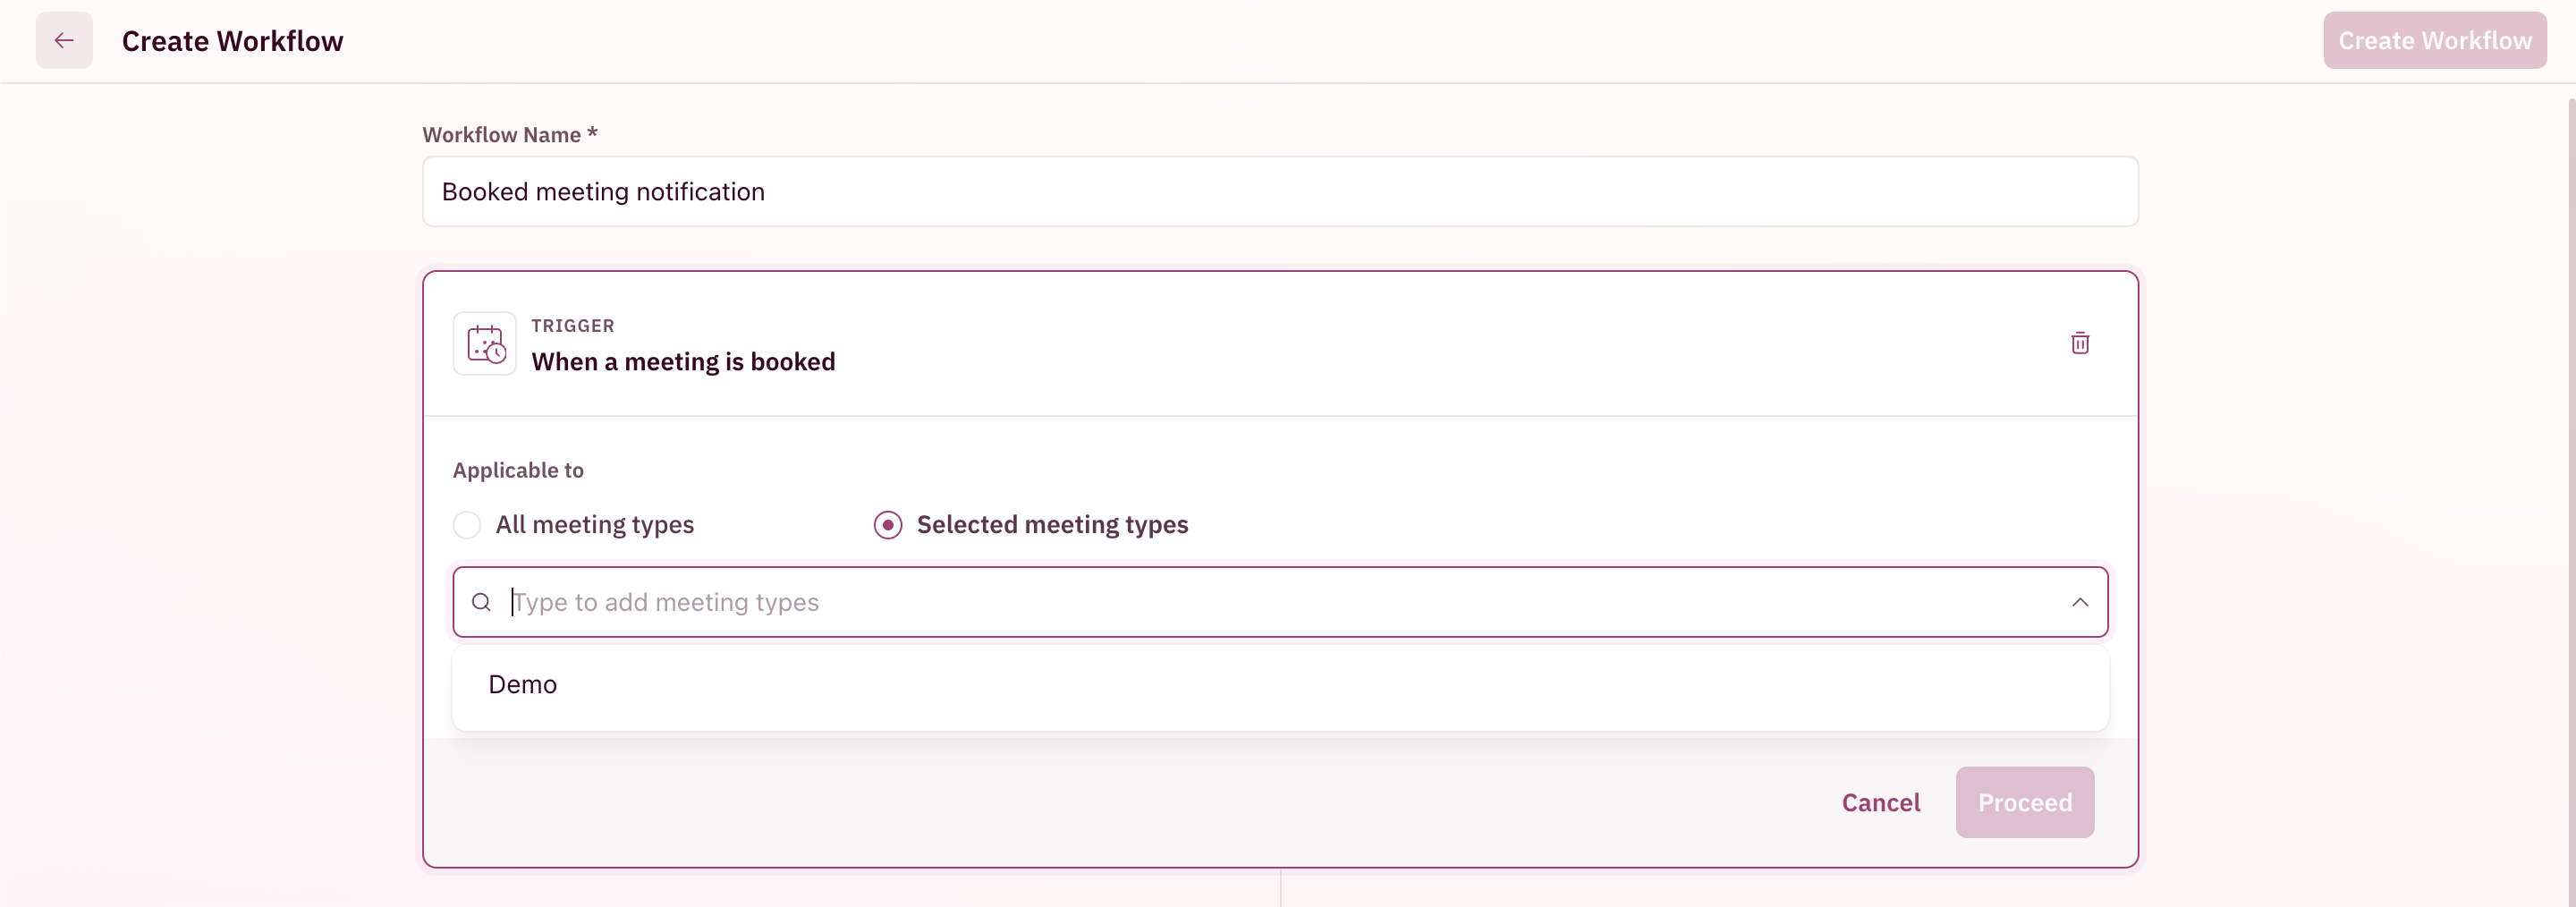
Once the applicable Meeting Type setting has been chosen, click **Proceed** at the bottom right corner. The next step is to configure the action of the workflow i.e. where to send the notification to.
***
### Select Action
Choose to send the notification via Slack to specific channels or via Email to the booker, assignee or specific people.
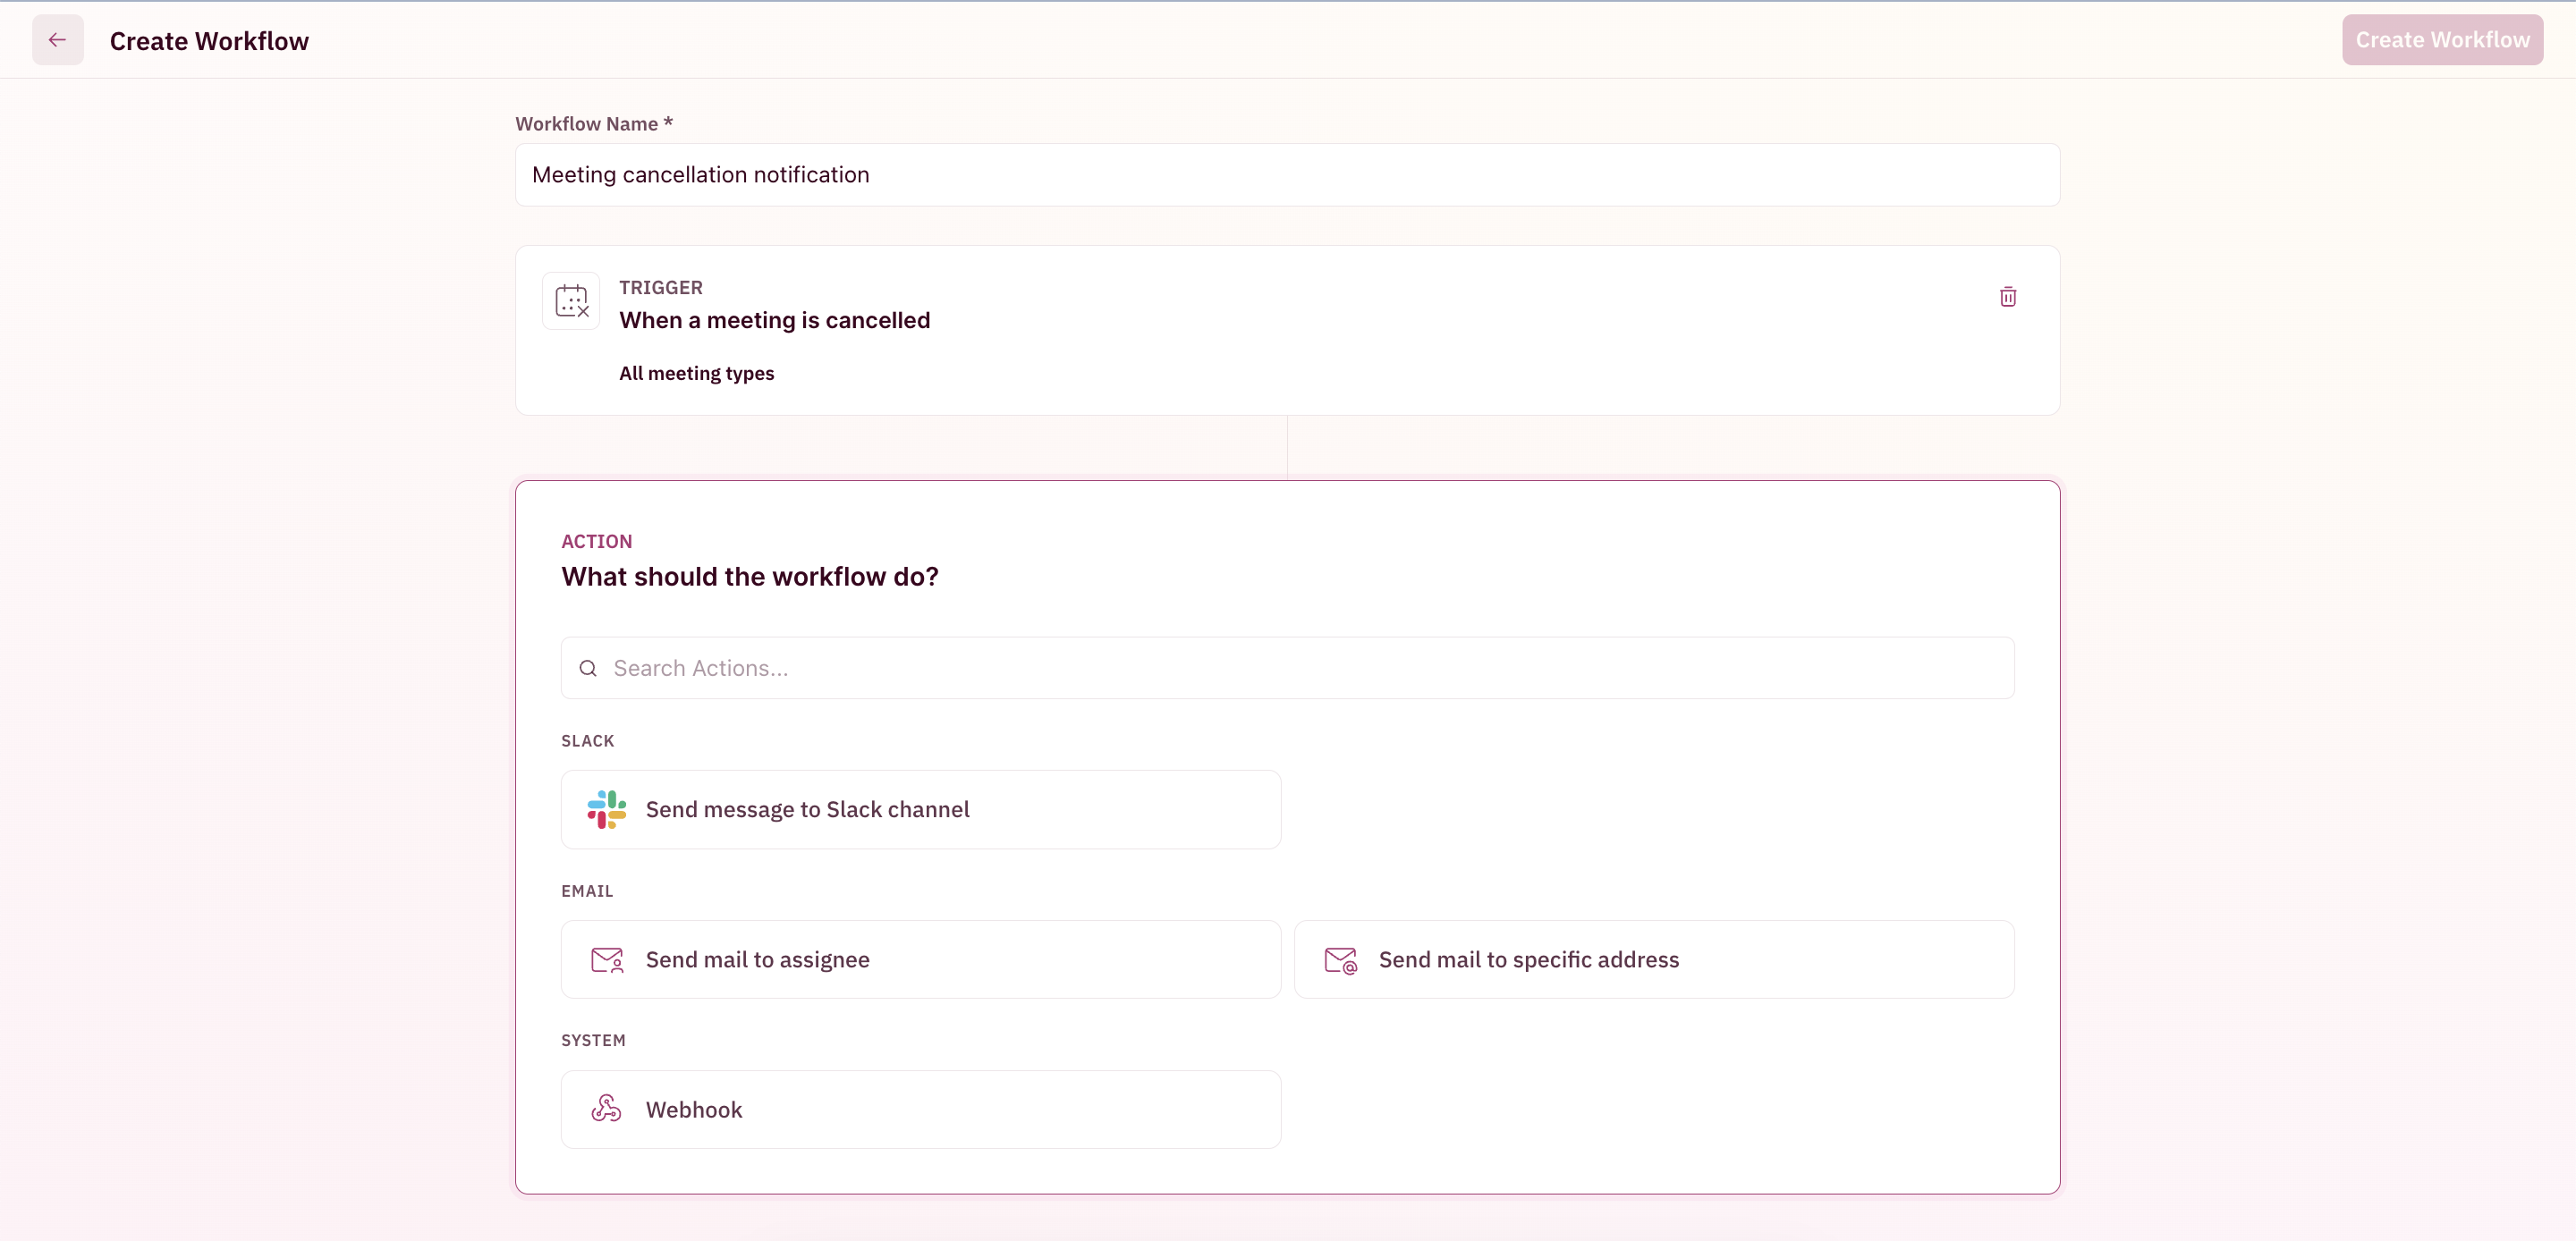 For a detailed list of supported actions for supported triggers, check [here.](/workflows/overview#workflow-action)
After choosing an action, you'll see a slide-out open on the right to configure properties for each action. Each action roughly has the following skeleton that has configurable text with the help of [Placeholders and Info Blocks](/workflows/overview#placeholders-and-info-blocks) and a powerful rich text editor.
Each action comes pre-filled with appropriate title and body based on the trigger to help set it up quickly.
#### Customize Slack message
1. Choose the Slack channel
2. Configure the notification title
3. Configure the notification content
4. Configure placeholders and info blocks if any
5. Choose **Proceed** at the bottom right corner
**NOTE**
When configuring a Slack notification to a channel, please note that the ReveuneHero bot needs to be added to the channel to receive notifications.
For a detailed list of supported actions for supported triggers, check [here.](/workflows/overview#workflow-action)
After choosing an action, you'll see a slide-out open on the right to configure properties for each action. Each action roughly has the following skeleton that has configurable text with the help of [Placeholders and Info Blocks](/workflows/overview#placeholders-and-info-blocks) and a powerful rich text editor.
Each action comes pre-filled with appropriate title and body based on the trigger to help set it up quickly.
#### Customize Slack message
1. Choose the Slack channel
2. Configure the notification title
3. Configure the notification content
4. Configure placeholders and info blocks if any
5. Choose **Proceed** at the bottom right corner
**NOTE**
When configuring a Slack notification to a channel, please note that the ReveuneHero bot needs to be added to the channel to receive notifications.
This can be done by typing **@revenuehero** in the message box of the channel and pressing enter and you should see a confirmation message stating bot has been added to the channel
 #### Customize Email to Assignee message
1. Configure the email subject
2. Configure the email content
3. Configure placeholders and info blocks if any
4. Choose **Proceed** at the bottom right corner
#### Customize Email to Assignee message
1. Configure the email subject
2. Configure the email content
3. Configure placeholders and info blocks if any
4. Choose **Proceed** at the bottom right corner
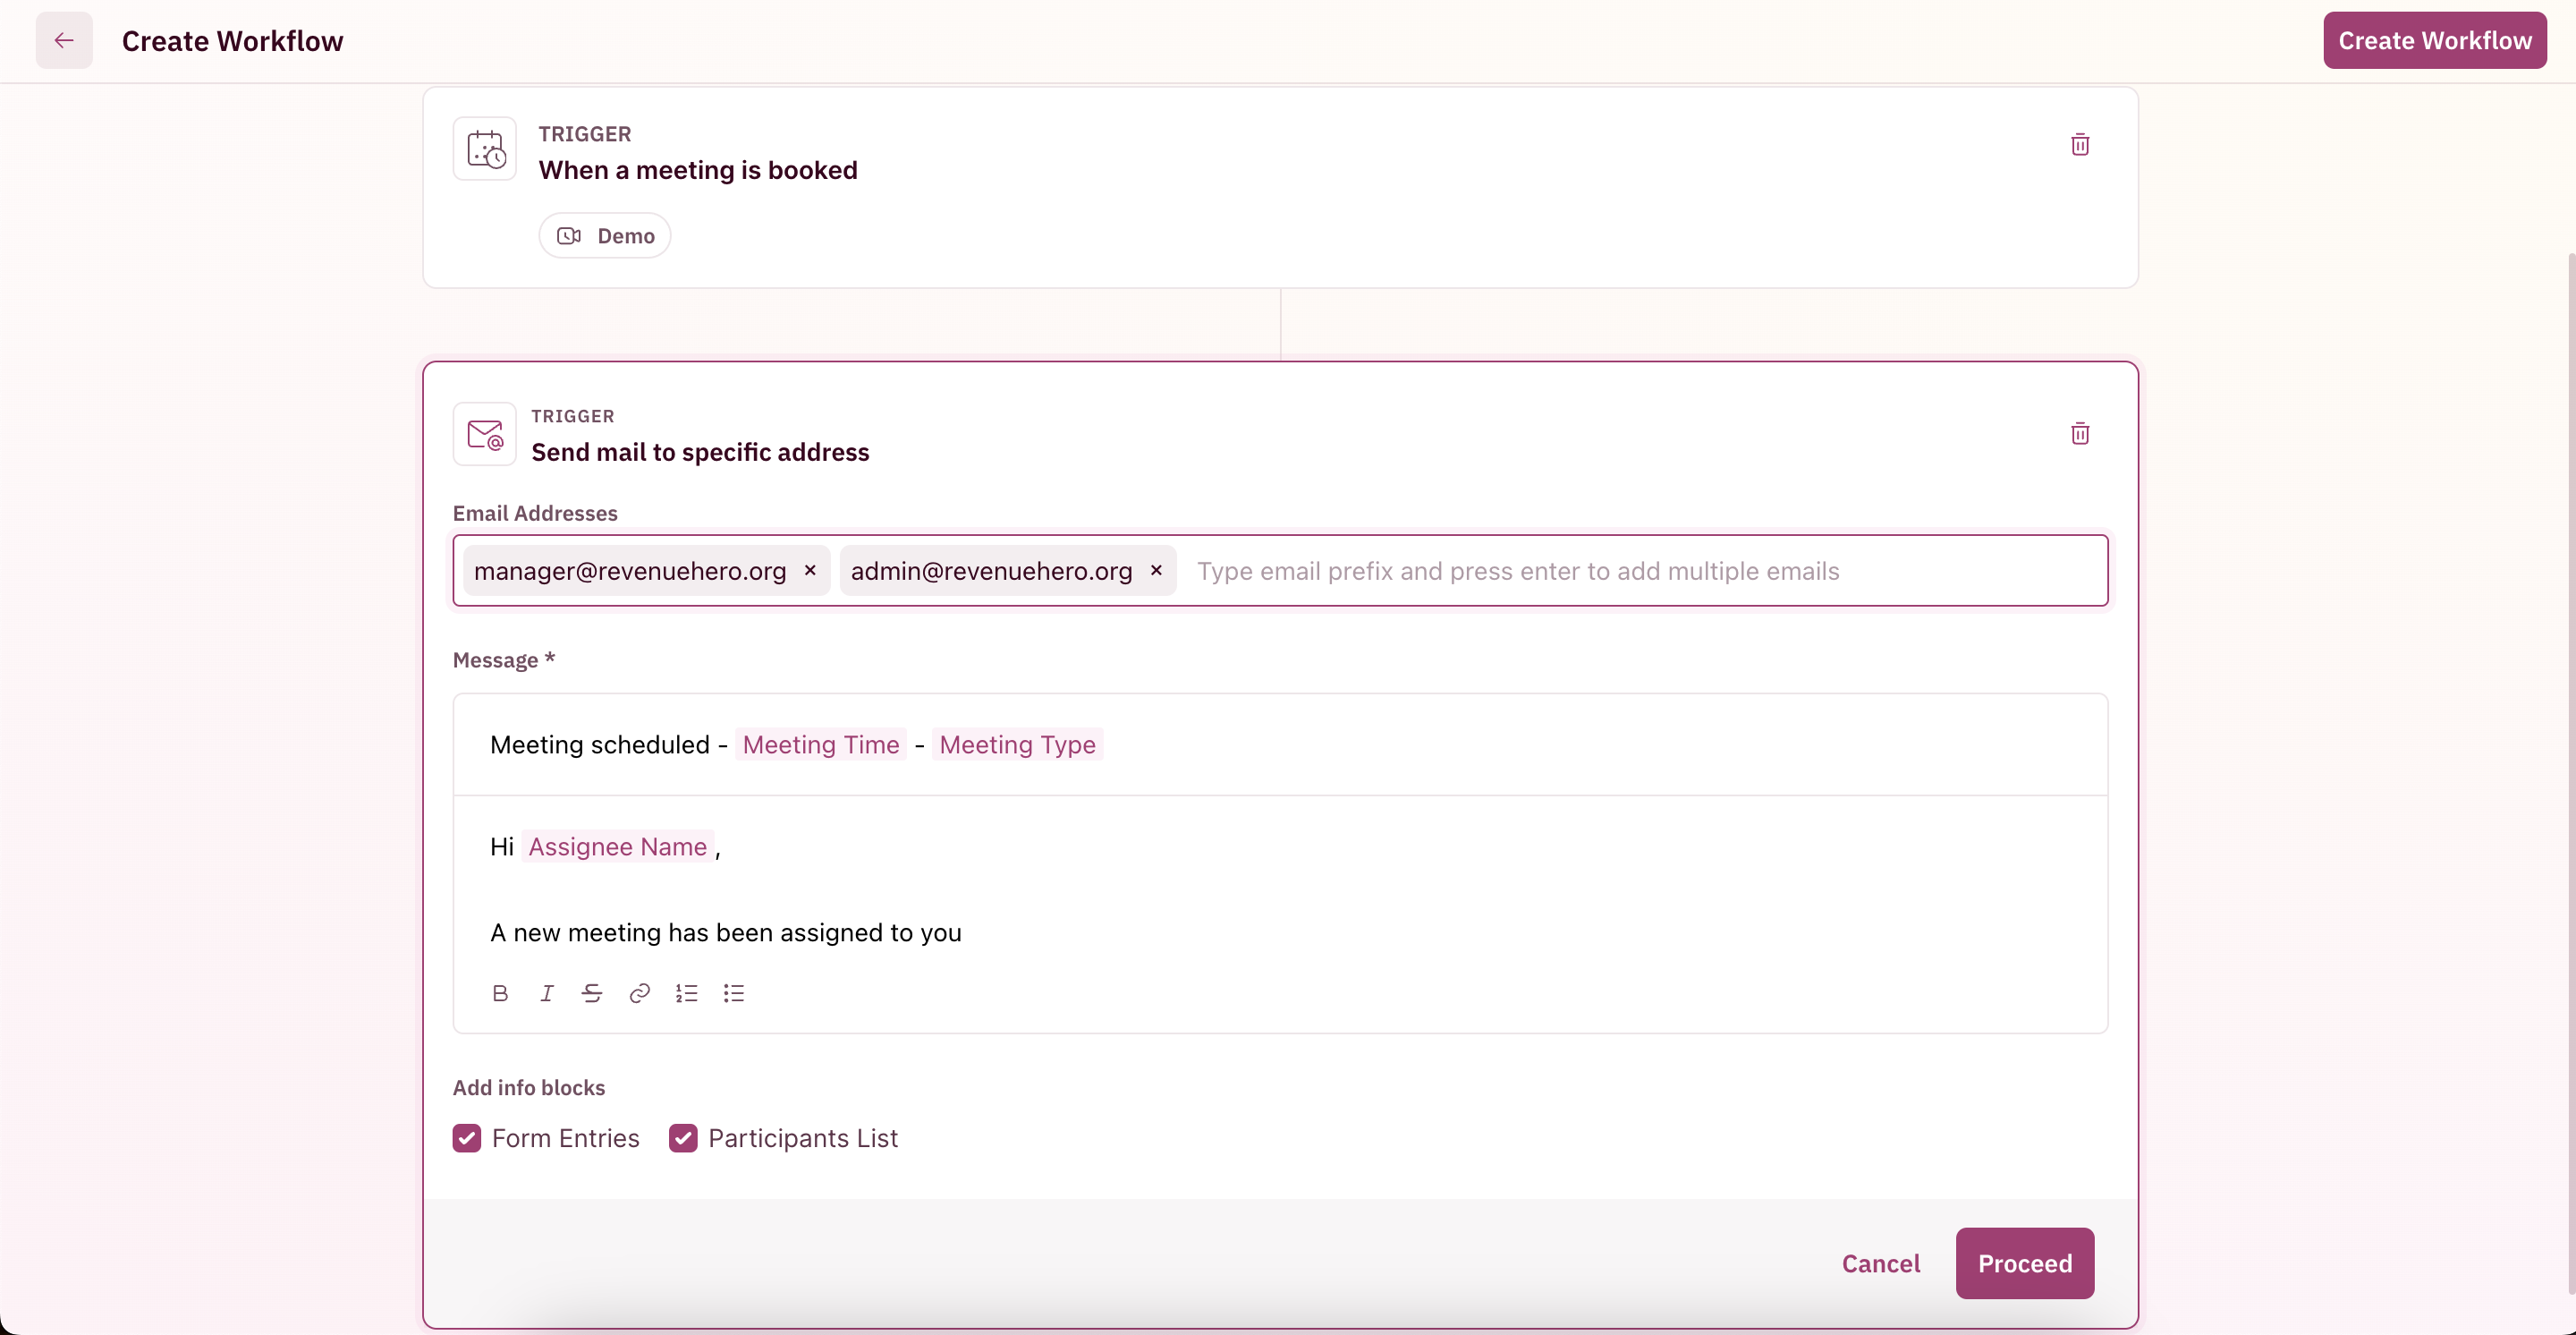
 #### Customize Email to Specific people message
1. Type the recipients of the mail
2. Configure the email subject
3. Configure the email content
4. Configure placeholders and info blocks if any
5. Choose **Proceed** at the bottom right corner
#### Customize Email to Specific people message
1. Type the recipients of the mail
2. Configure the email subject
3. Configure the email content
4. Configure placeholders and info blocks if any
5. Choose **Proceed** at the bottom right corner
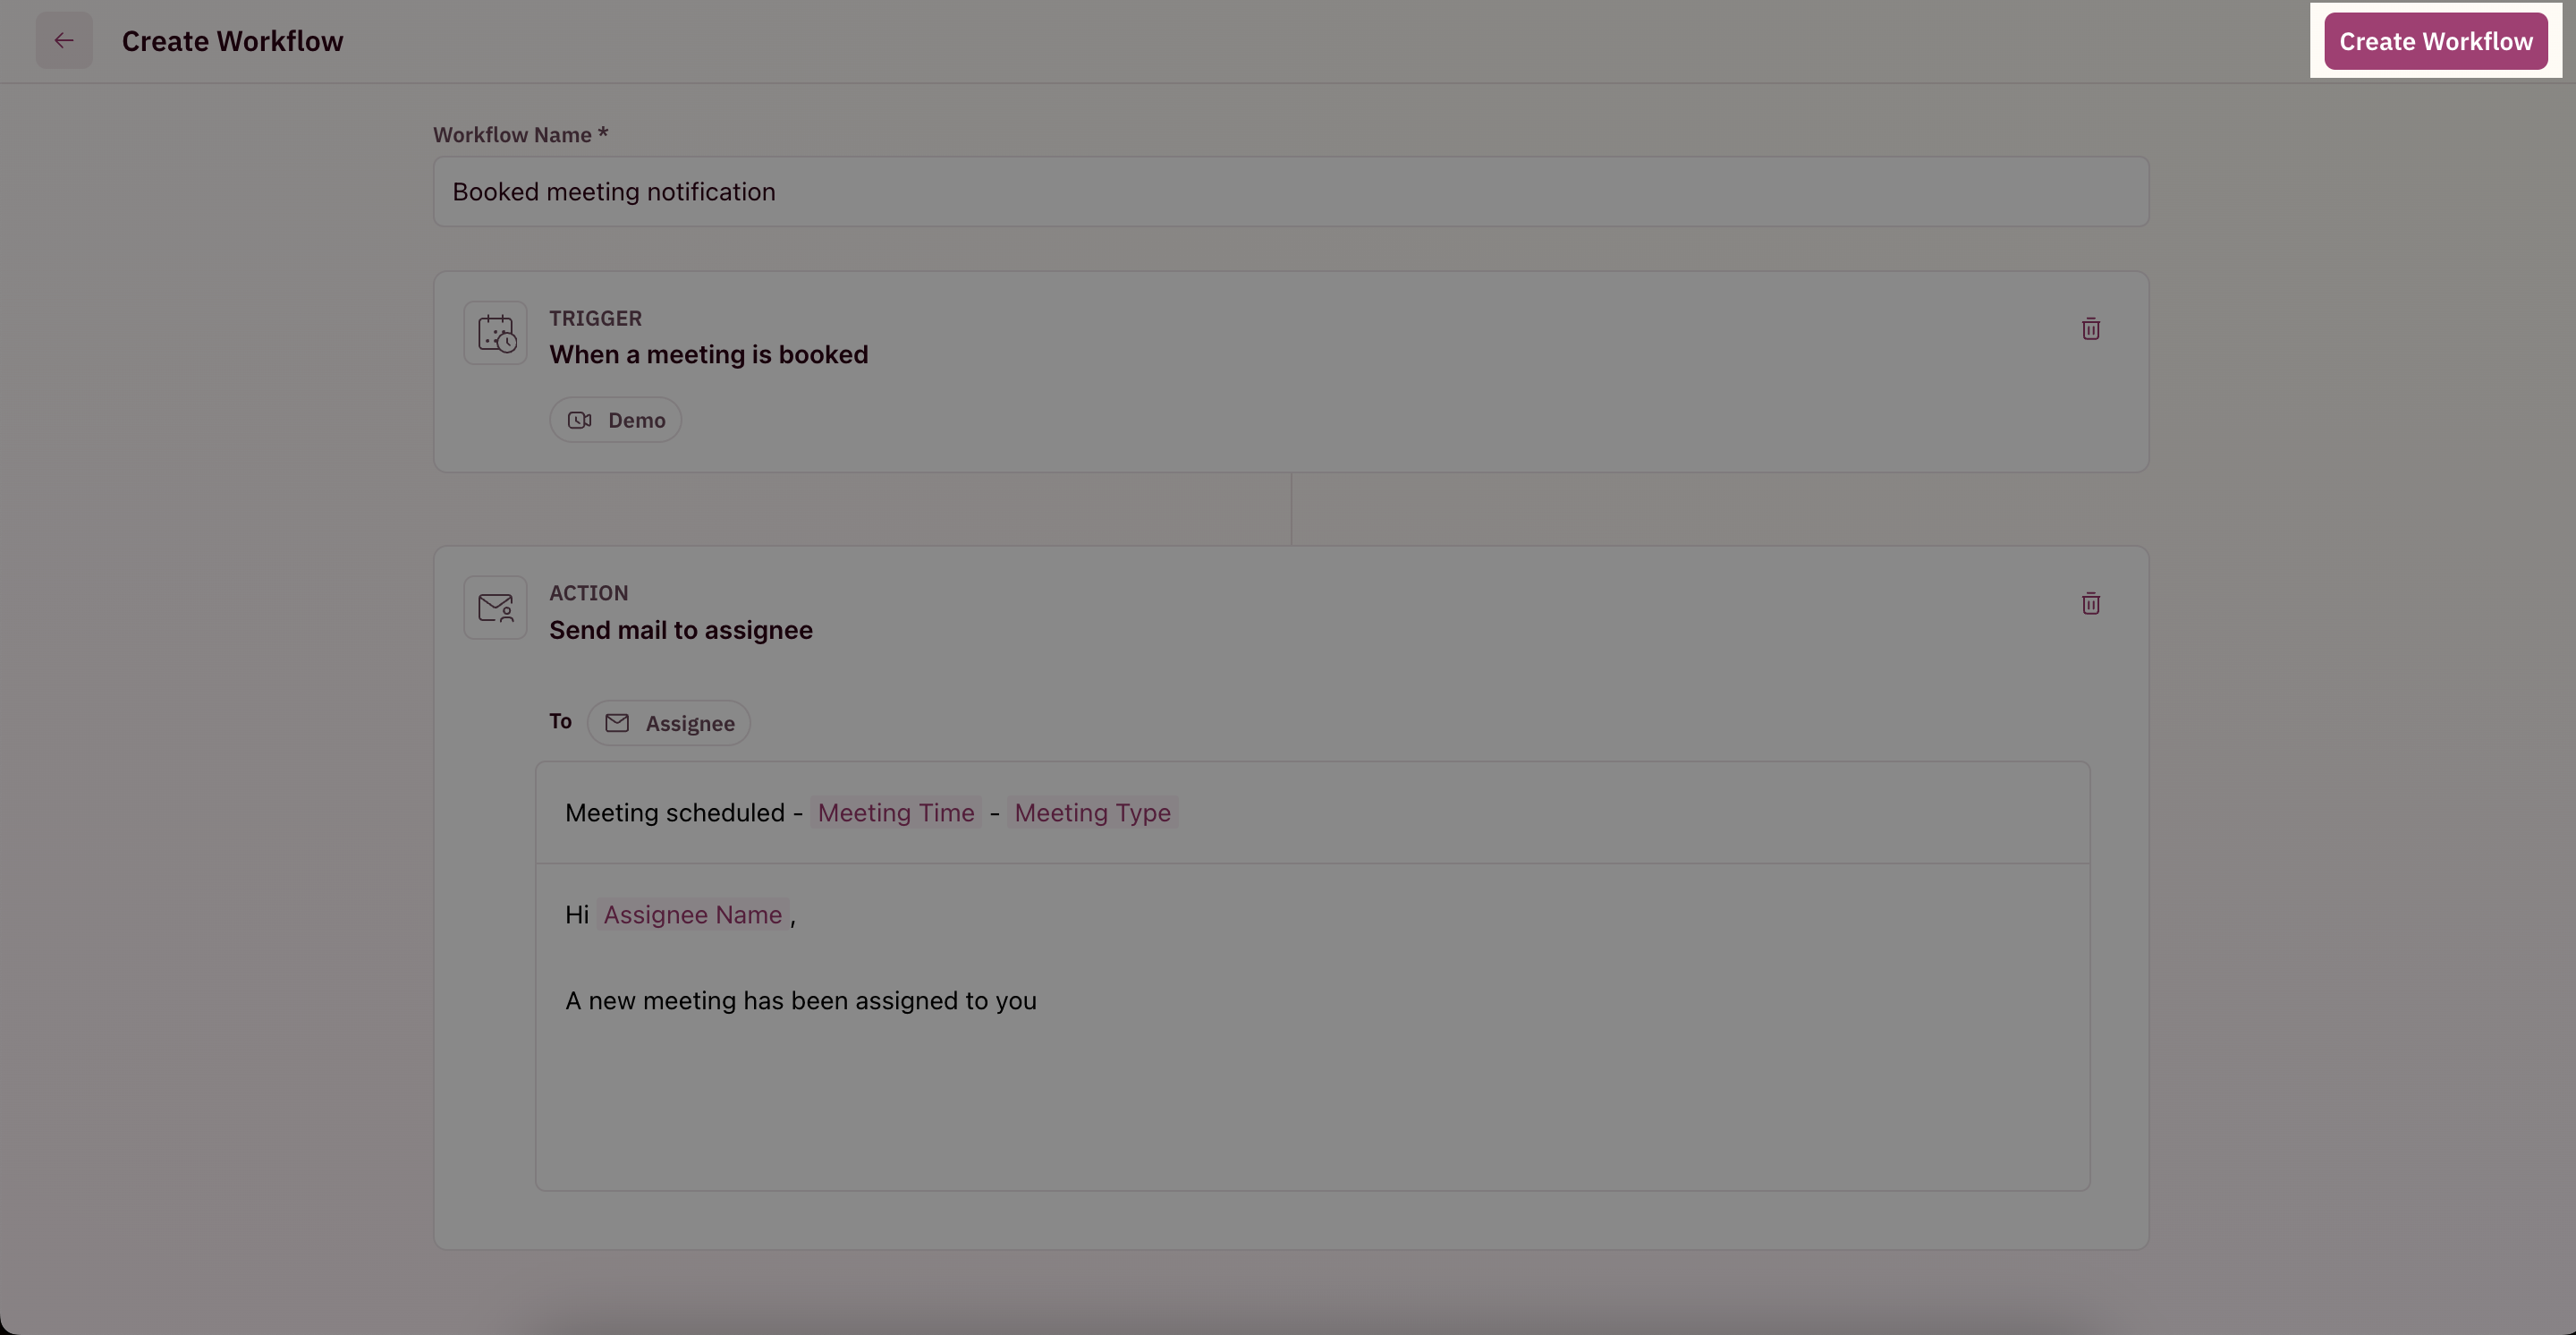
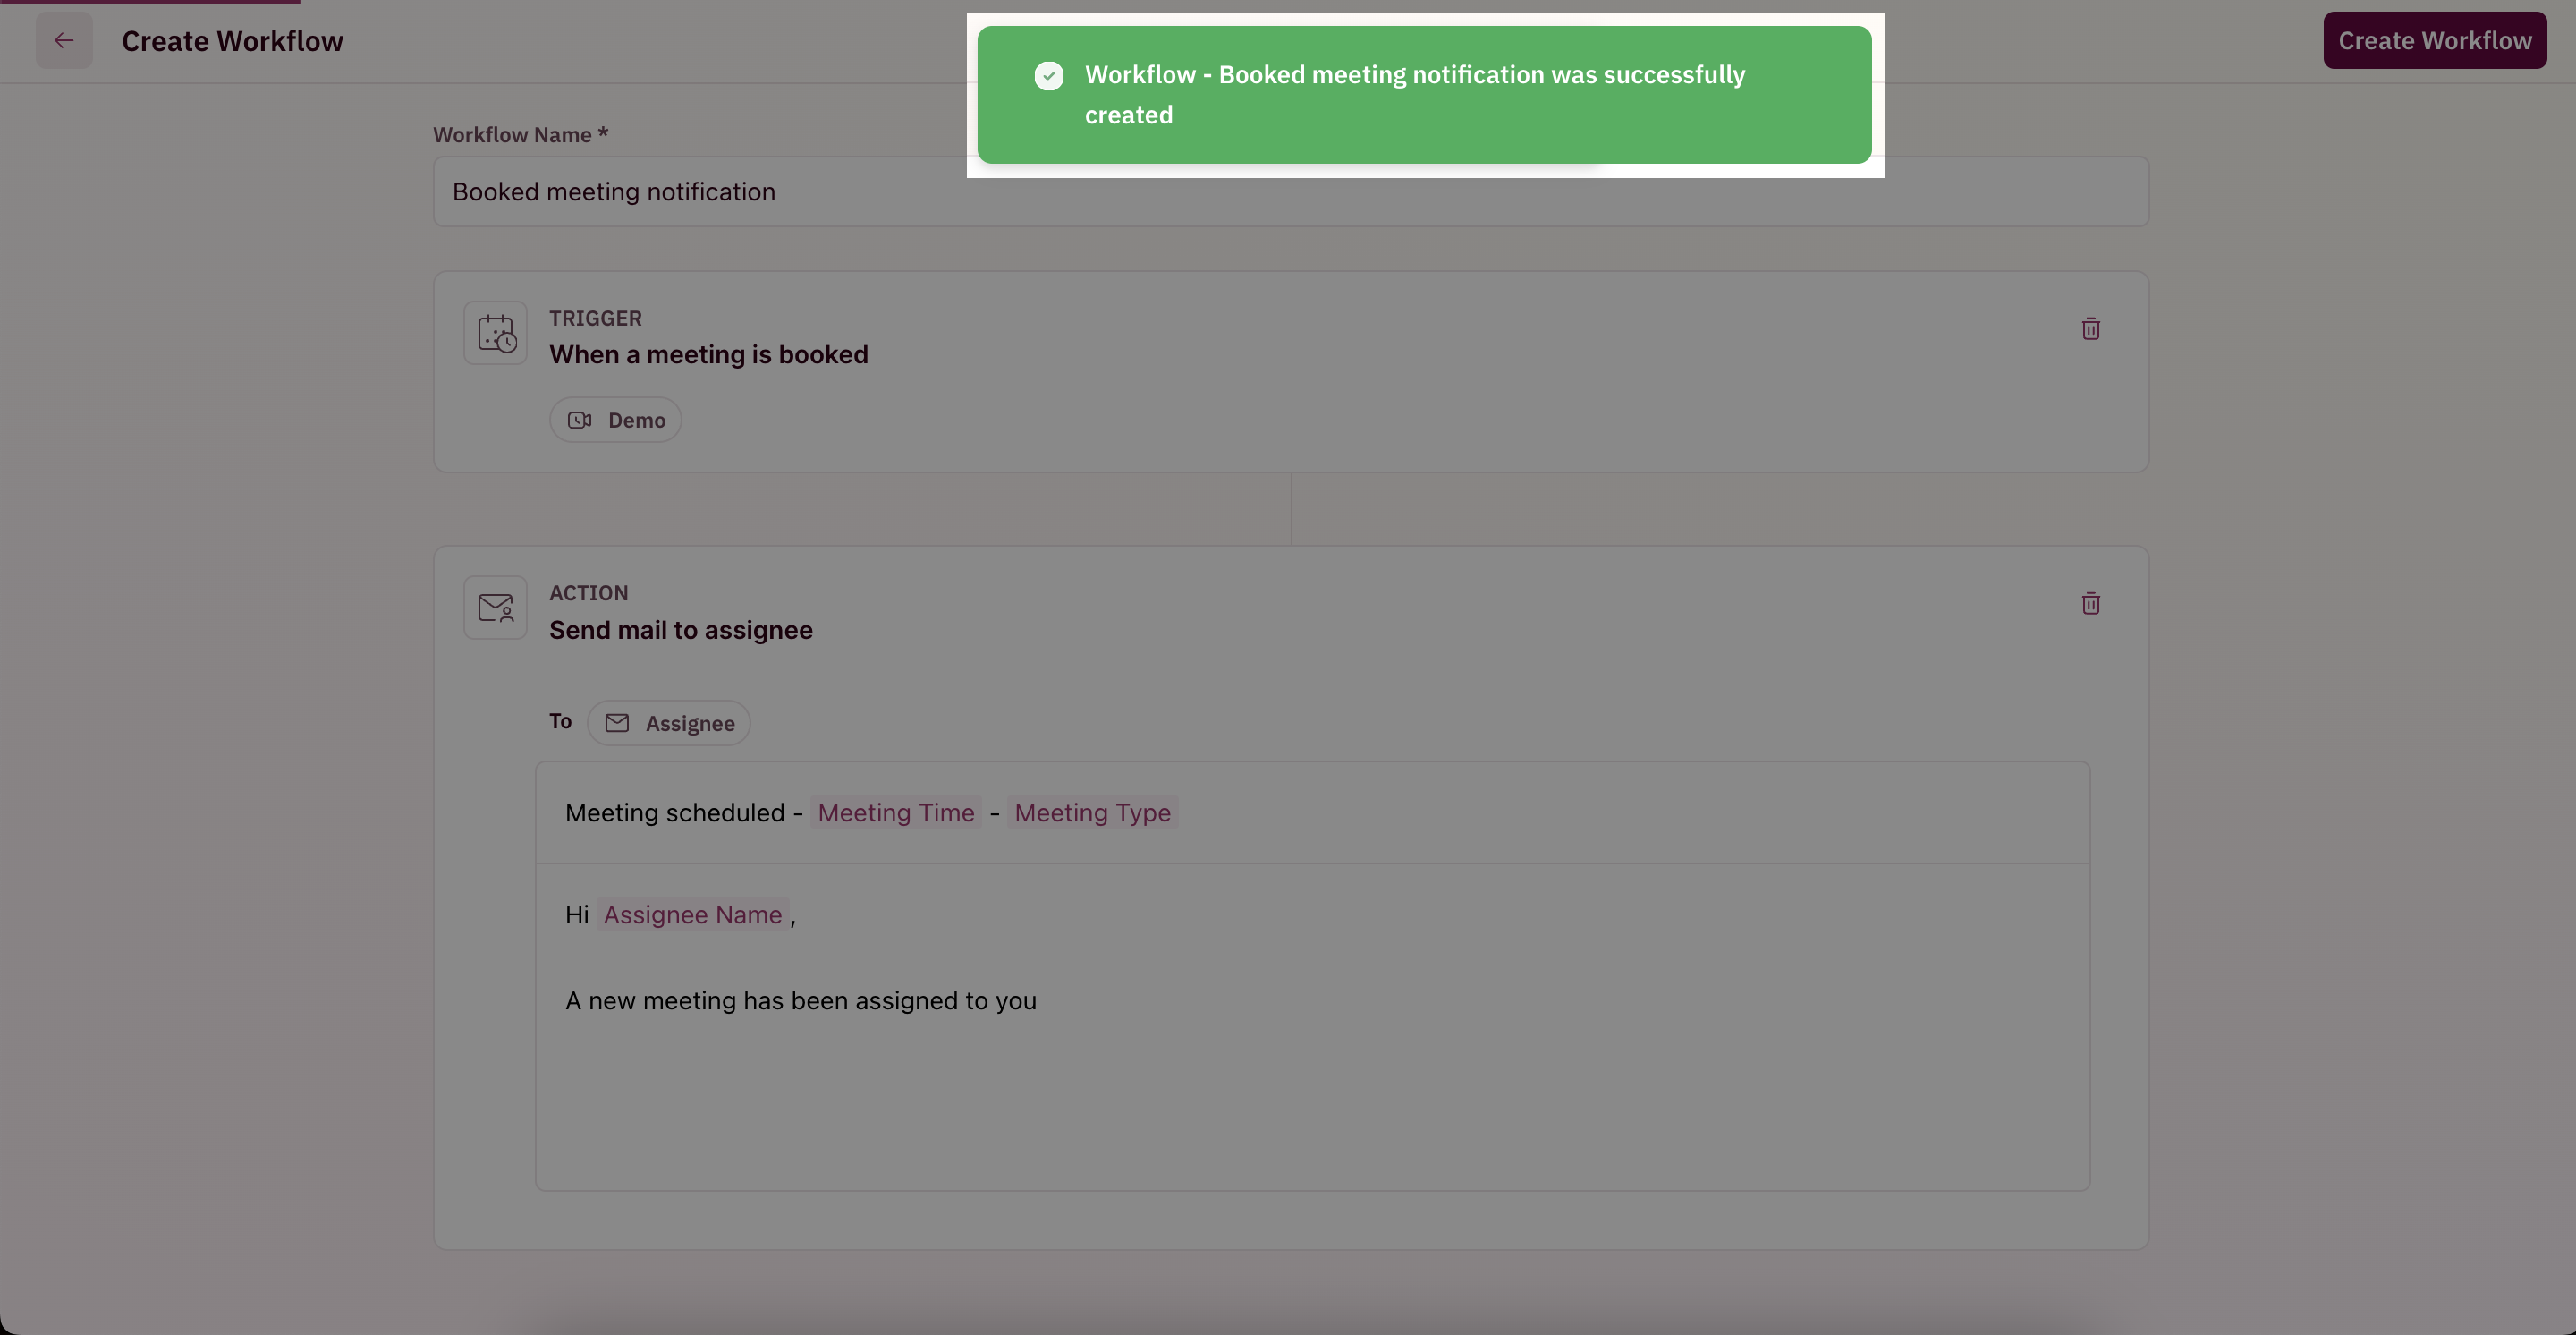
 Preview the configured workflow and if everything looks okay, click on **Create Workflow** on the top right corner of the page to create your workflow and give it a name to remember by 🎉🎉🎉
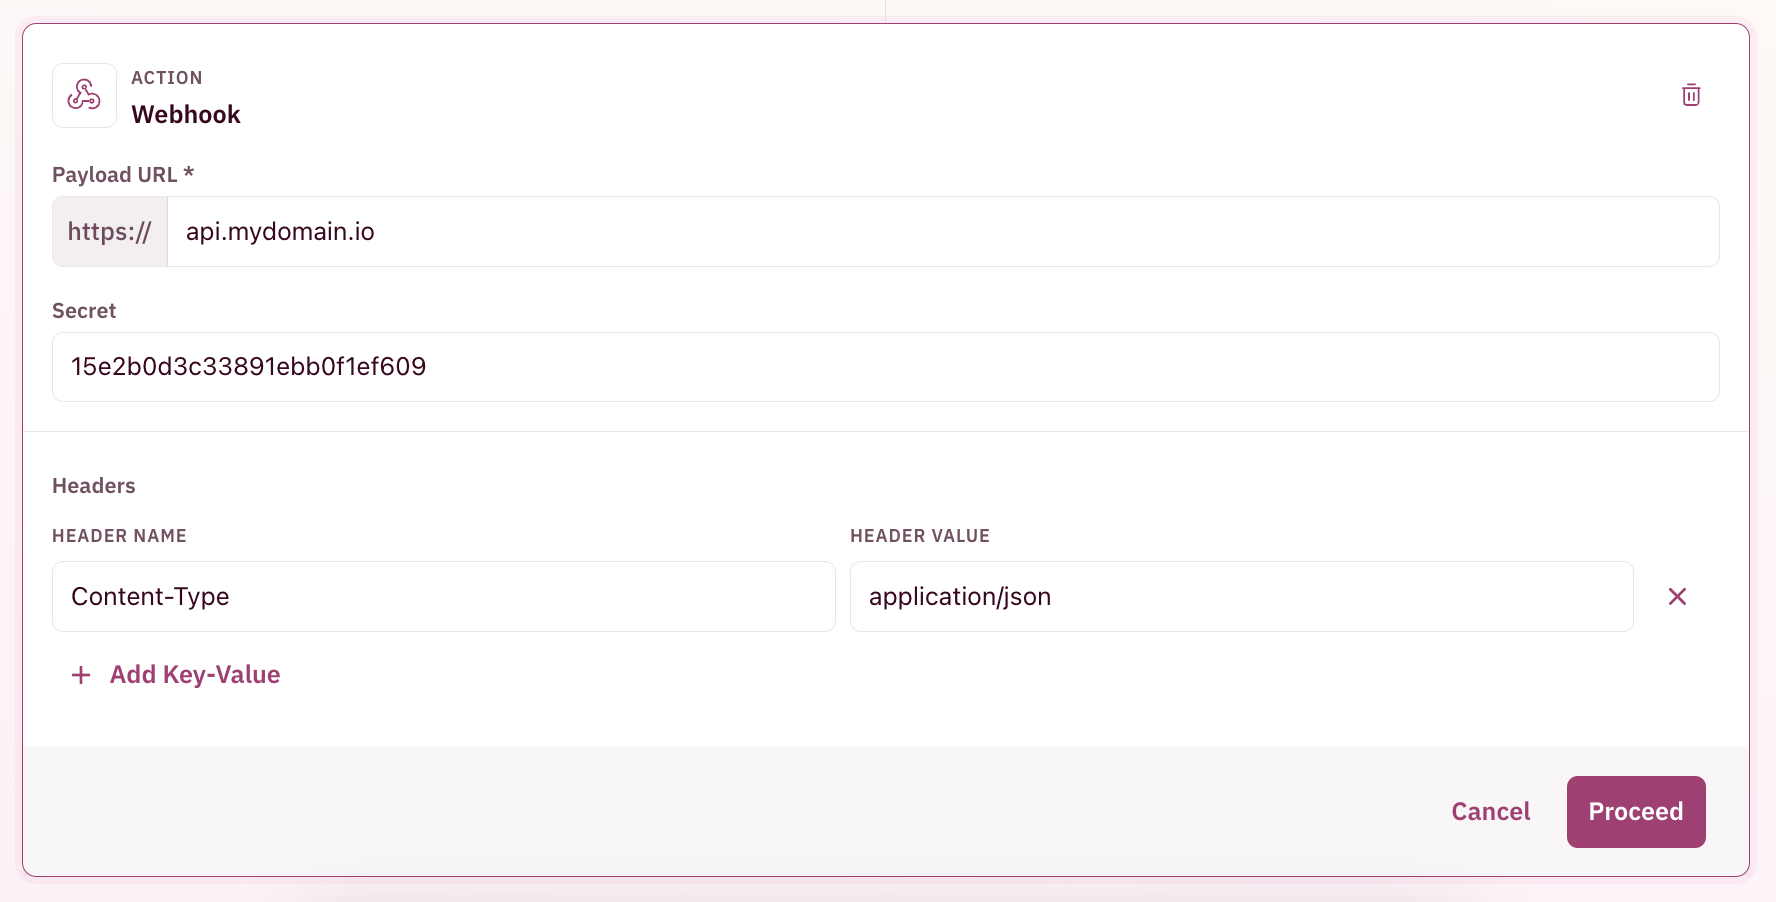
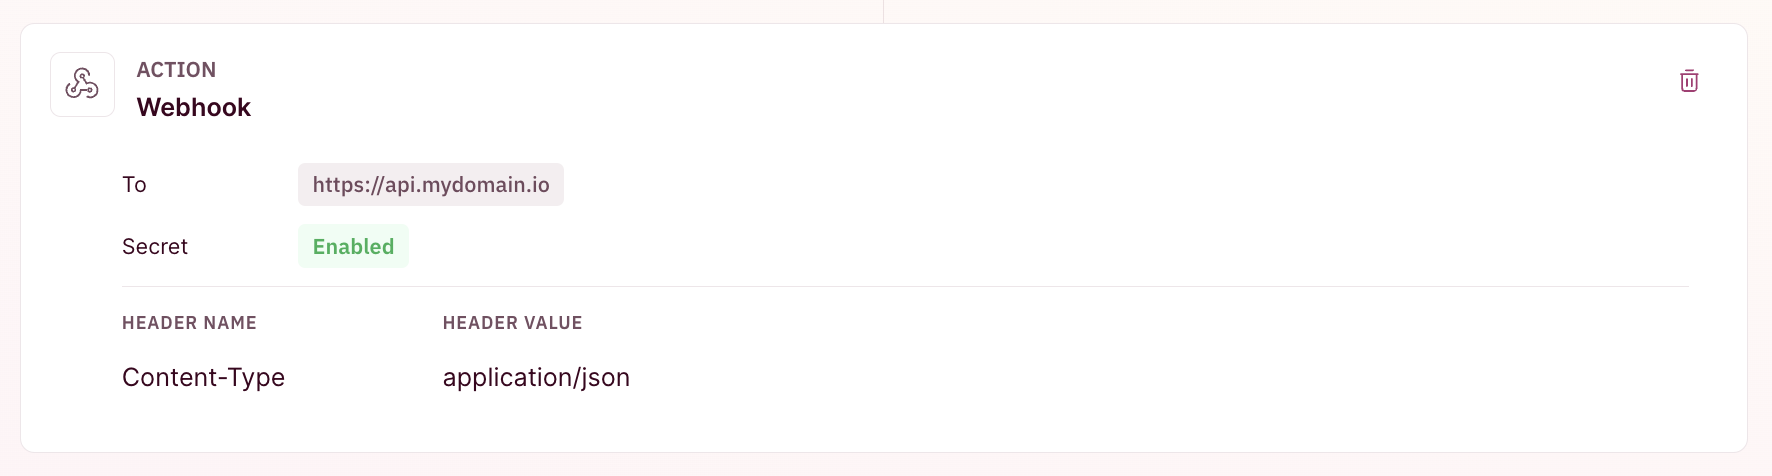
 #### Trigger a webhook
1. Add the receiving webhook URL
2. Add a secret to validating using that on the receiving app
3. Add any custom headers needed
#### Trigger a webhook
1. Add the receiving webhook URL
2. Add a secret to validating using that on the receiving app
3. Add any custom headers needed
 Preview the configured workflow and if everything looks okay, click on **Create Workflow** on the top-right corner of the page to create your workflow and give it a name to remember by 🎉🎉🎉
For a detailed list of webhook payloads, check [here.](/workflows/webhook-payloads)
Preview the configured workflow and if everything looks okay, click on **Create Workflow** on the top-right corner of the page to create your workflow and give it a name to remember by 🎉🎉🎉
For a detailed list of webhook payloads, check [here.](/workflows/webhook-payloads)