How It Works
- Group related meeting types into categories (e.g., all Discovery calls)
- Choose when limits reset (daily or per round-robin period)
- Set meeting caps for each team member
- RevenueHero automatically enforces these limits during routing
Setting up Meeting Categories is an admin-only function.
There are a couple of pre-requisites to create your first Meeting Category and setup meeting limits
- All the meeting types you want to include when setting caps on the number of meetings assigned are already created.
- Each member for whom you want to limit the meetings to has a connected calendar.
Create a Meeting Category
-
Go to Settings → Under Organization Settings, click Meeting Categories
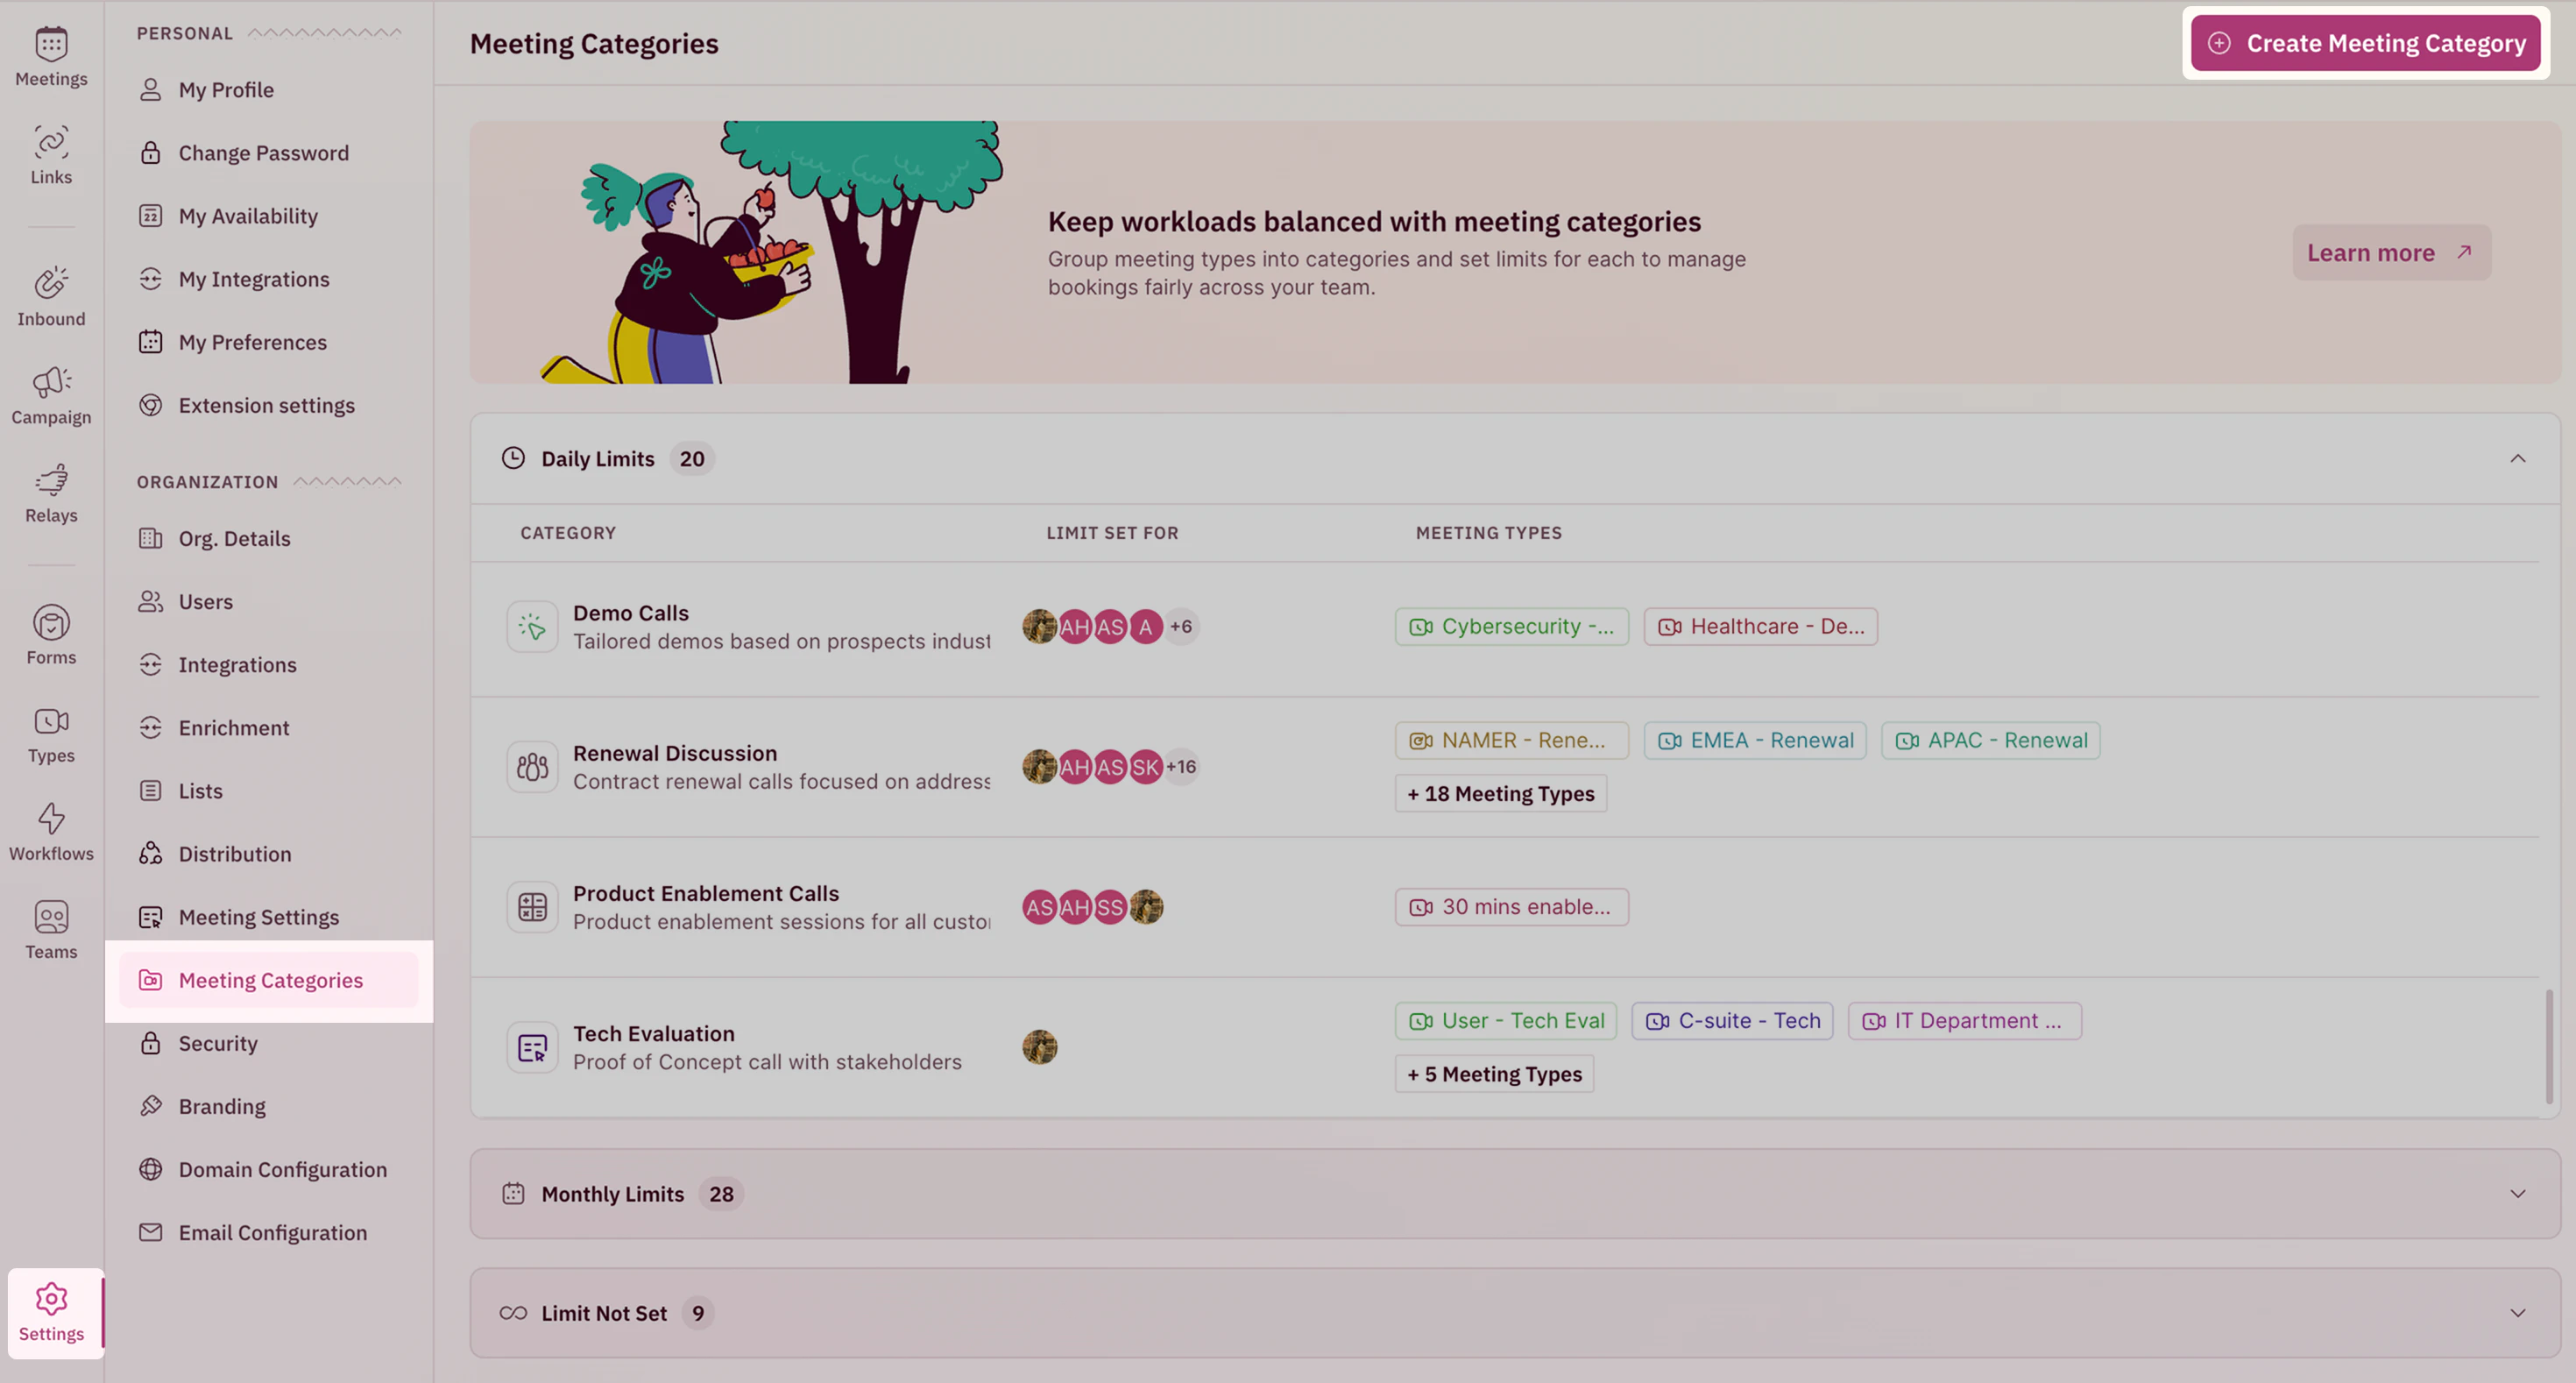
- Click Create Meeting Category .
-
Add a Name and choose a relevant Icon and Description (optional but recommended) for your meeting category to ensure clarity and easy identification.
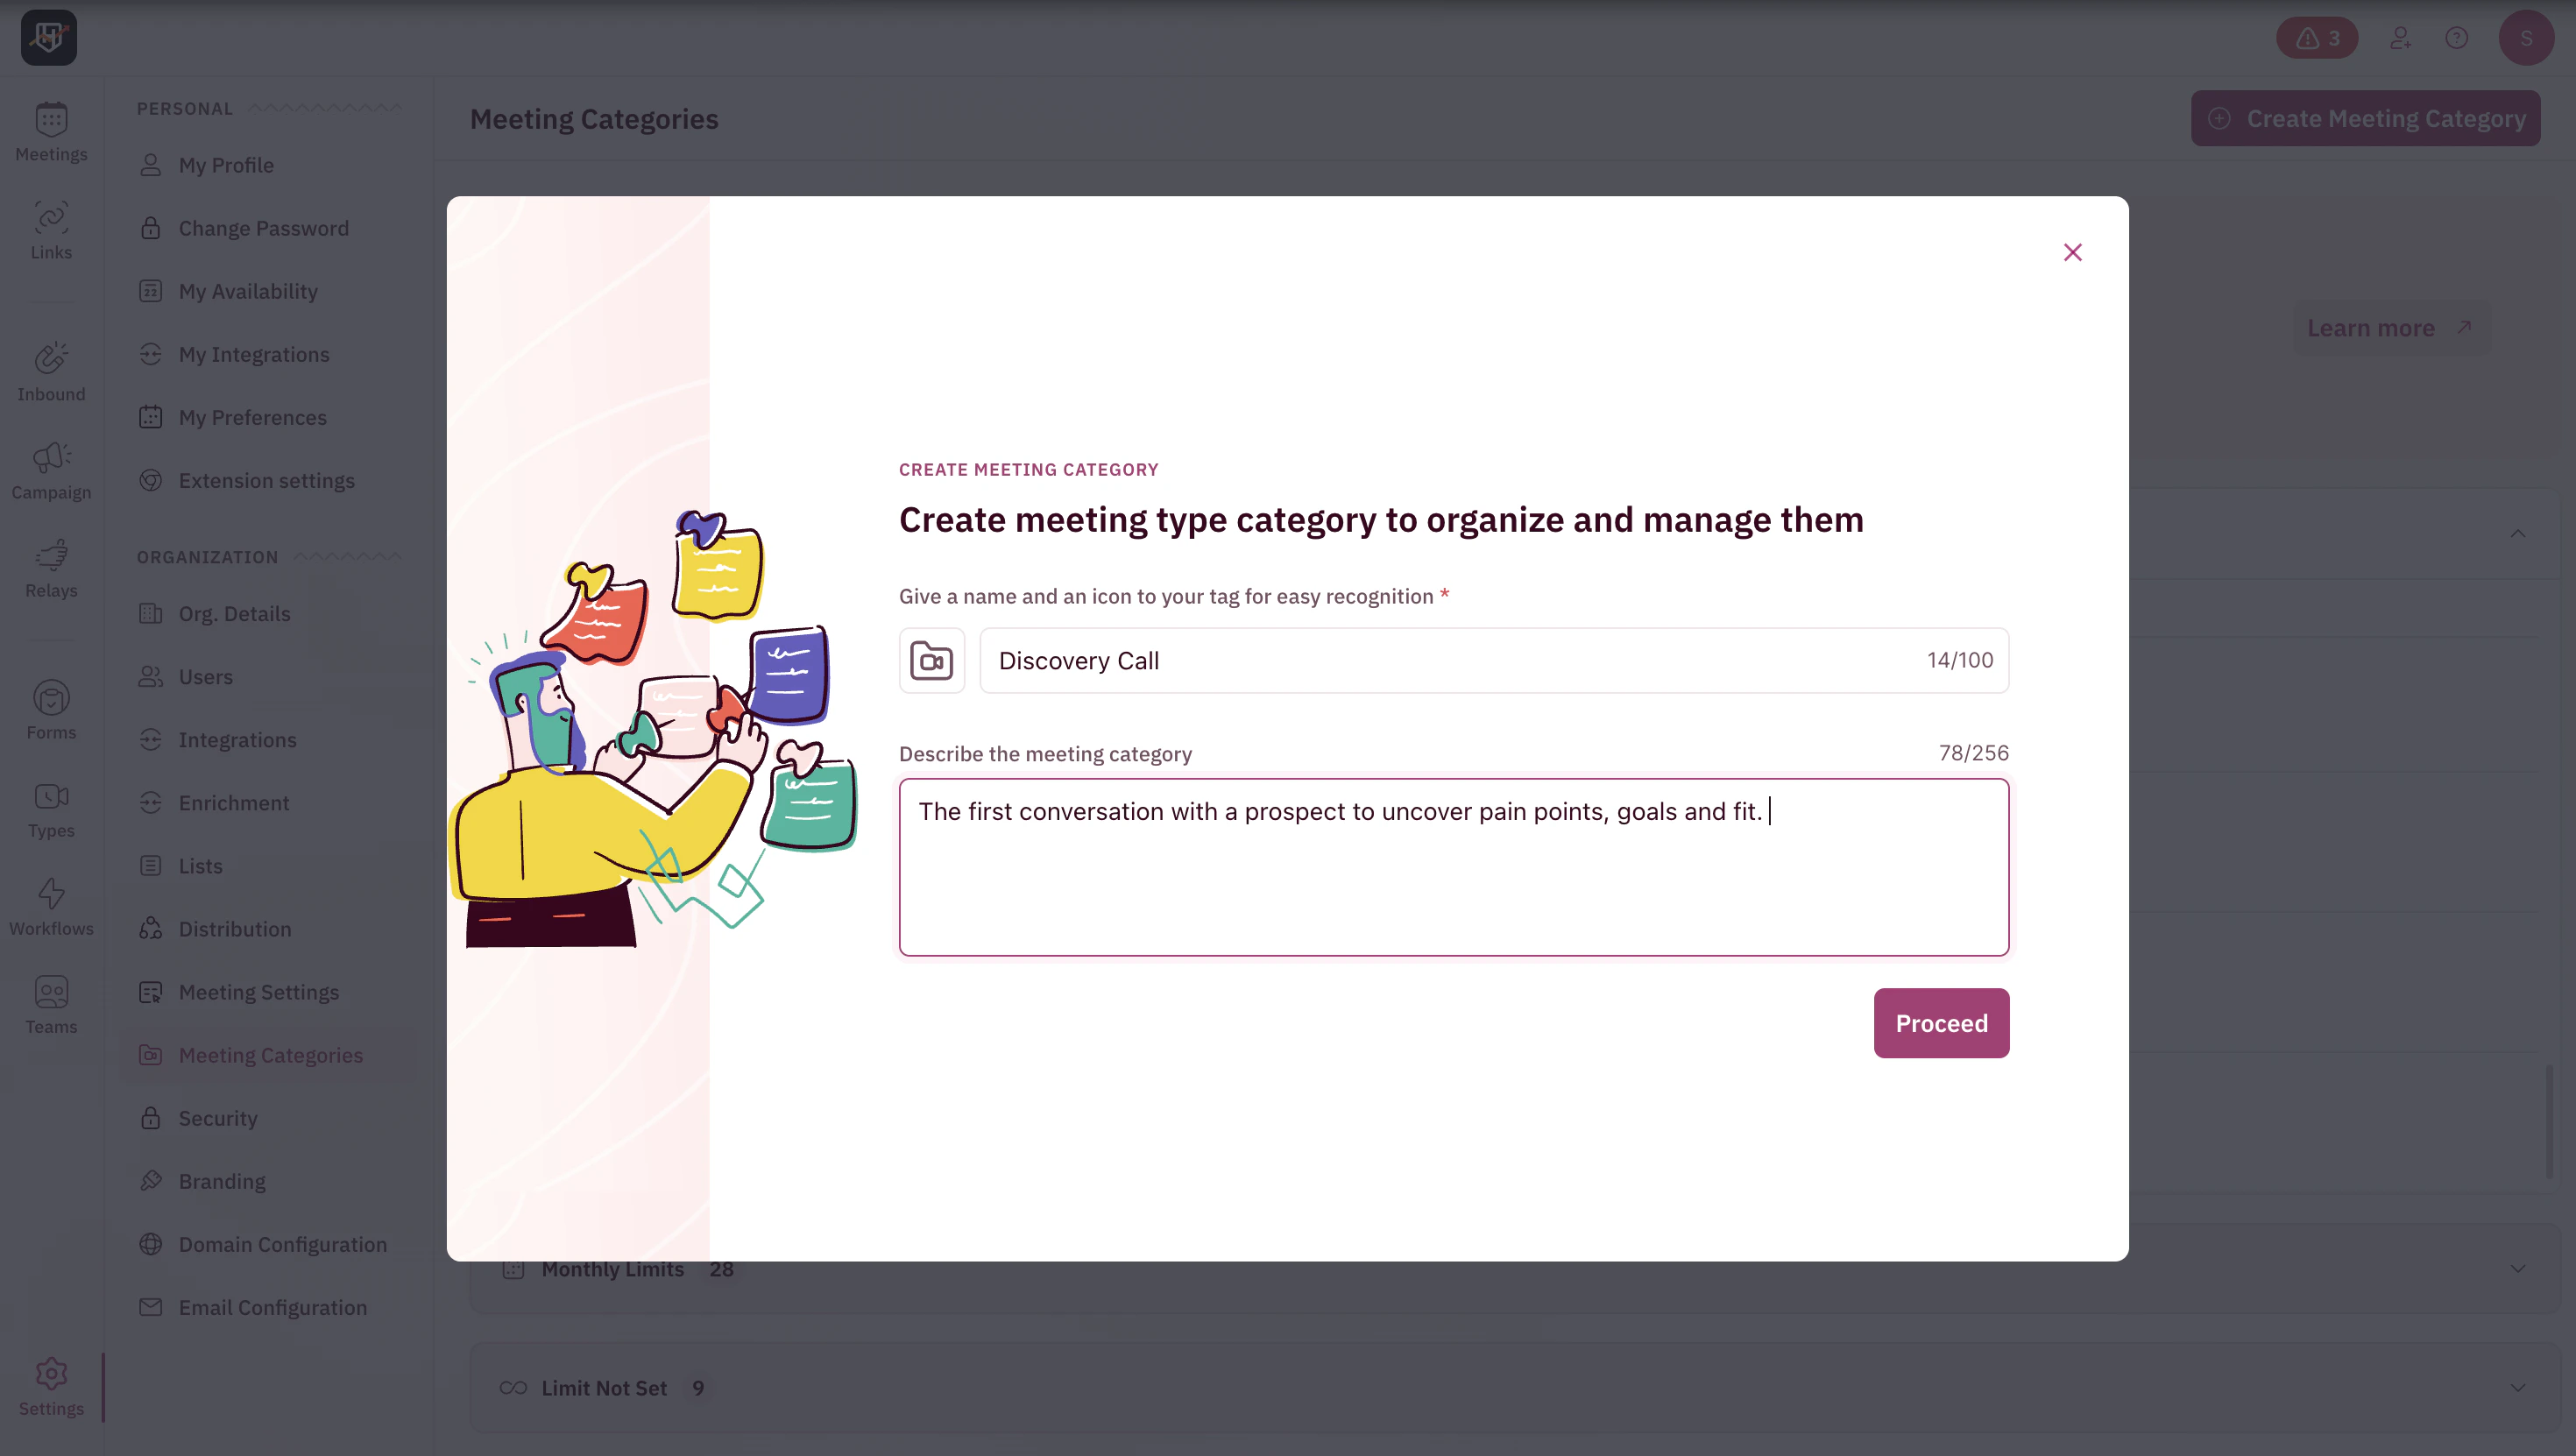
- Once done, click Proceed to continue.
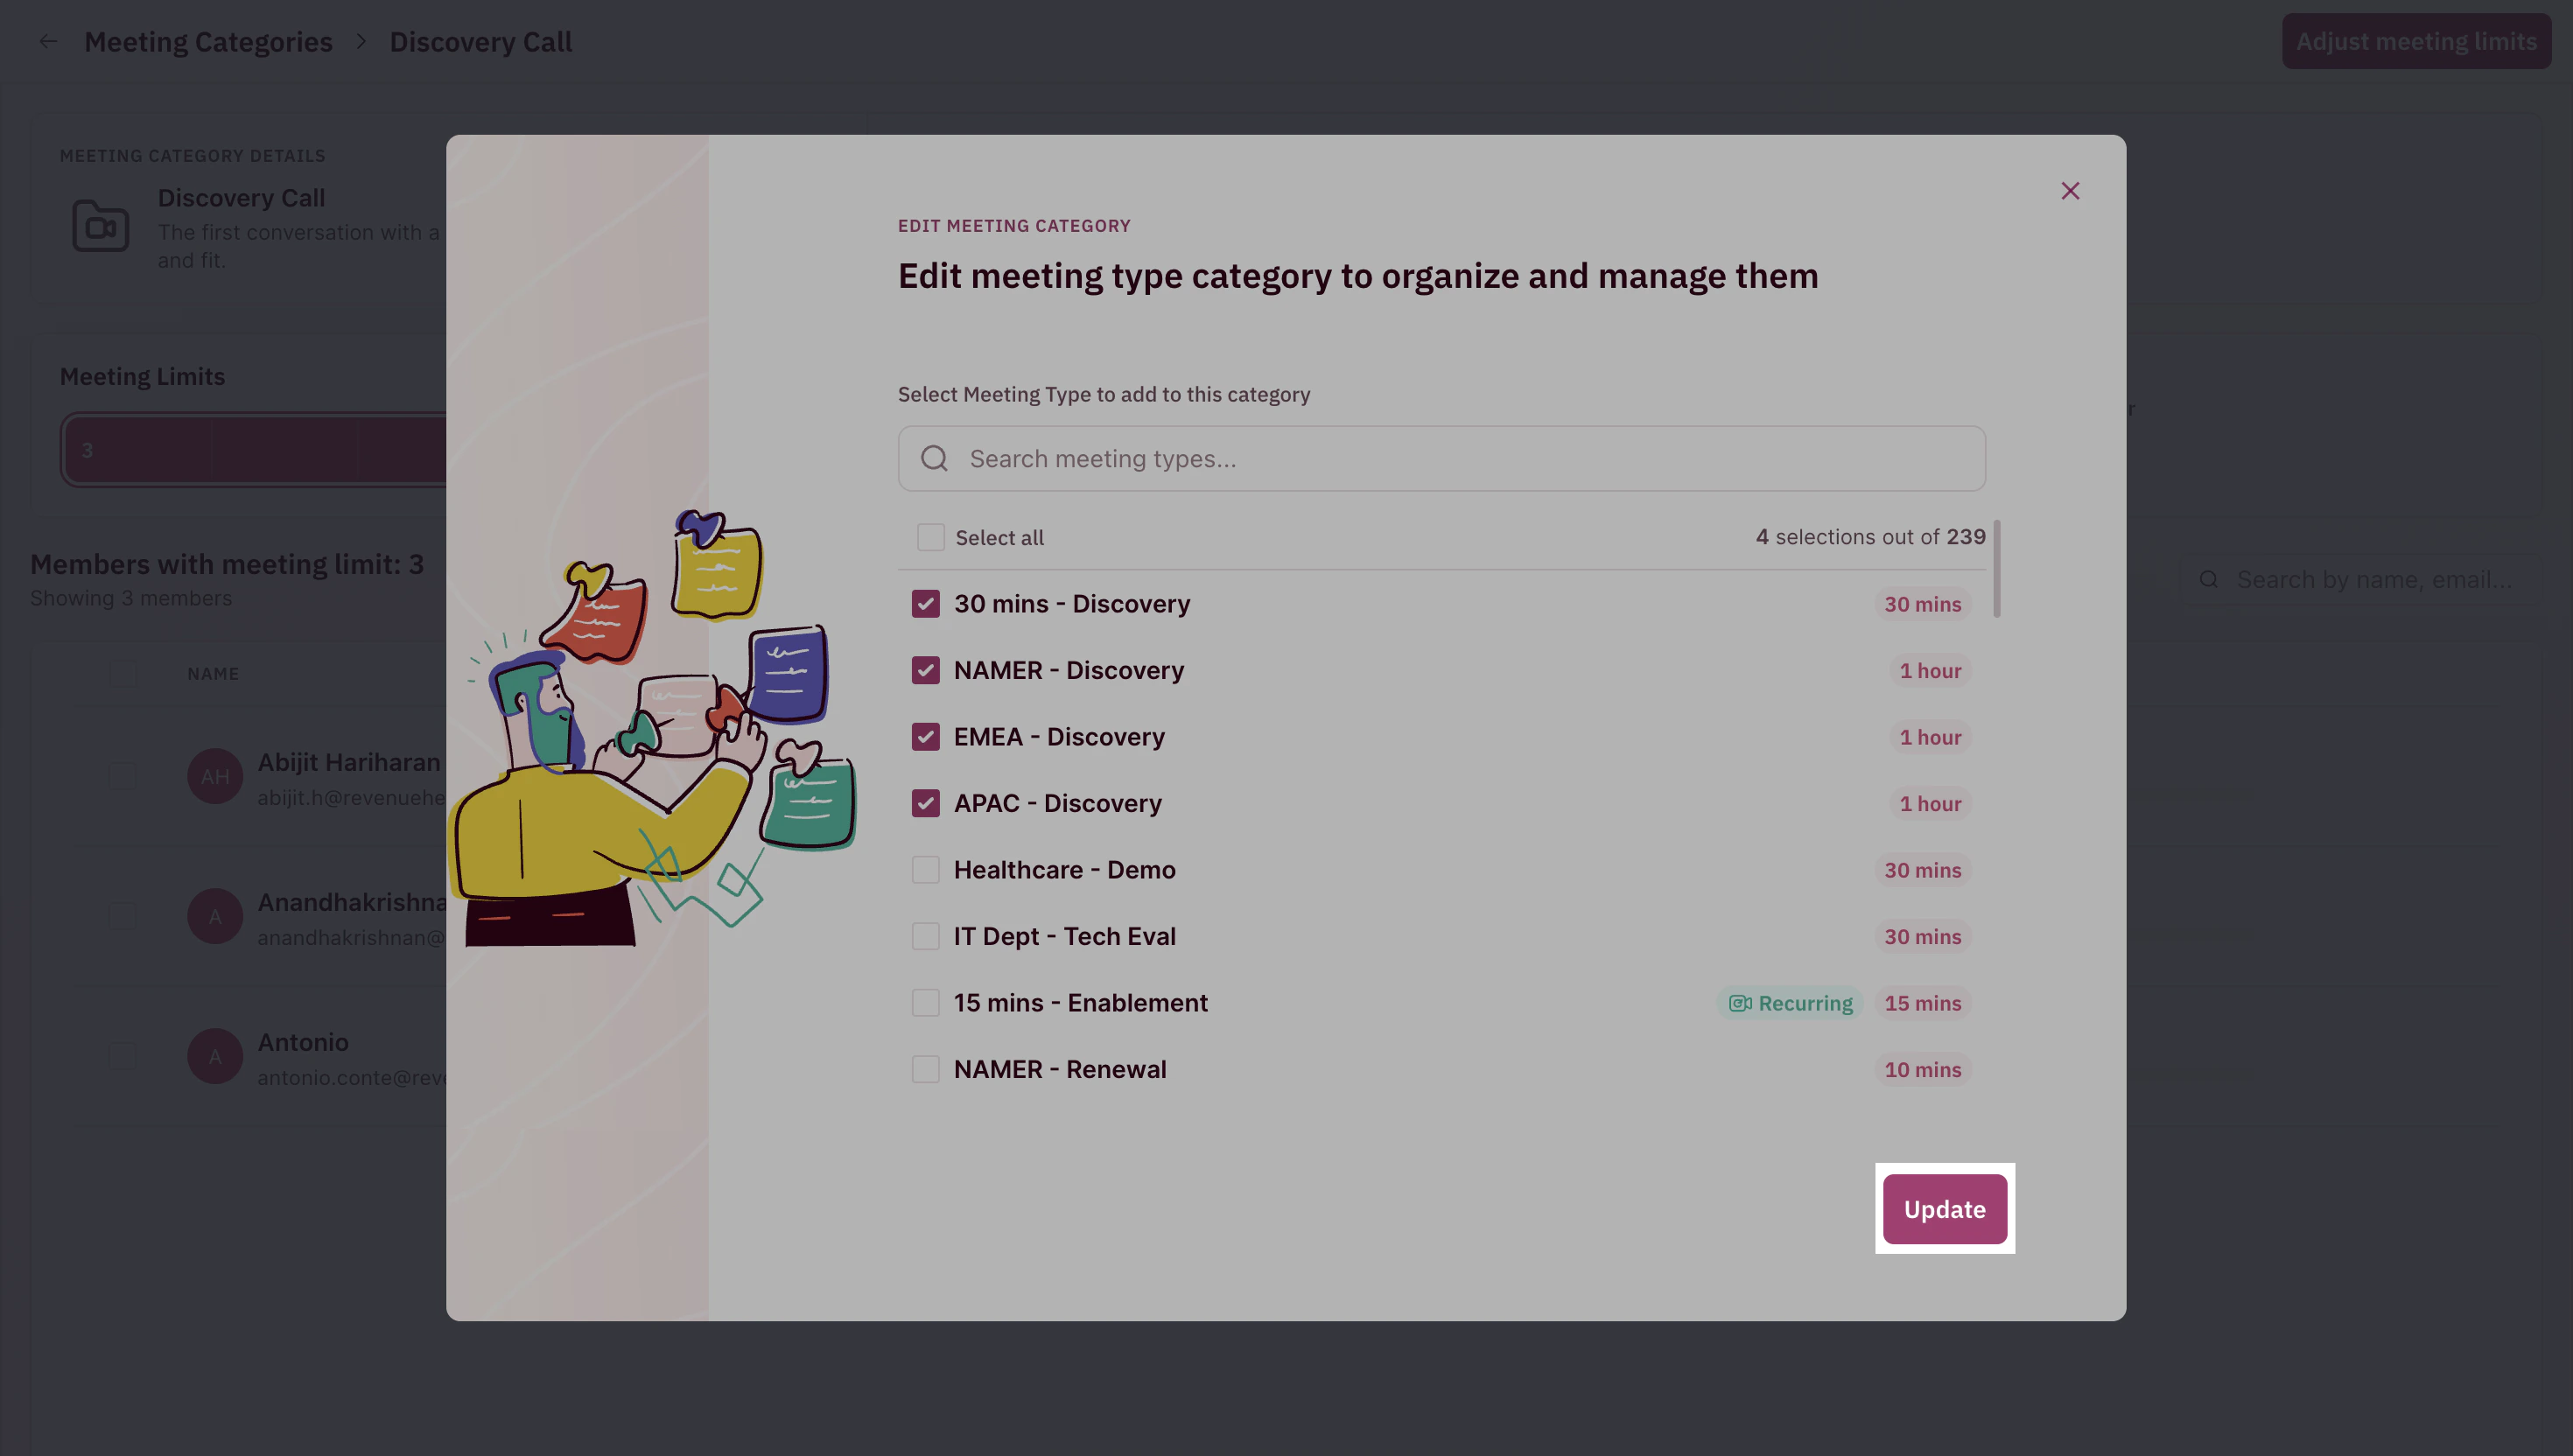
-
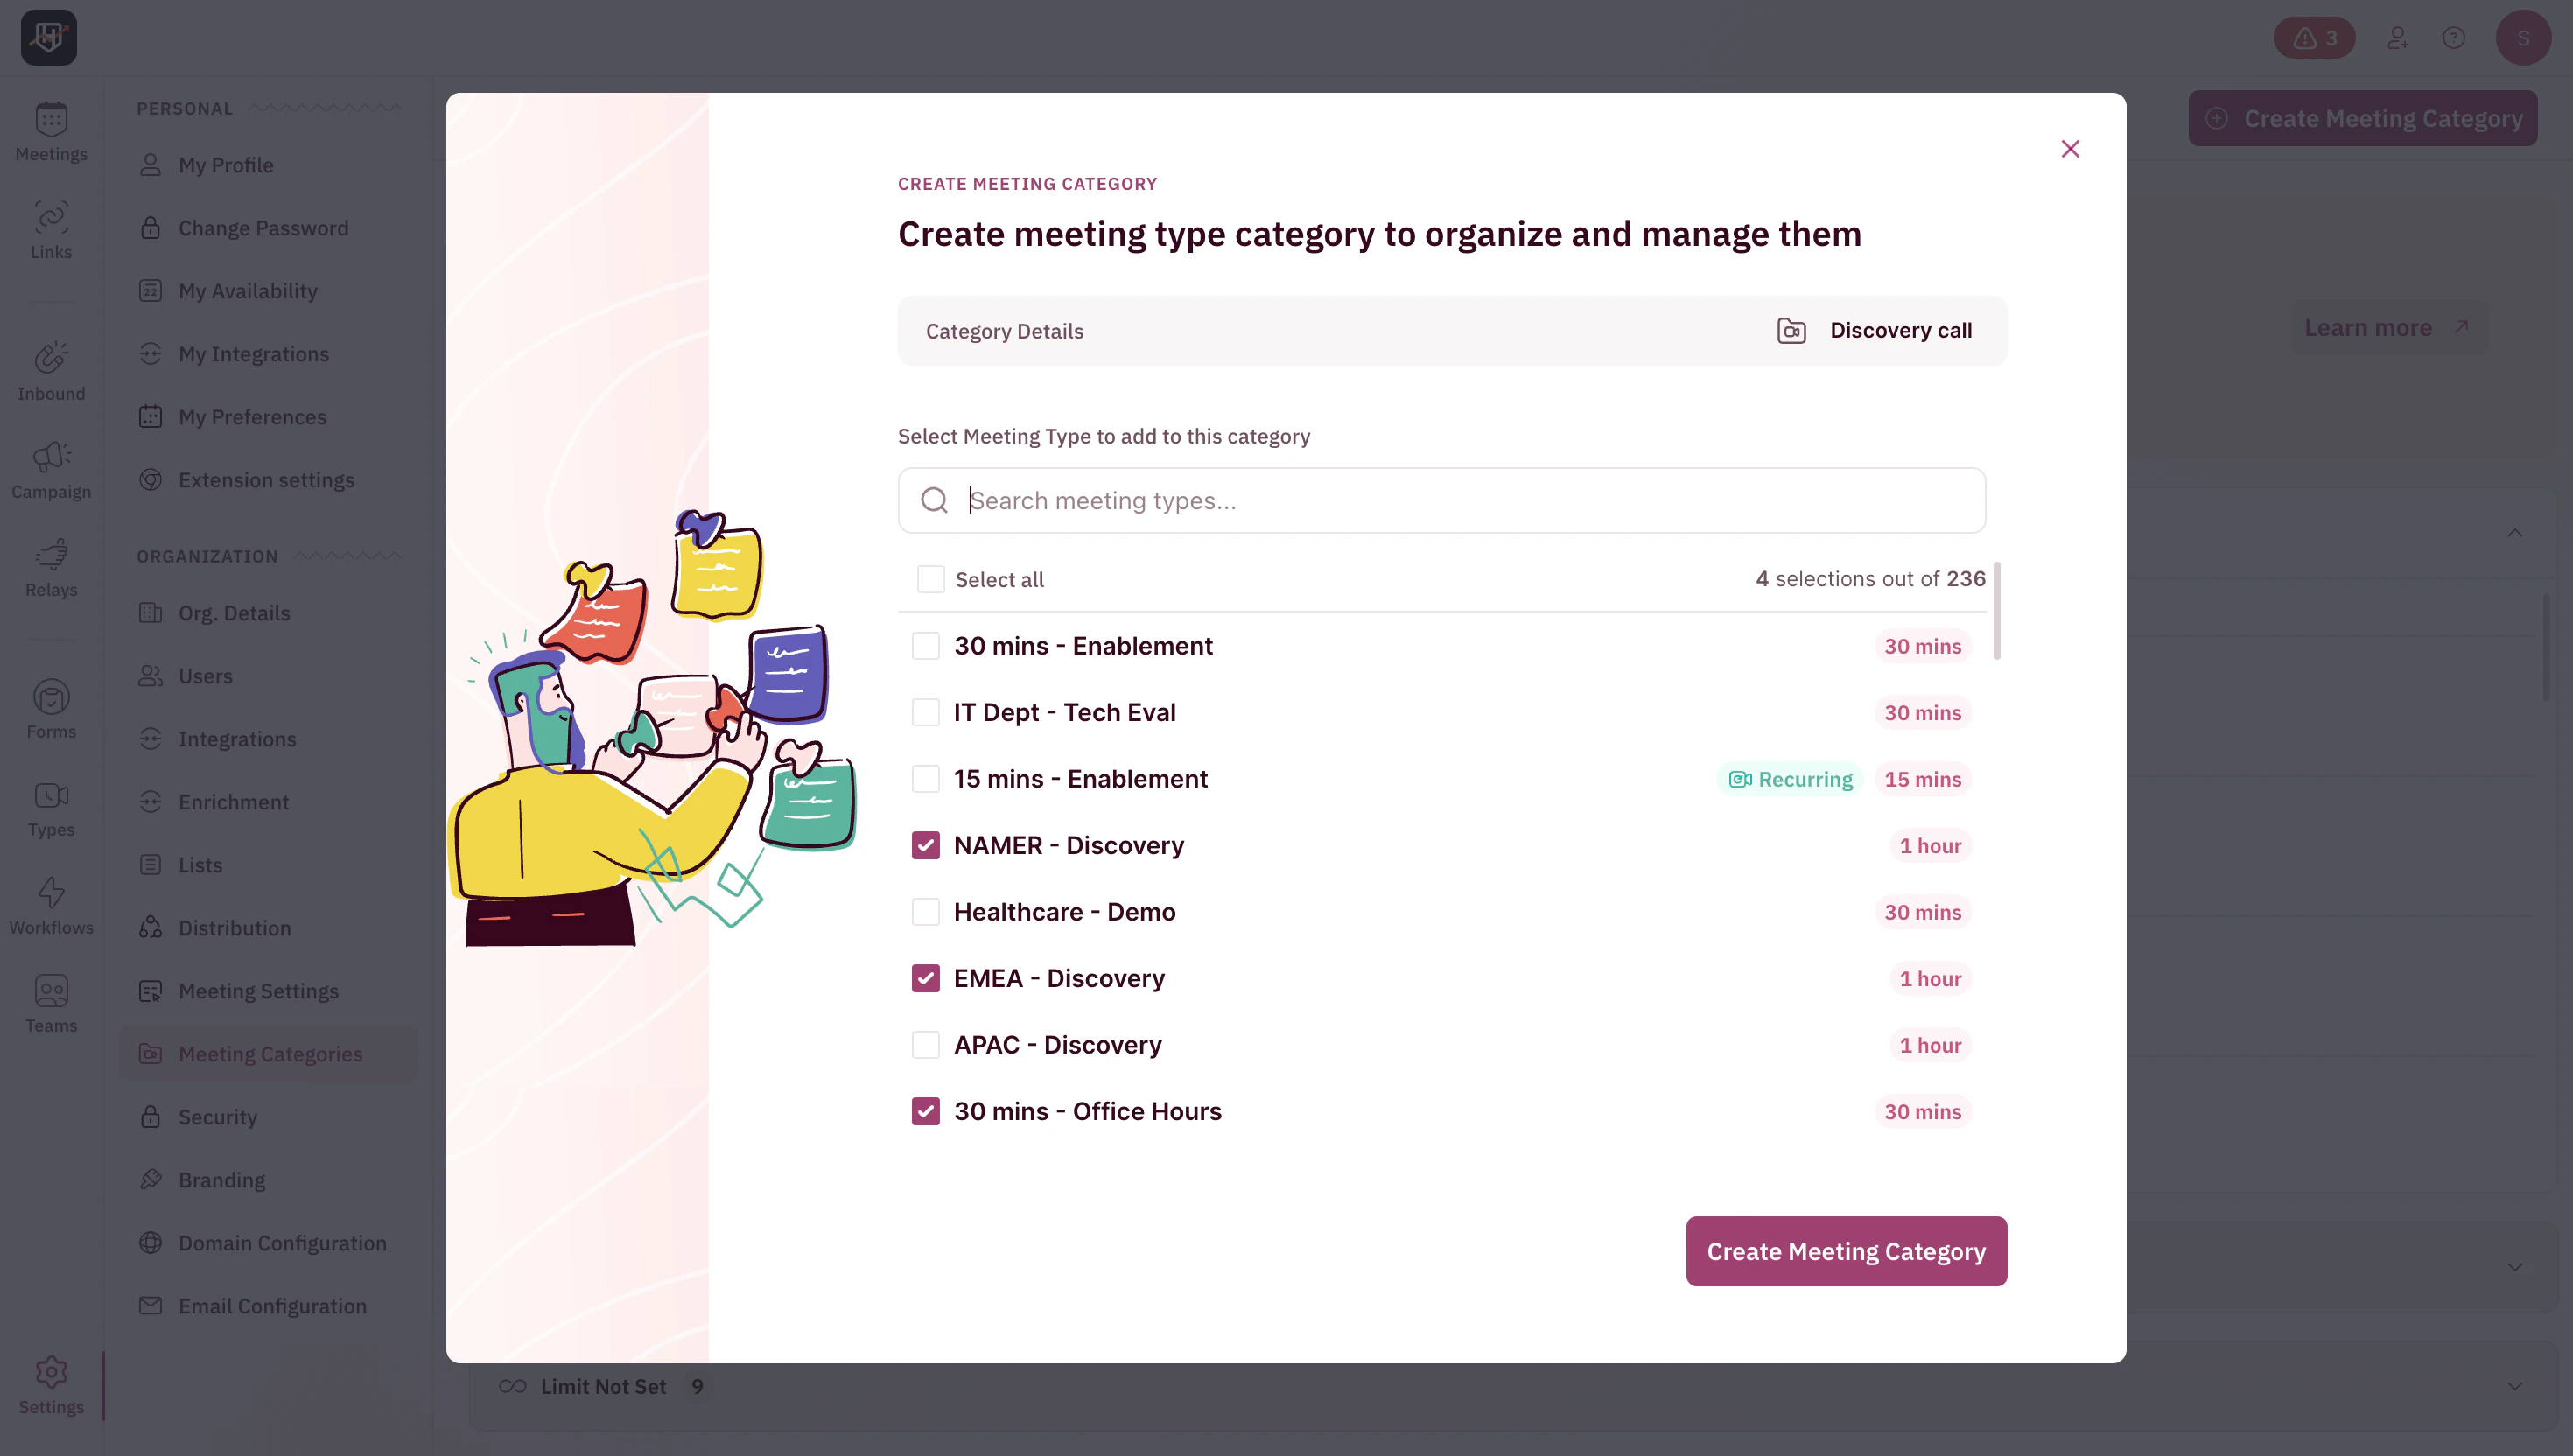
Select all meeting types that belong in this category and click Create Meeting Category.
Choose the Limit Type
Limit type is the period in which you want to cap the meeting assignments to your organization’s members.
-
Choose between:
Set Daily Limit - Ideal for steady daily inbound volume. Limit gets updated every midnight.
Set limit for Round-Robin Period - Ideal for uneven or monthly/quarterly booking cycles (e.g., end-of-quarter spikes). The meeting limit gets updated at midnight on the last day of the chosen period. You can switch limit types anytime, but changes apply only to new assignments. The past meetings will remain unaffected.
Set Limits for Members
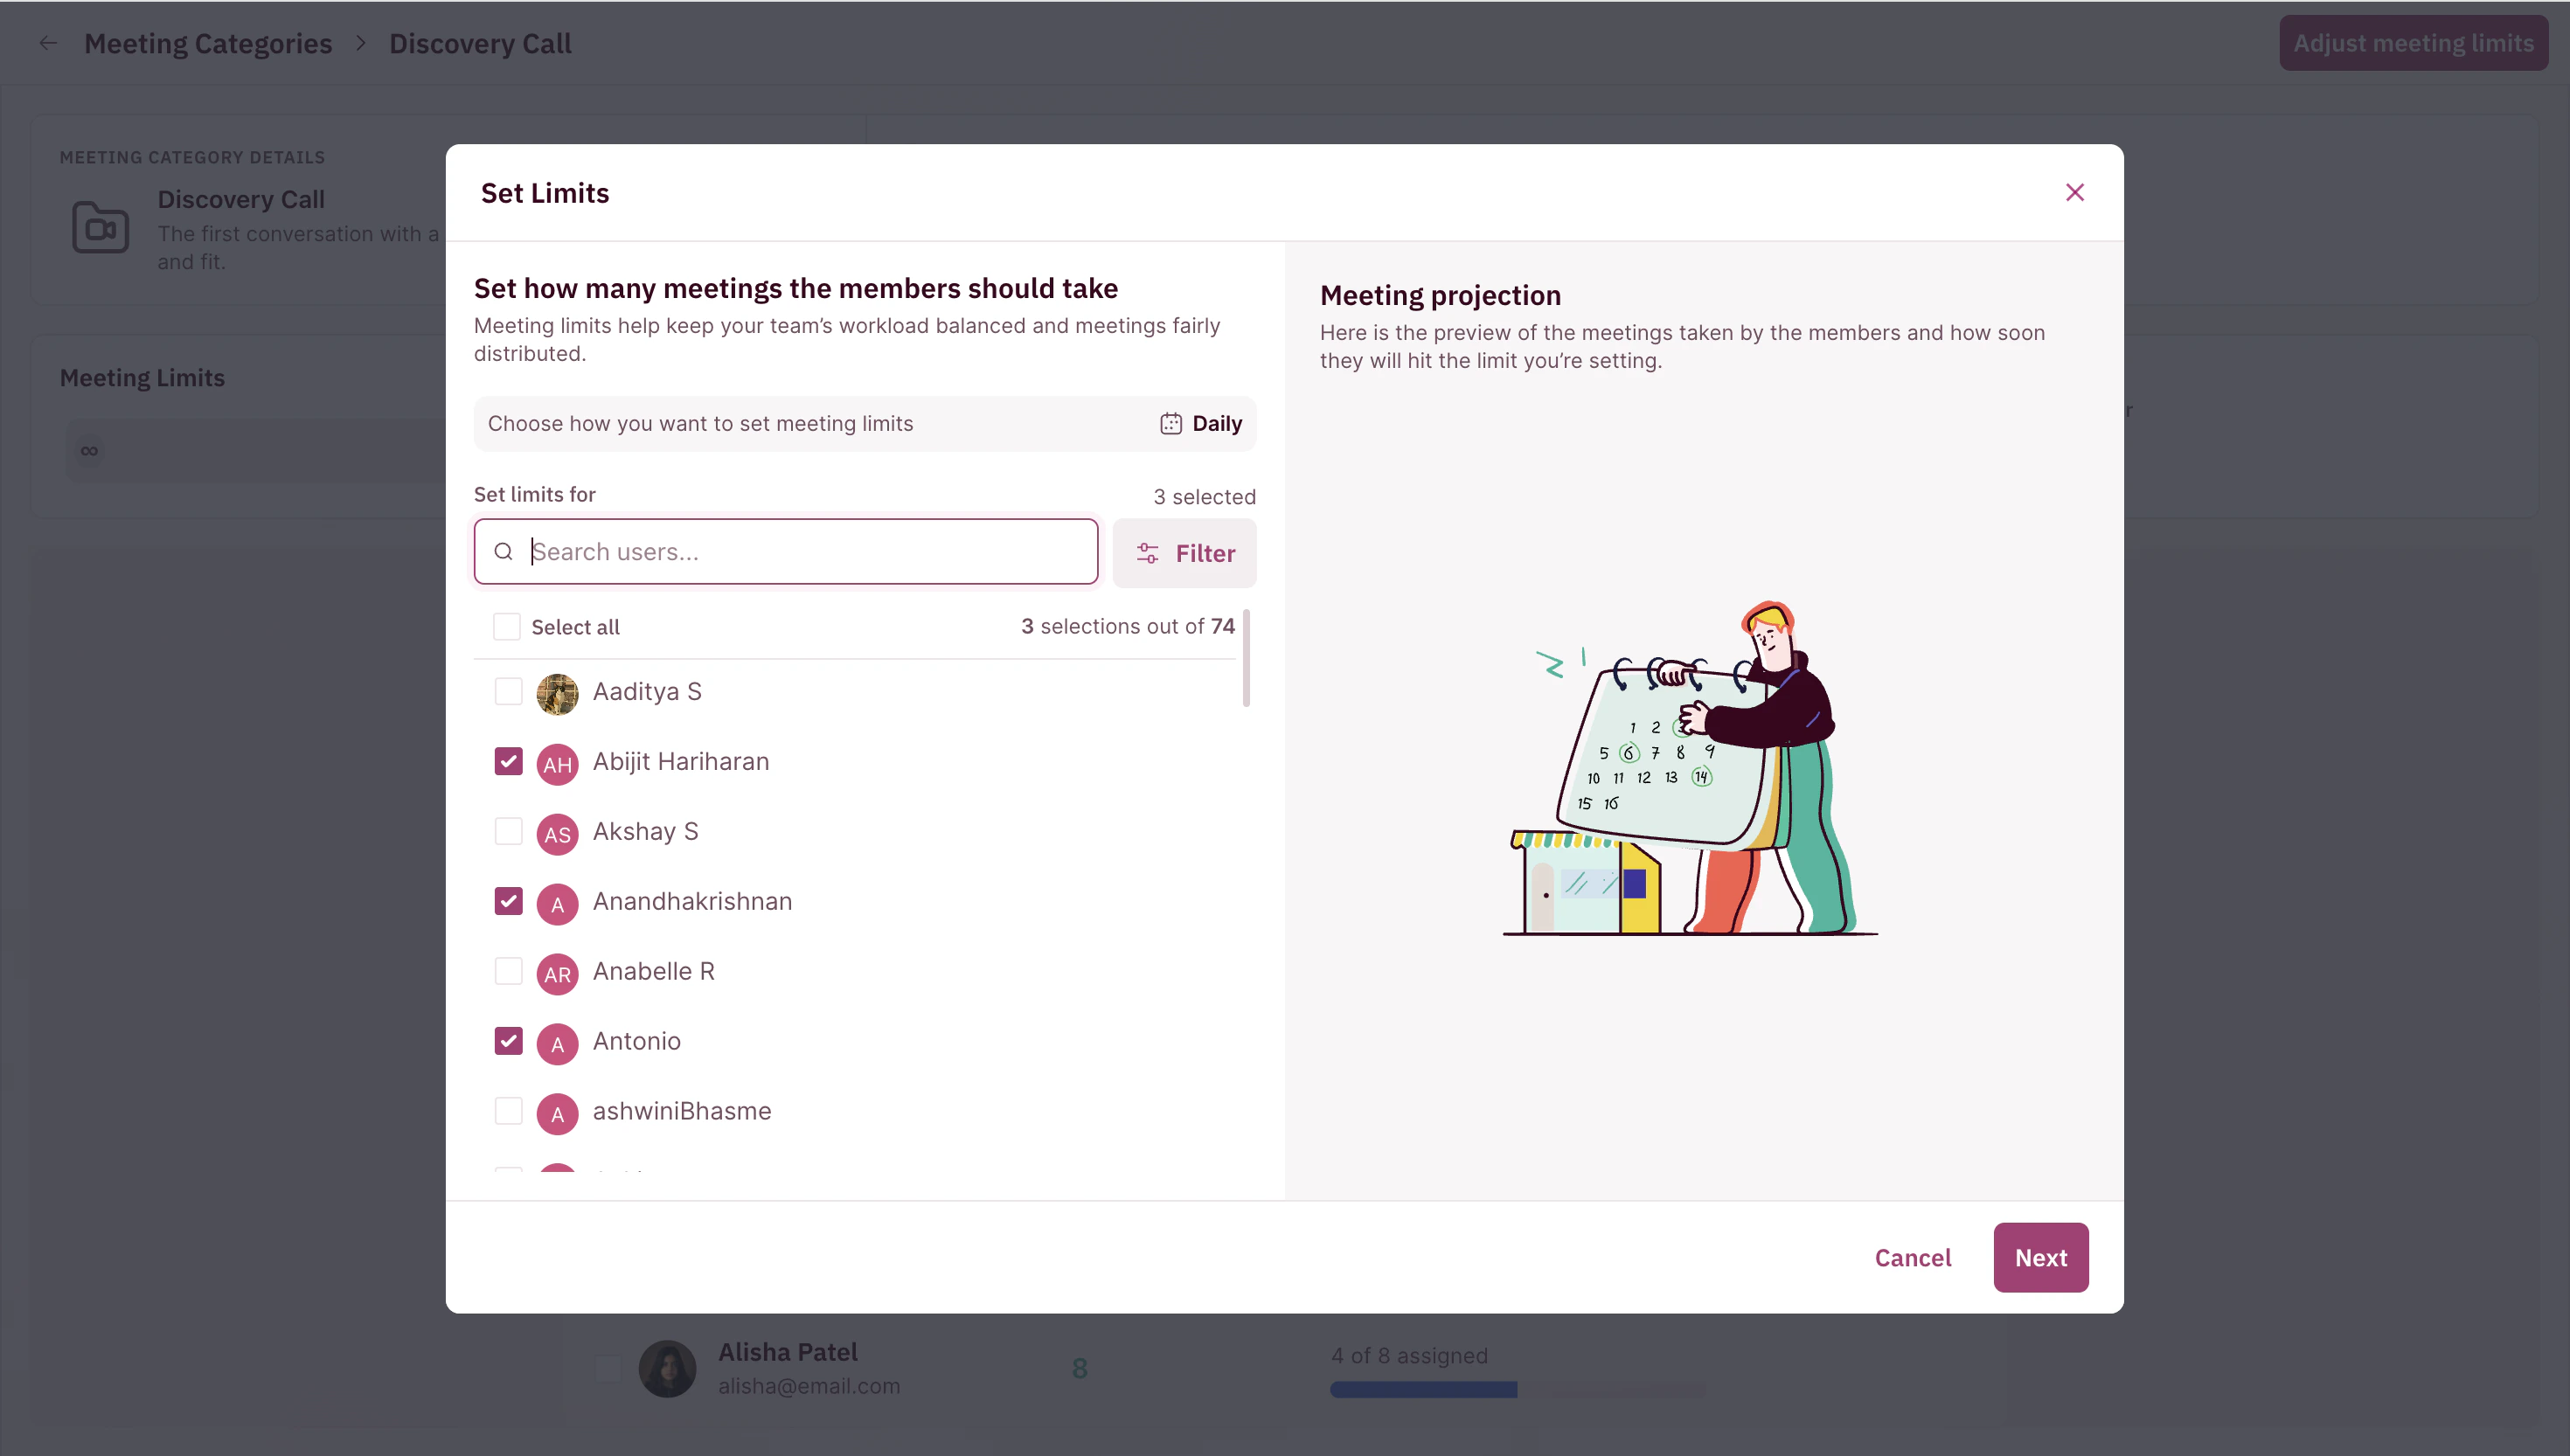
You will then be directed to the Set Limits modal.
-
Select all the members you want to set limits for and click Next.
-
Enter how many meetings each member can take from this meeting category within the period you selected earlier.

- Review the live projection panel to see how close each member is to their cap before saving.
- Click Save.
-
You can choose to add more members if you want, to limit the number of meetings they get assigned in this category or click on Done.
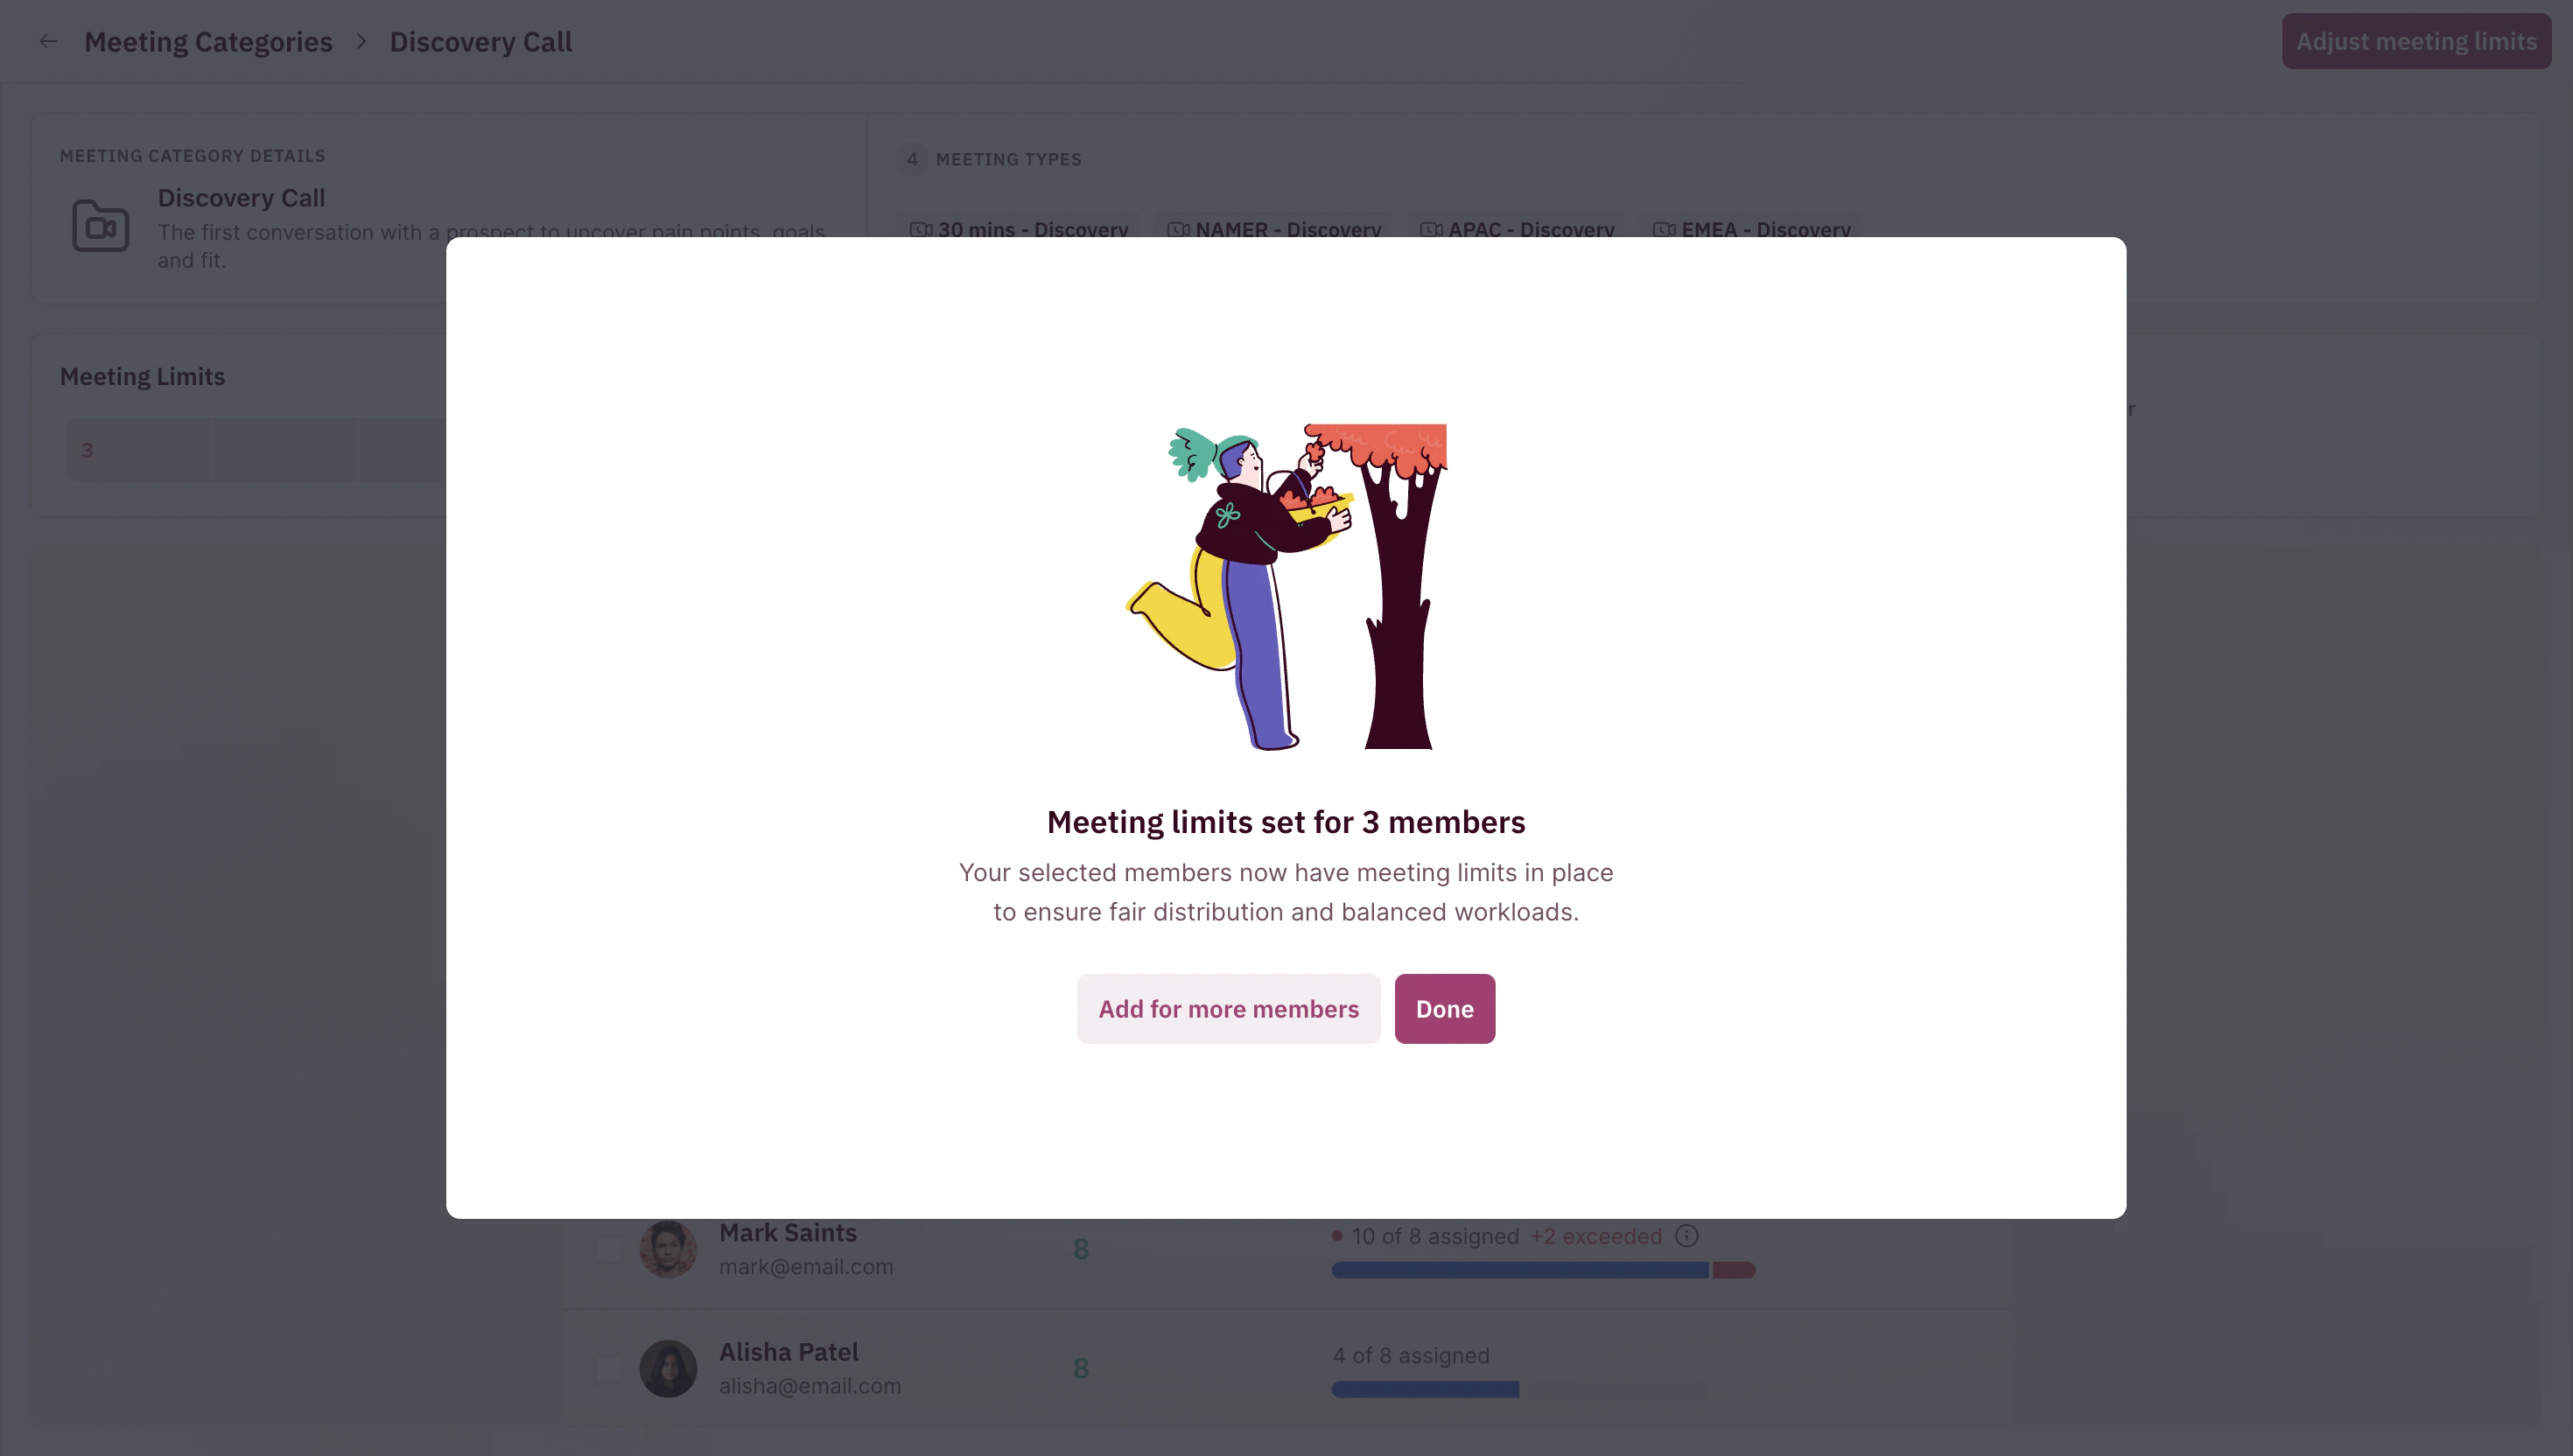
If limits feel too restrictive or loose, you can return anytime to adjust the cap or change the limit. Use the projection panel to preview the effect before saving.
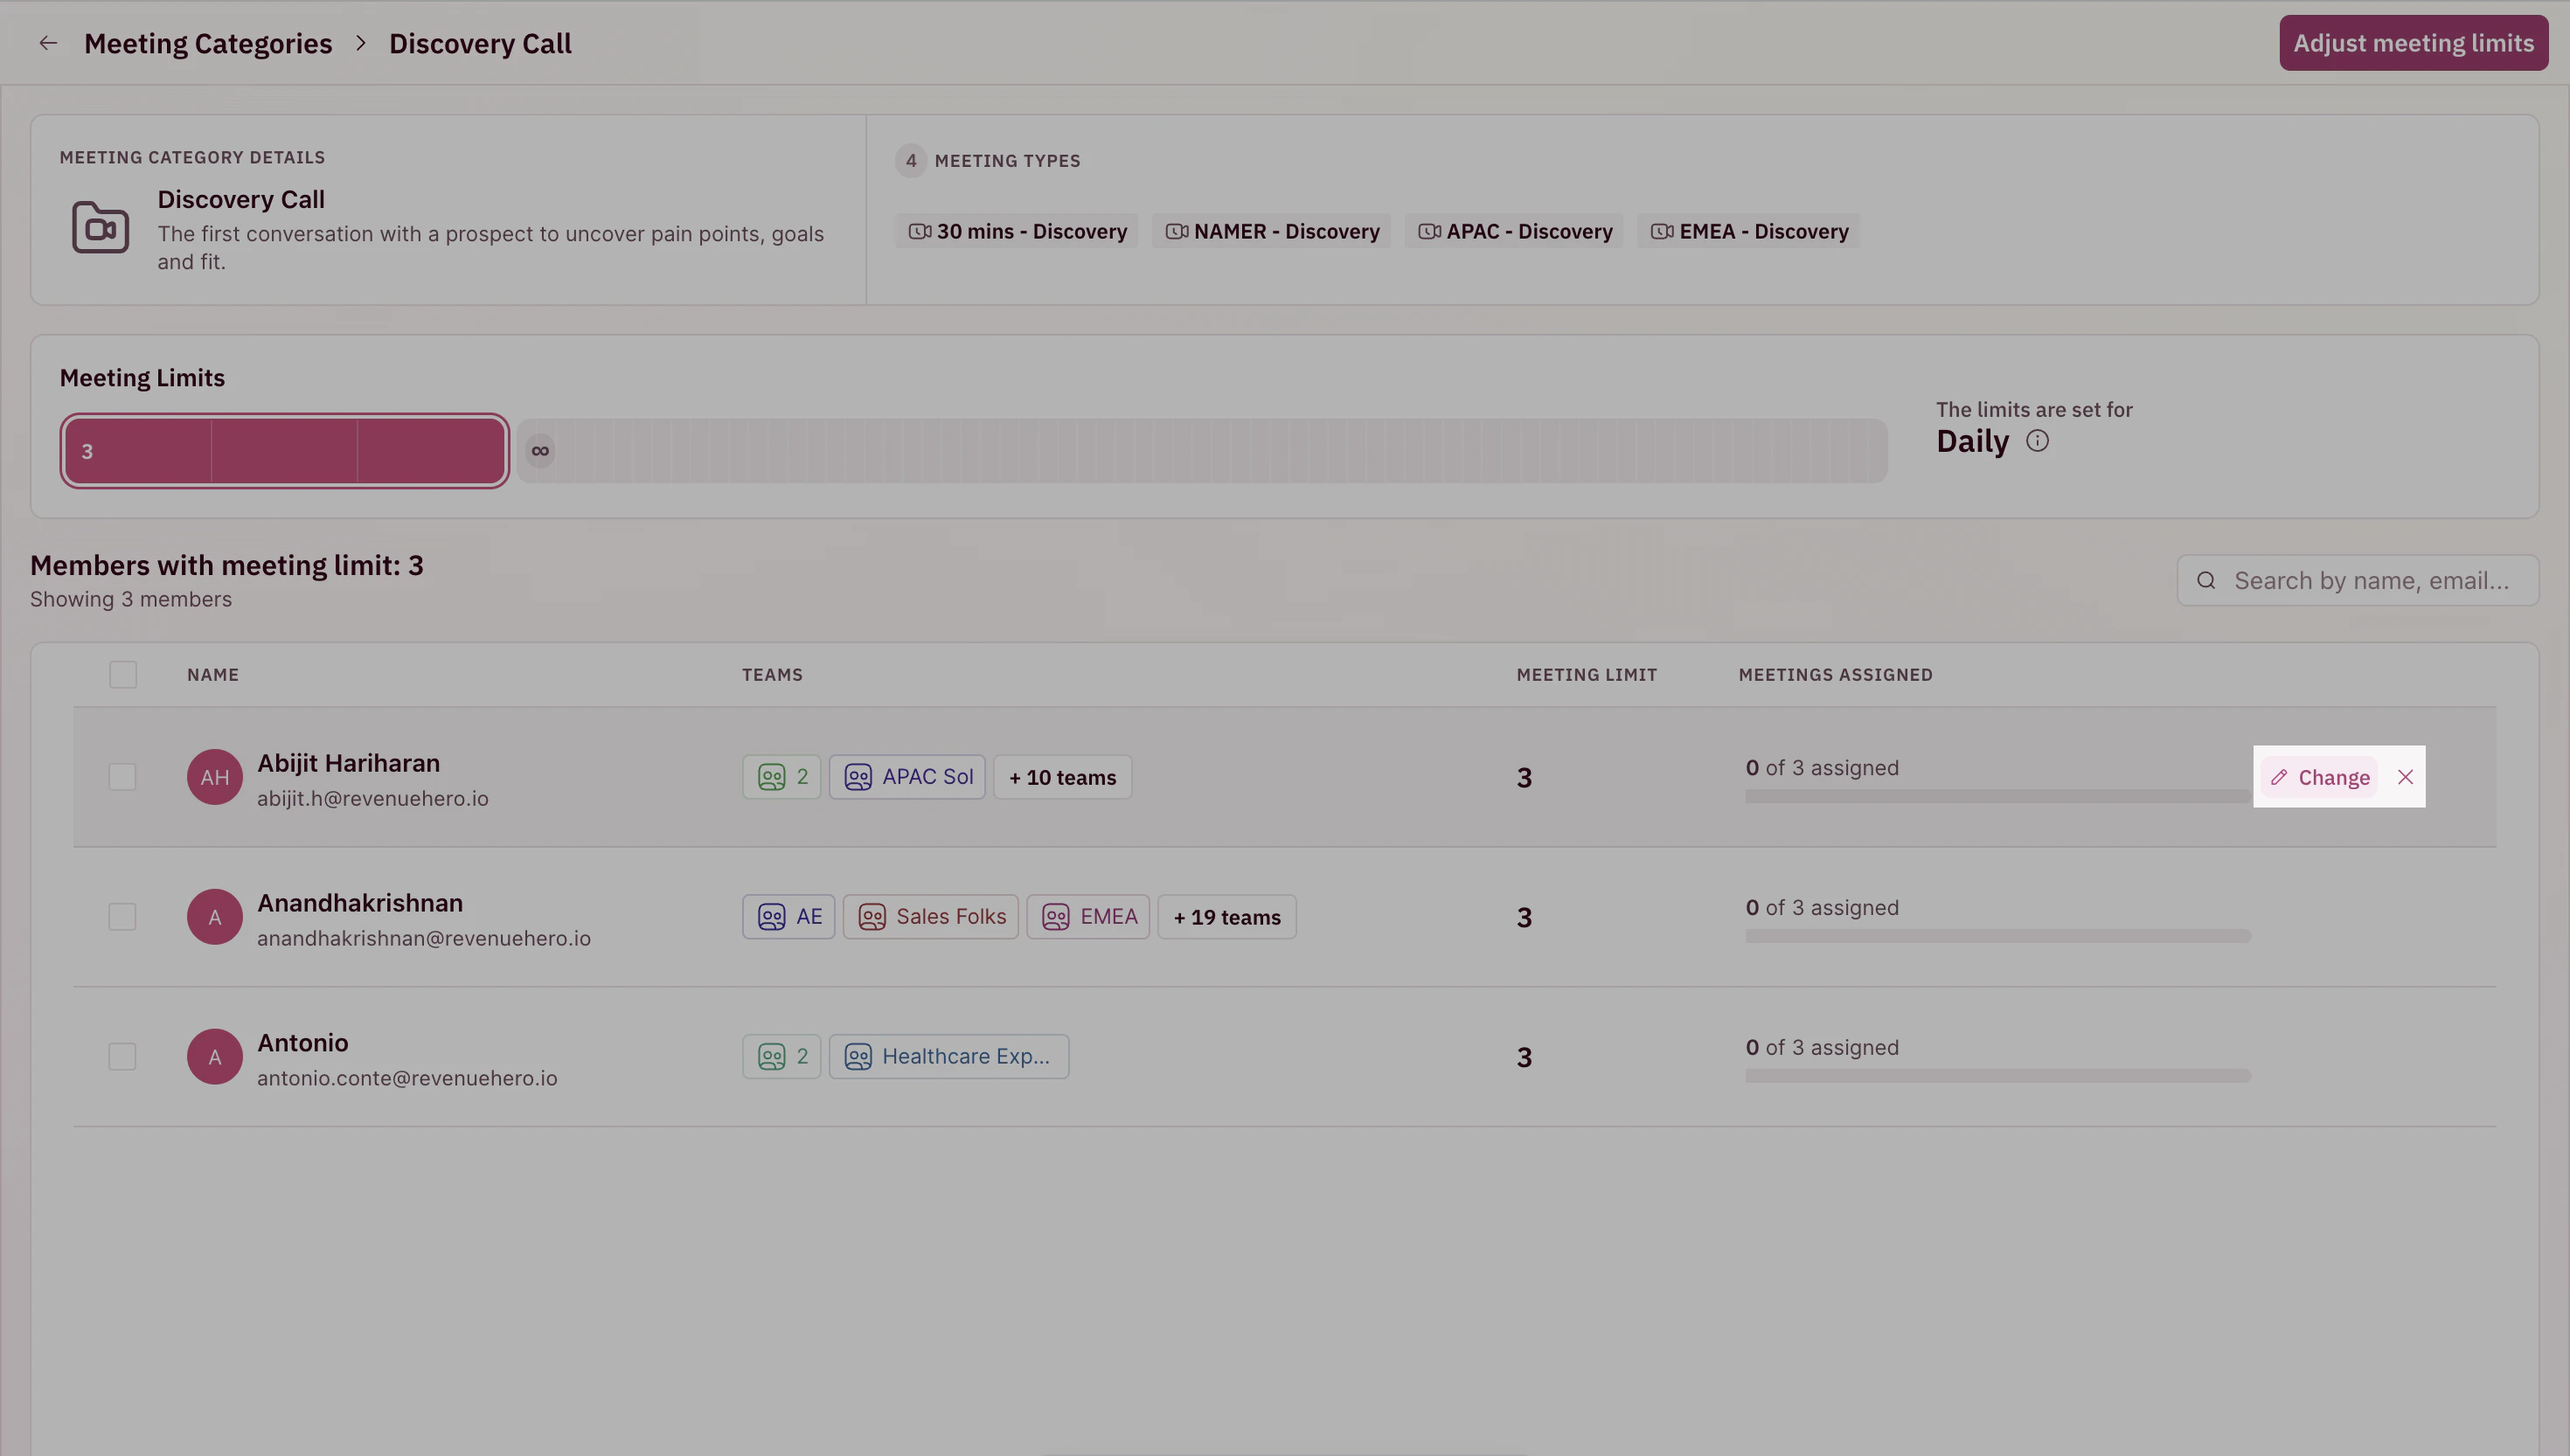
Review and Manage Limits
After your limits are set, you can review and adjust them anytime.
-
Open your Meeting Category to see:
- Category details and included meeting types
- Limit type in use
- Members for whom meeting limits have been set using this Meeting Category
- Each member’s current cap
-
You can choose to edit any of the above. Hover over the relevant section and click on the Edit button.
-
Always remember to Update any changes you make to the settings.
How routing honors limits
RevenueHero checks limits dynamically every time a meeting is assigned:| Situation | Behavior |
|---|---|
| AE is under cap | Eligible for new meeting assignment |
| AE has hit cap | Skipped in routing |
| AE is out-of-office | Automatically removed from queue based on calendar |
If reschedules occur, don’t worry, RevenueHero tracks meetings by assignment, so rescheduled meetings don’t count twice against the cap.
Best practices
- Start simple. Most teams begin with daily caps for high-volume meeting types, then refine them based on data.
- Adjust regularly. Compare assigned vs. completed meetings monthly and tweak caps as needed.
- Use the Distribution Report to see how meetings are currently being assigned across your team. This helps you fine-tune caps for better balance.
- Leverage projections. The live projection tool helps prevent over- or under-capping
- Keep an eye on OOO status. AEs who are out-of-office are automatically excluded from routing, no manual action required.