BEFORE YOU BEGIN
- Invite your reps to RevenueHero so they appear as selectable members
- Each rep should connect their calendar before being added to a team. Without a connected calendar, RevenueHero can’t check their availability or create meetings on their calendar.
How teams work
When a prospect submits a form and reaches your scheduler, RevenueHero evaluates your distribution rules to determine who should get the meeting. Each distribution rule points to a team and specifies how to assign within it:- All members: Round-robin across everyone in the team. The simplest setup.
- Selected members: Pick specific reps from the team for this rule. You can create multiple distribution rules pointing to the same team, each routing to different members based on conditions like company size, region, or product interest.
- Single member: Select one rep. Useful when a specific territory or product line belongs to one person (e.g., all DACH leads go to Frank, or all CLM product inquiries go to Sahana).
- Availability: The team’s working hours define when prospects can book. This is especially important for multi-region setups where US reps should only show availability during US hours and EU reps during EU hours.
- Groups: Sub-groups within a team for collective round-robin (e.g., pair an AE with an SE on every call so the prospect meets both).
- Roles: Each member has a role (Admin, Manager, or Member) that controls what they can edit within the team.
Create a team
Step 1: Open the Teams page
Click Teams in the left sidebar. This shows all existing teams in your account with member count, group count, timezone, and member avatars.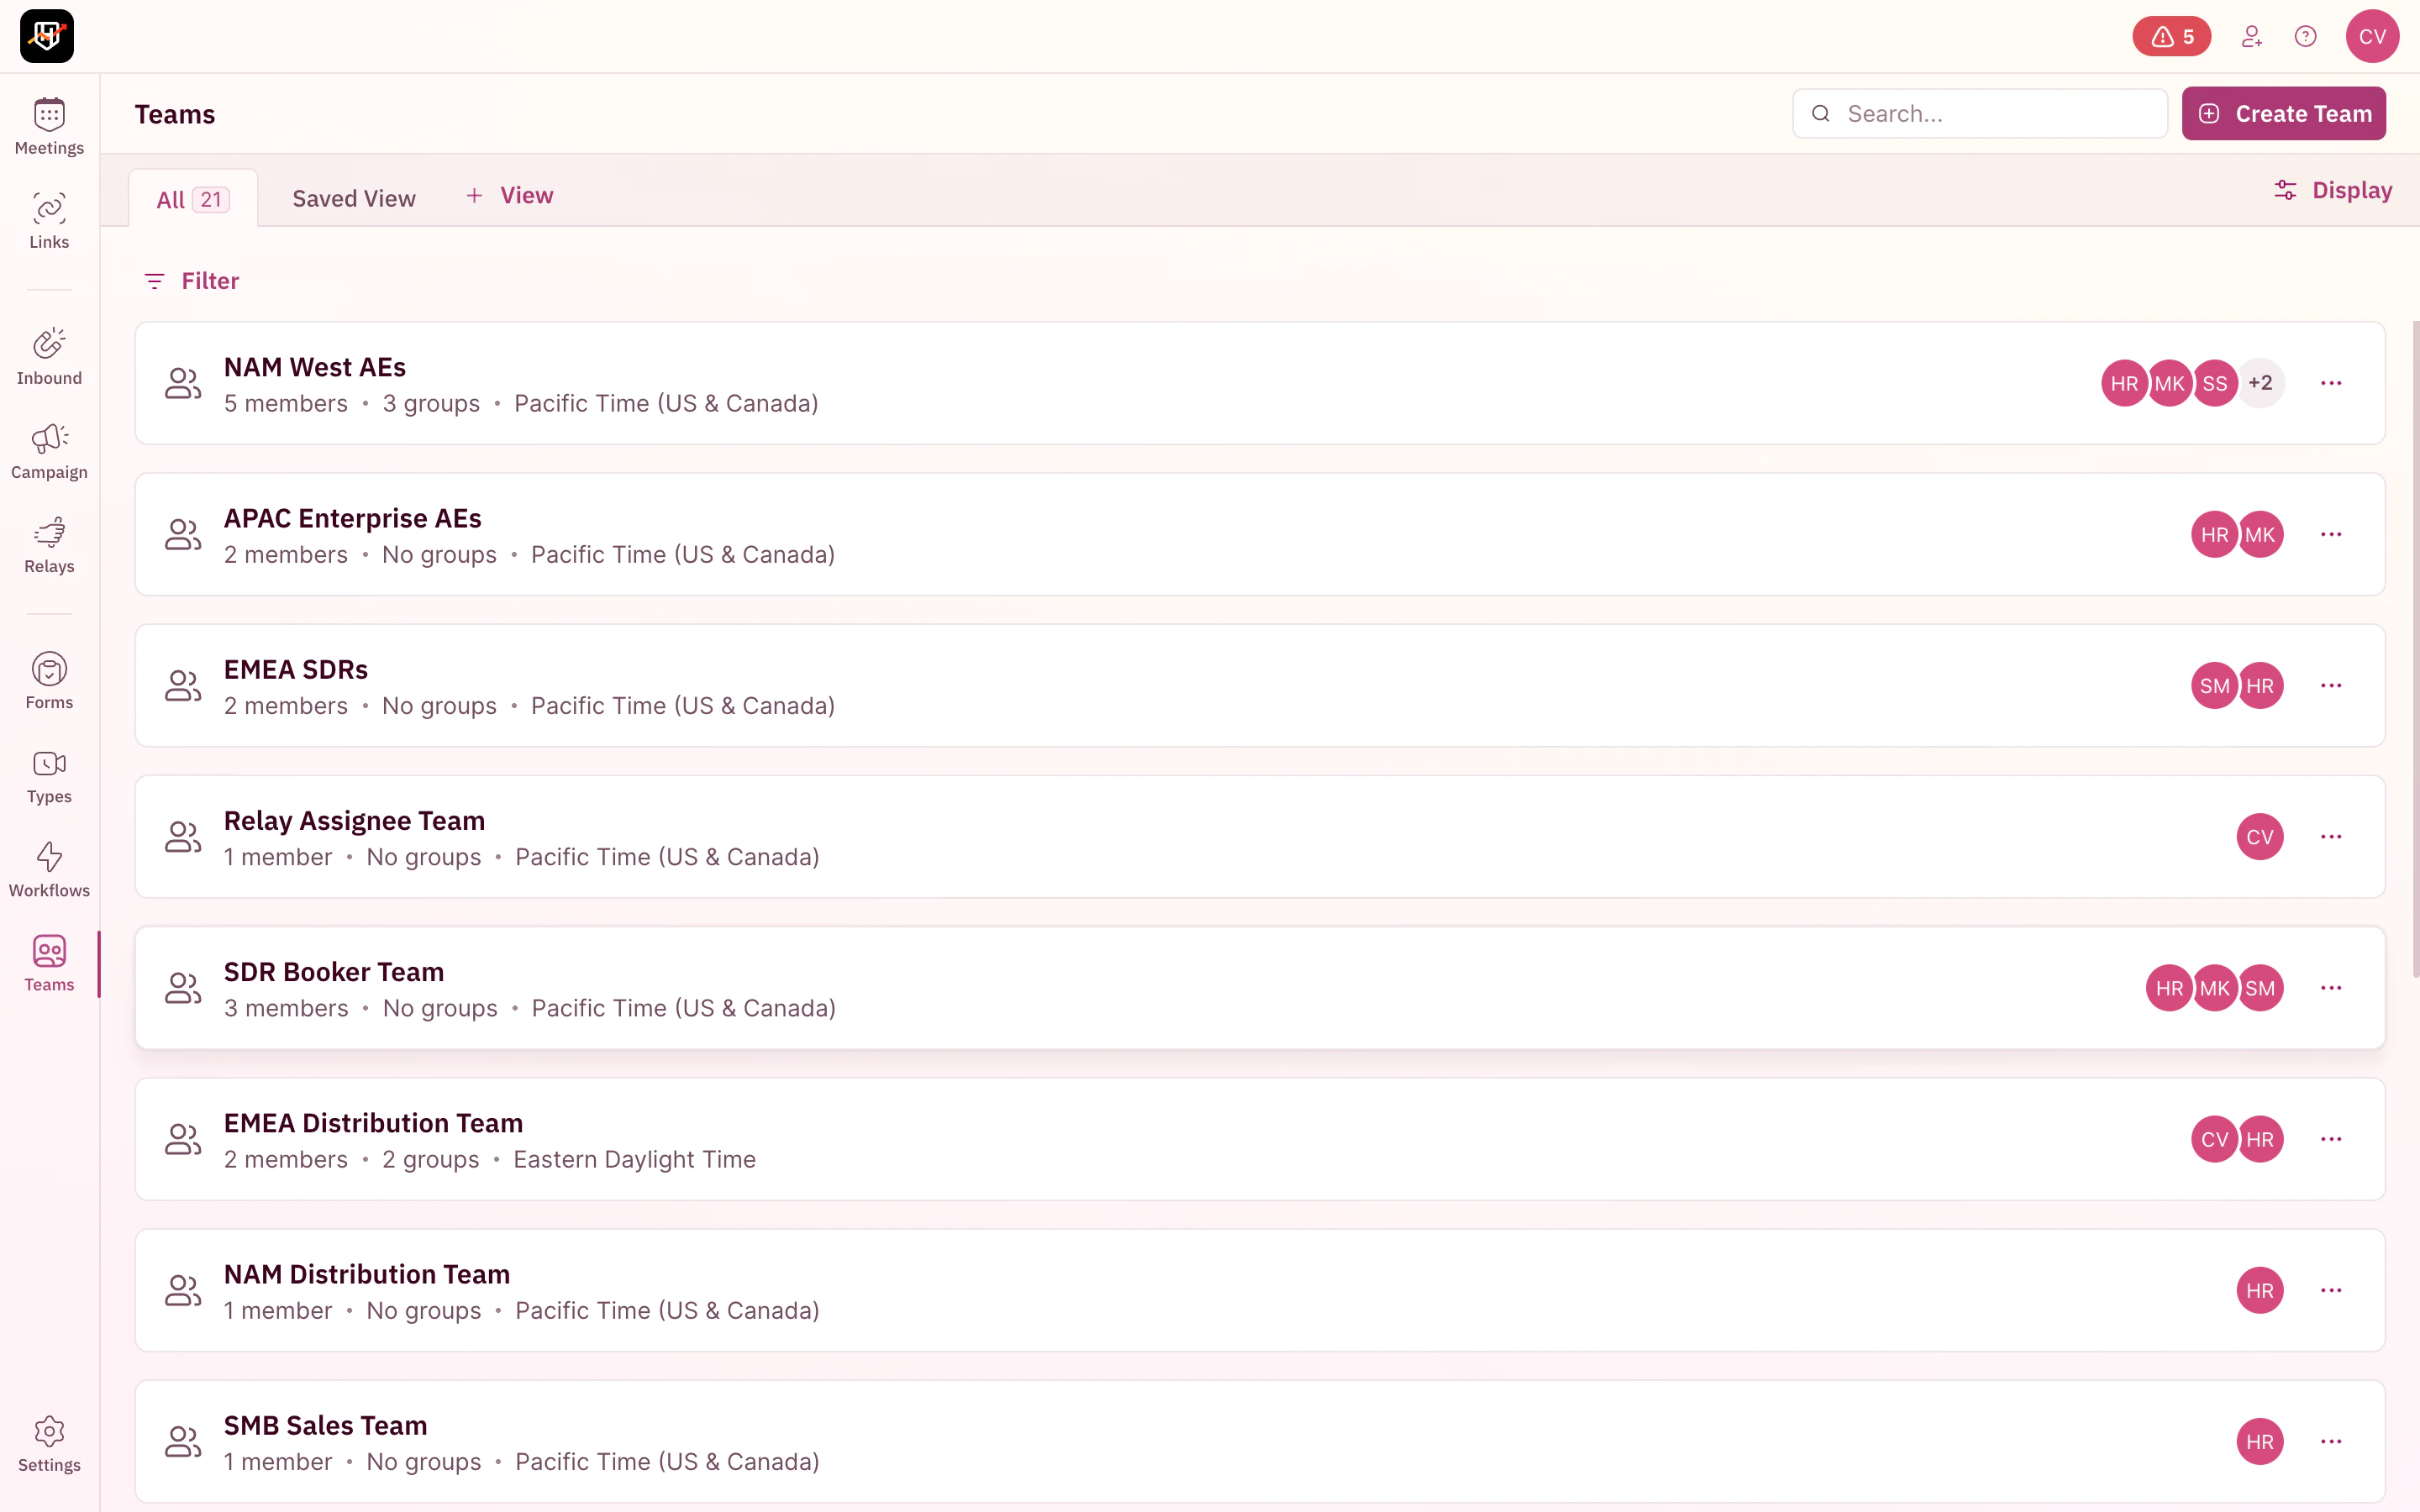
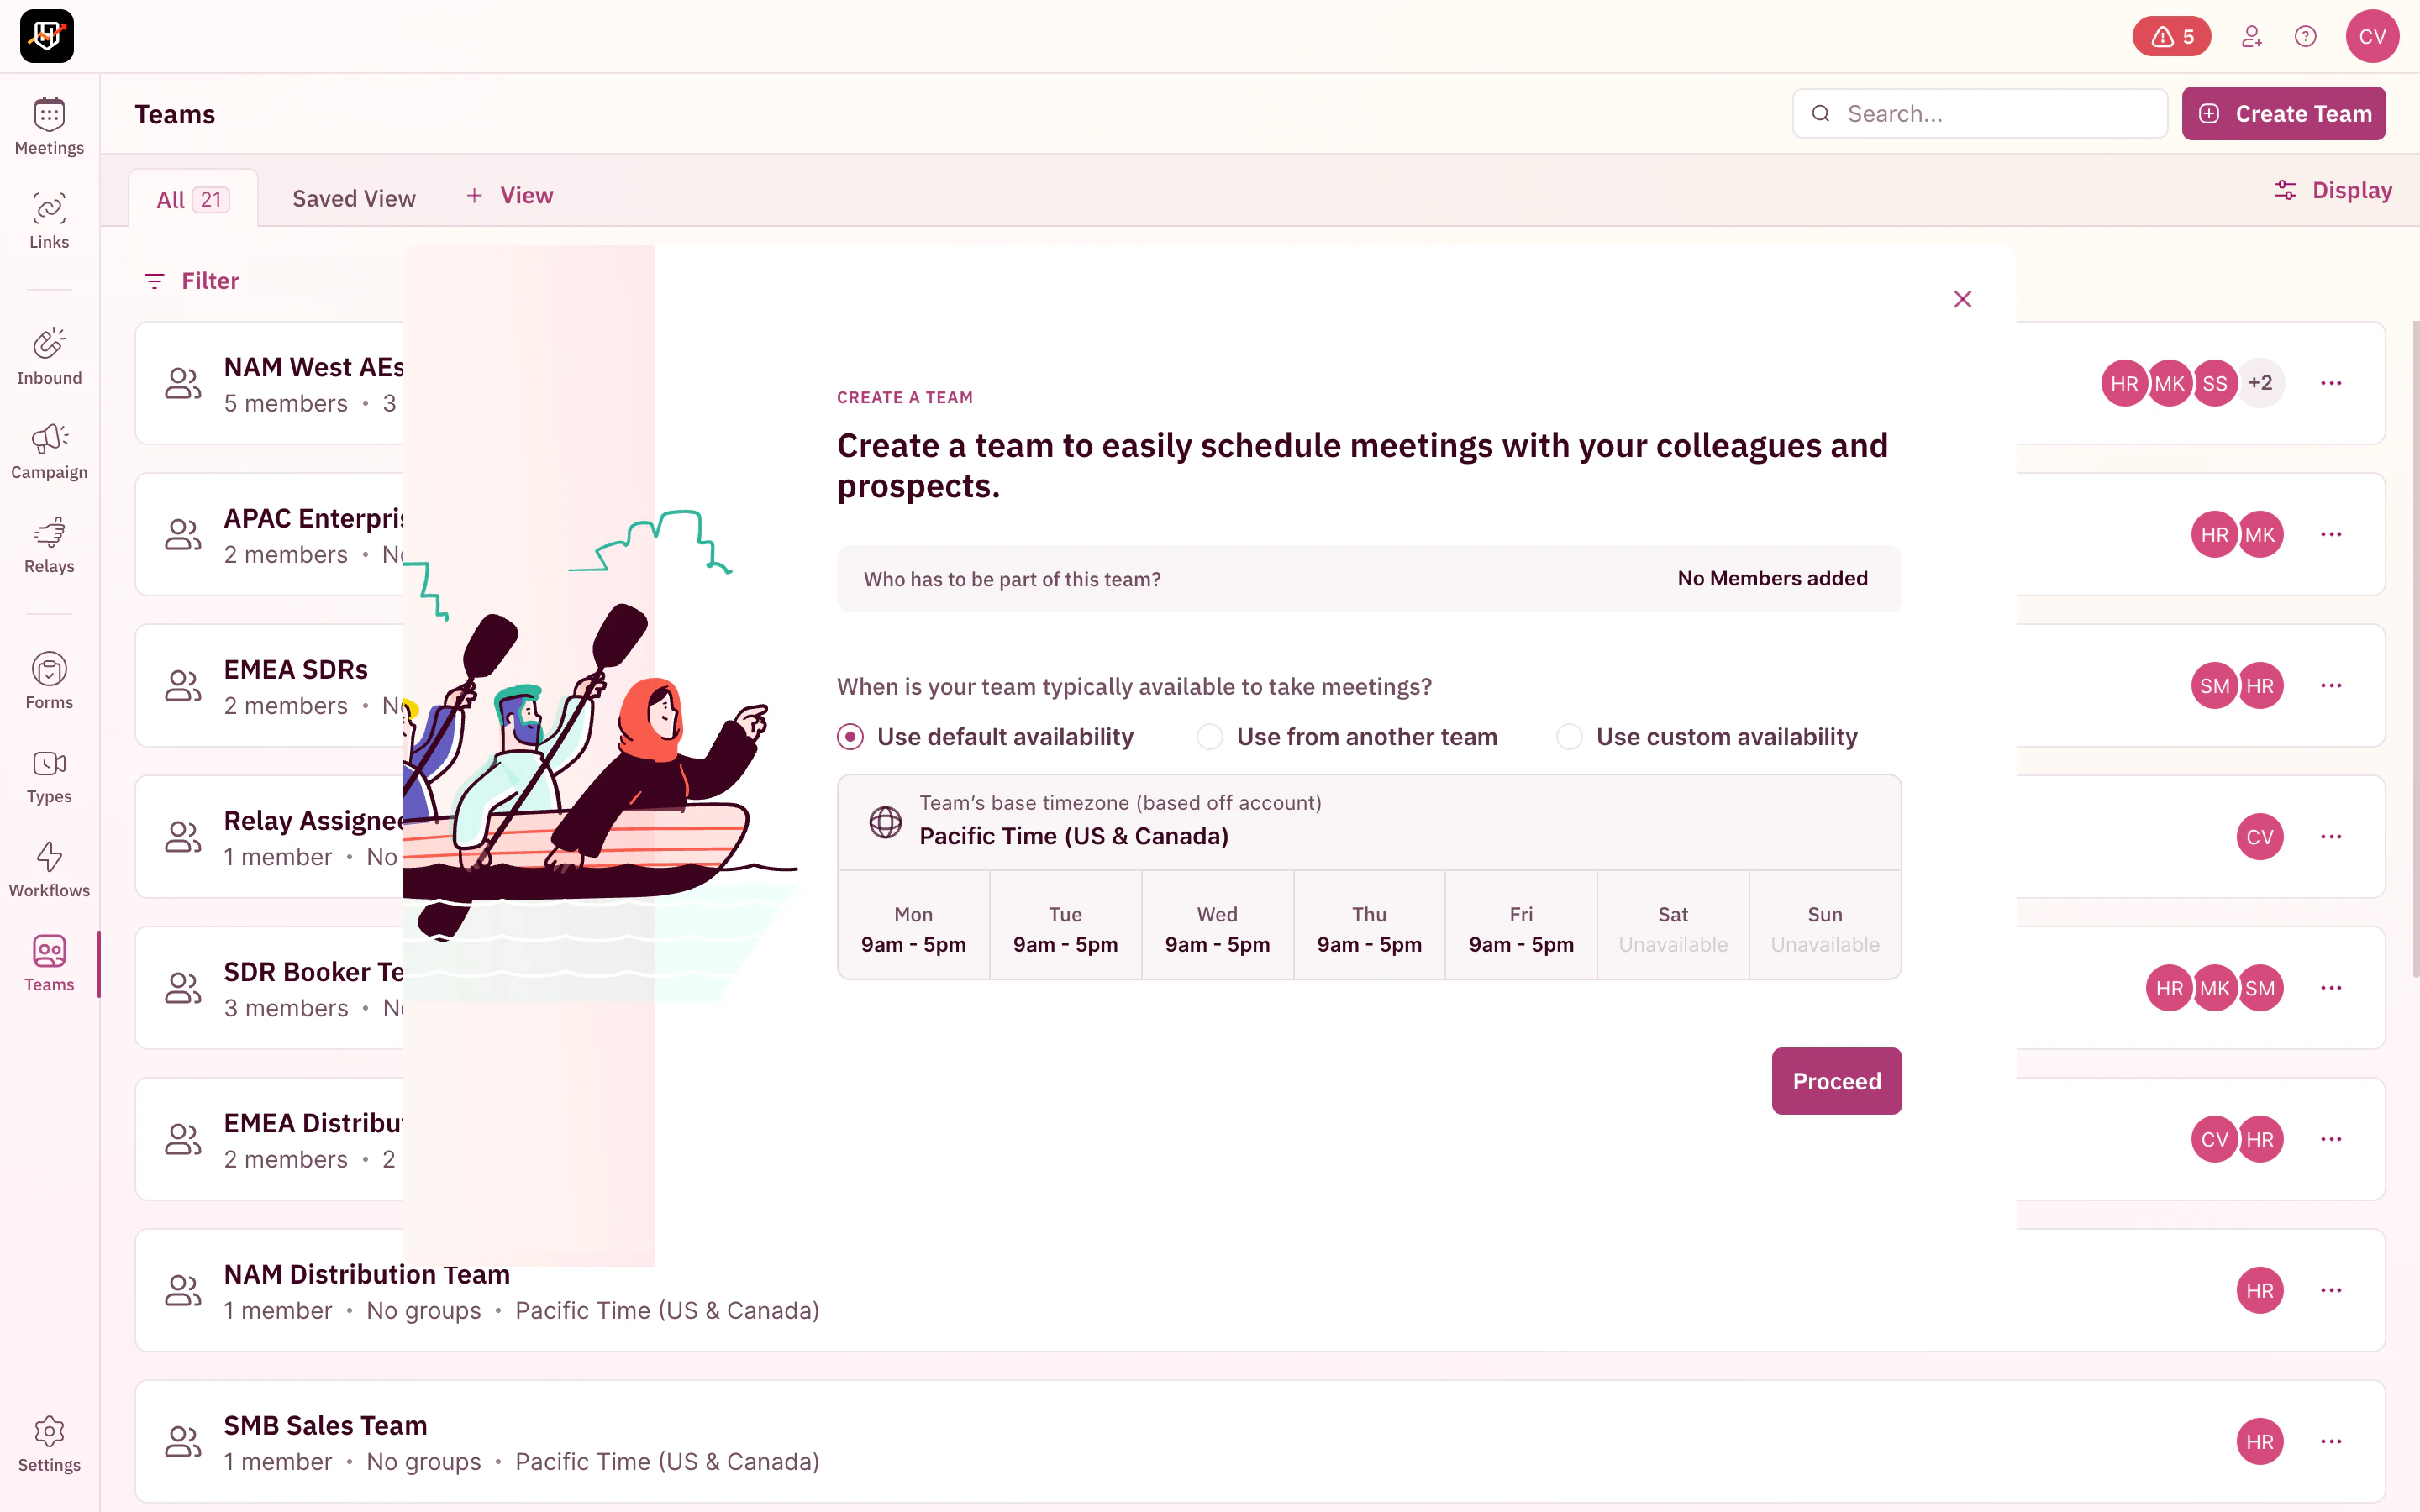
Step 2: Select members
The wizard opens with the question: “Who has to be part of this team?” Search by name or scroll the list and check each member you want to add.
Step 3: Set the team’s availability
Choose when this team can receive meetings. You have three options:| Option | When to use |
|---|---|
| Use default availability | Standard Mon-Fri, 9am-5pm in your account’s timezone. Works for most teams. |
| Use from another team | Copy availability from an existing team. Useful when creating a second team in the same region. |
| Use custom availability | Set specific days and time slots. Use this for teams in different timezones or with non-standard hours. |
The team detail page
Once your team is created, you land on the team detail page. This is your central view for managing the team.
- Members (left): All reps on this team with their email, calendar integration status, and role (Admin, Manager, Member). Hover over a member to see edit and remove actions.
- Groups (top right): Sub-groups for collective round-robin pairings (e.g., AE + SE pairs). Click View more to manage groups.
- Availability (bottom right): The team’s working hours grid. Click View to edit.
- Click Invite Member to add new reps
- Click Settings to rename the team or change its timezone
- Create groups for collective round-robin setups
How teams connect to routing
Teams become active when you reference them in your routing setup. The full chain looks like this:- Create a team (this article) to define who can receive meetings
- Create a distribution rule that points to this team and specifies the assignment logic (all members, selected members, or single rep) and any conditions (company size, region, product)
- Attach the distribution rule to an inbound router, campaign router, or relay
- Rule 1: Leads with fewer than 500 employees go to Evan (single selected member)
- Rule 2: Leads with 500 or more employees round-robin among the other 9 AEs (selected members)
- Rule 3: Fallback rule round-robins across all 10 members
One team or many?
This is the first structural decision you’ll make. There’s no universal answer, but here’s how customers typically approach it:| Scenario | Recommended structure | Why |
|---|---|---|
| 5 AEs, all US, same working hours | One team: “US AEs” | Simple. One distribution rule handles everything. |
| AEs in US + AEs in EMEA | Two teams: “NAM AEs” and “EMEA AEs” | Different availability windows per region. Prevents prospects from seeing 3am time slots. |
| AEs split by segment (Enterprise vs Commercial) across regions | Four teams: “US Enterprise”, “US Commercial”, “EMEA Enterprise”, “EMEA Commercial” | Region x segment matrix gives you clean routing and accurate availability per group. |
| SDRs who hand off to AEs via relay | Two teams: “SDRs” (relay bookers) and “AEs” (relay assignees) | Relays need separate teams for the booker and assignee side. |
| One AE owns a specific territory | One team, but use a distribution rule with a condition that routes to that single selected member | You don’t need a separate team for one person. Put them on the main team and use distribution rule conditions. |
| AE + SE on every call | One team with groups: create an “AE-SE Pairs” group using collective round-robin | Groups within a team handle multi-rep meetings without needing separate teams. |
Your team is ready. Next, create a distribution rule to define how meetings get assigned to the reps on this team. 🎉🎉🎉
Add Members to a Team
Add or invite new reps to an existing team.
Create a Distribution Rule
Set up round-robin to assign meetings to your team.
My Availability
Individual reps can customize their personal availability within the team schedule.
Remove Members from a Team
Safely remove reps from a team with rule reassignment.