Steps to create a Workflow
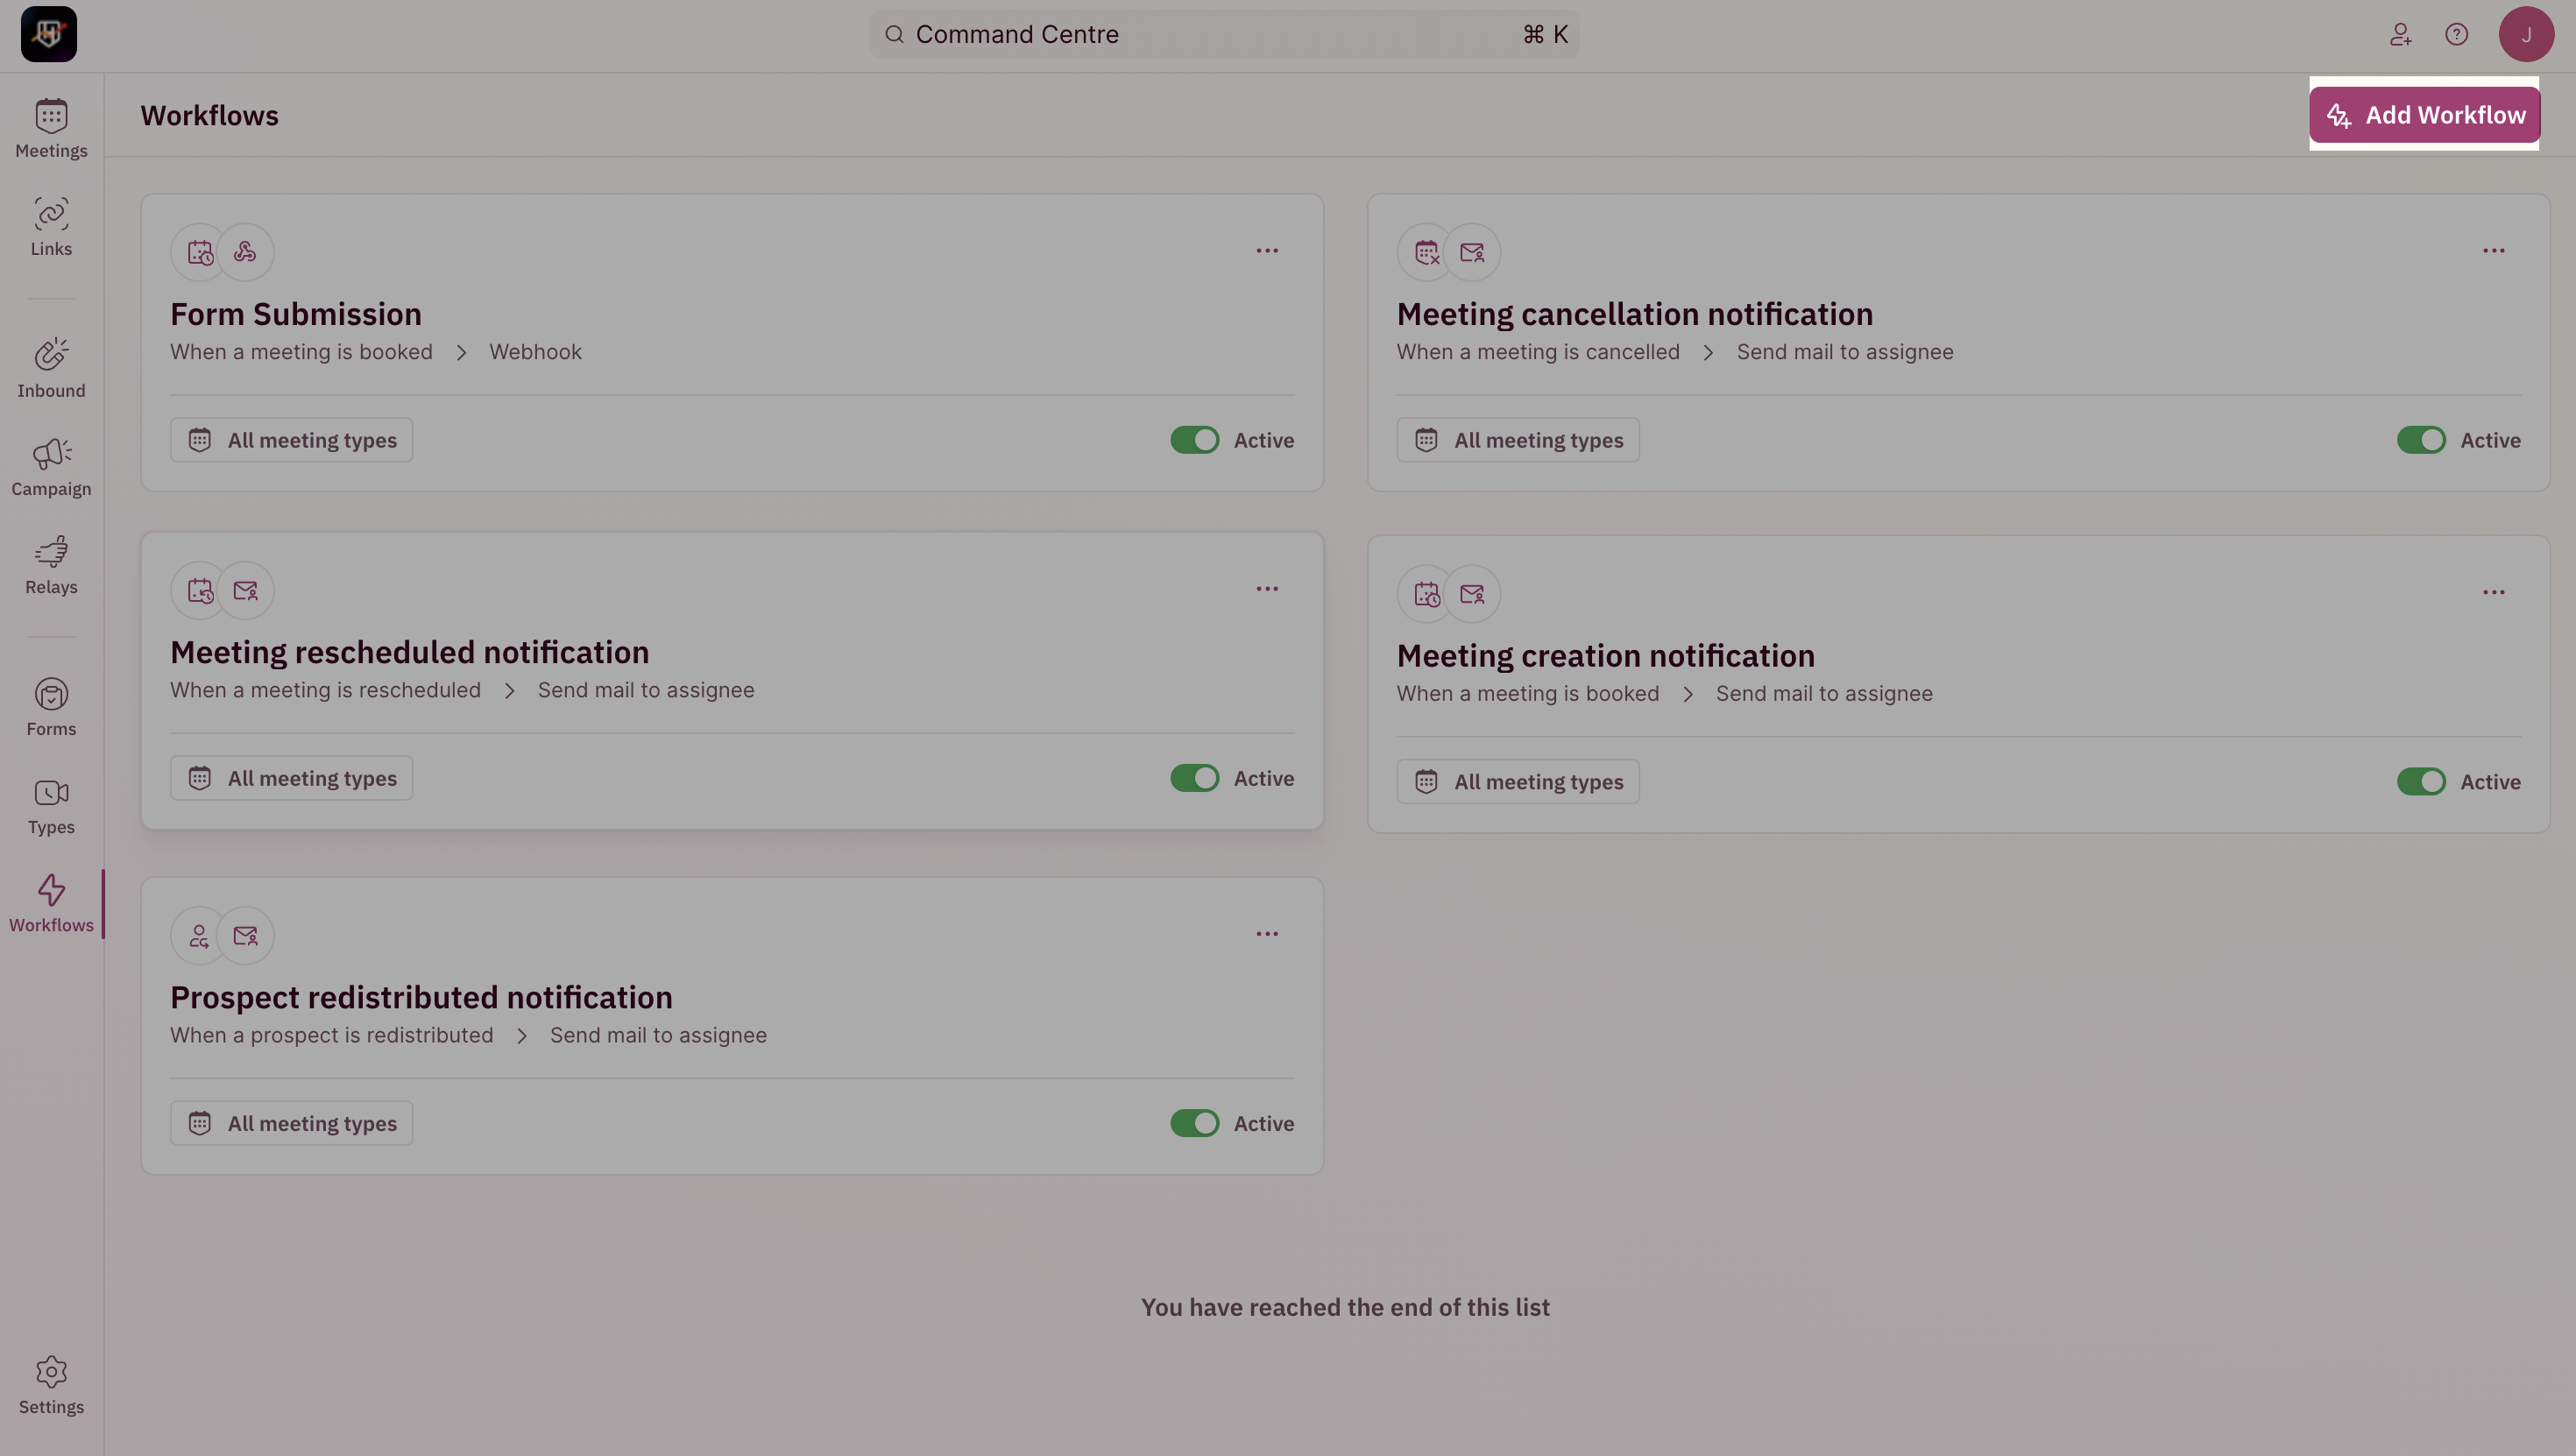
Navigate to Workflows
- To create a Workflow, use the side nav bar and click on Workflows
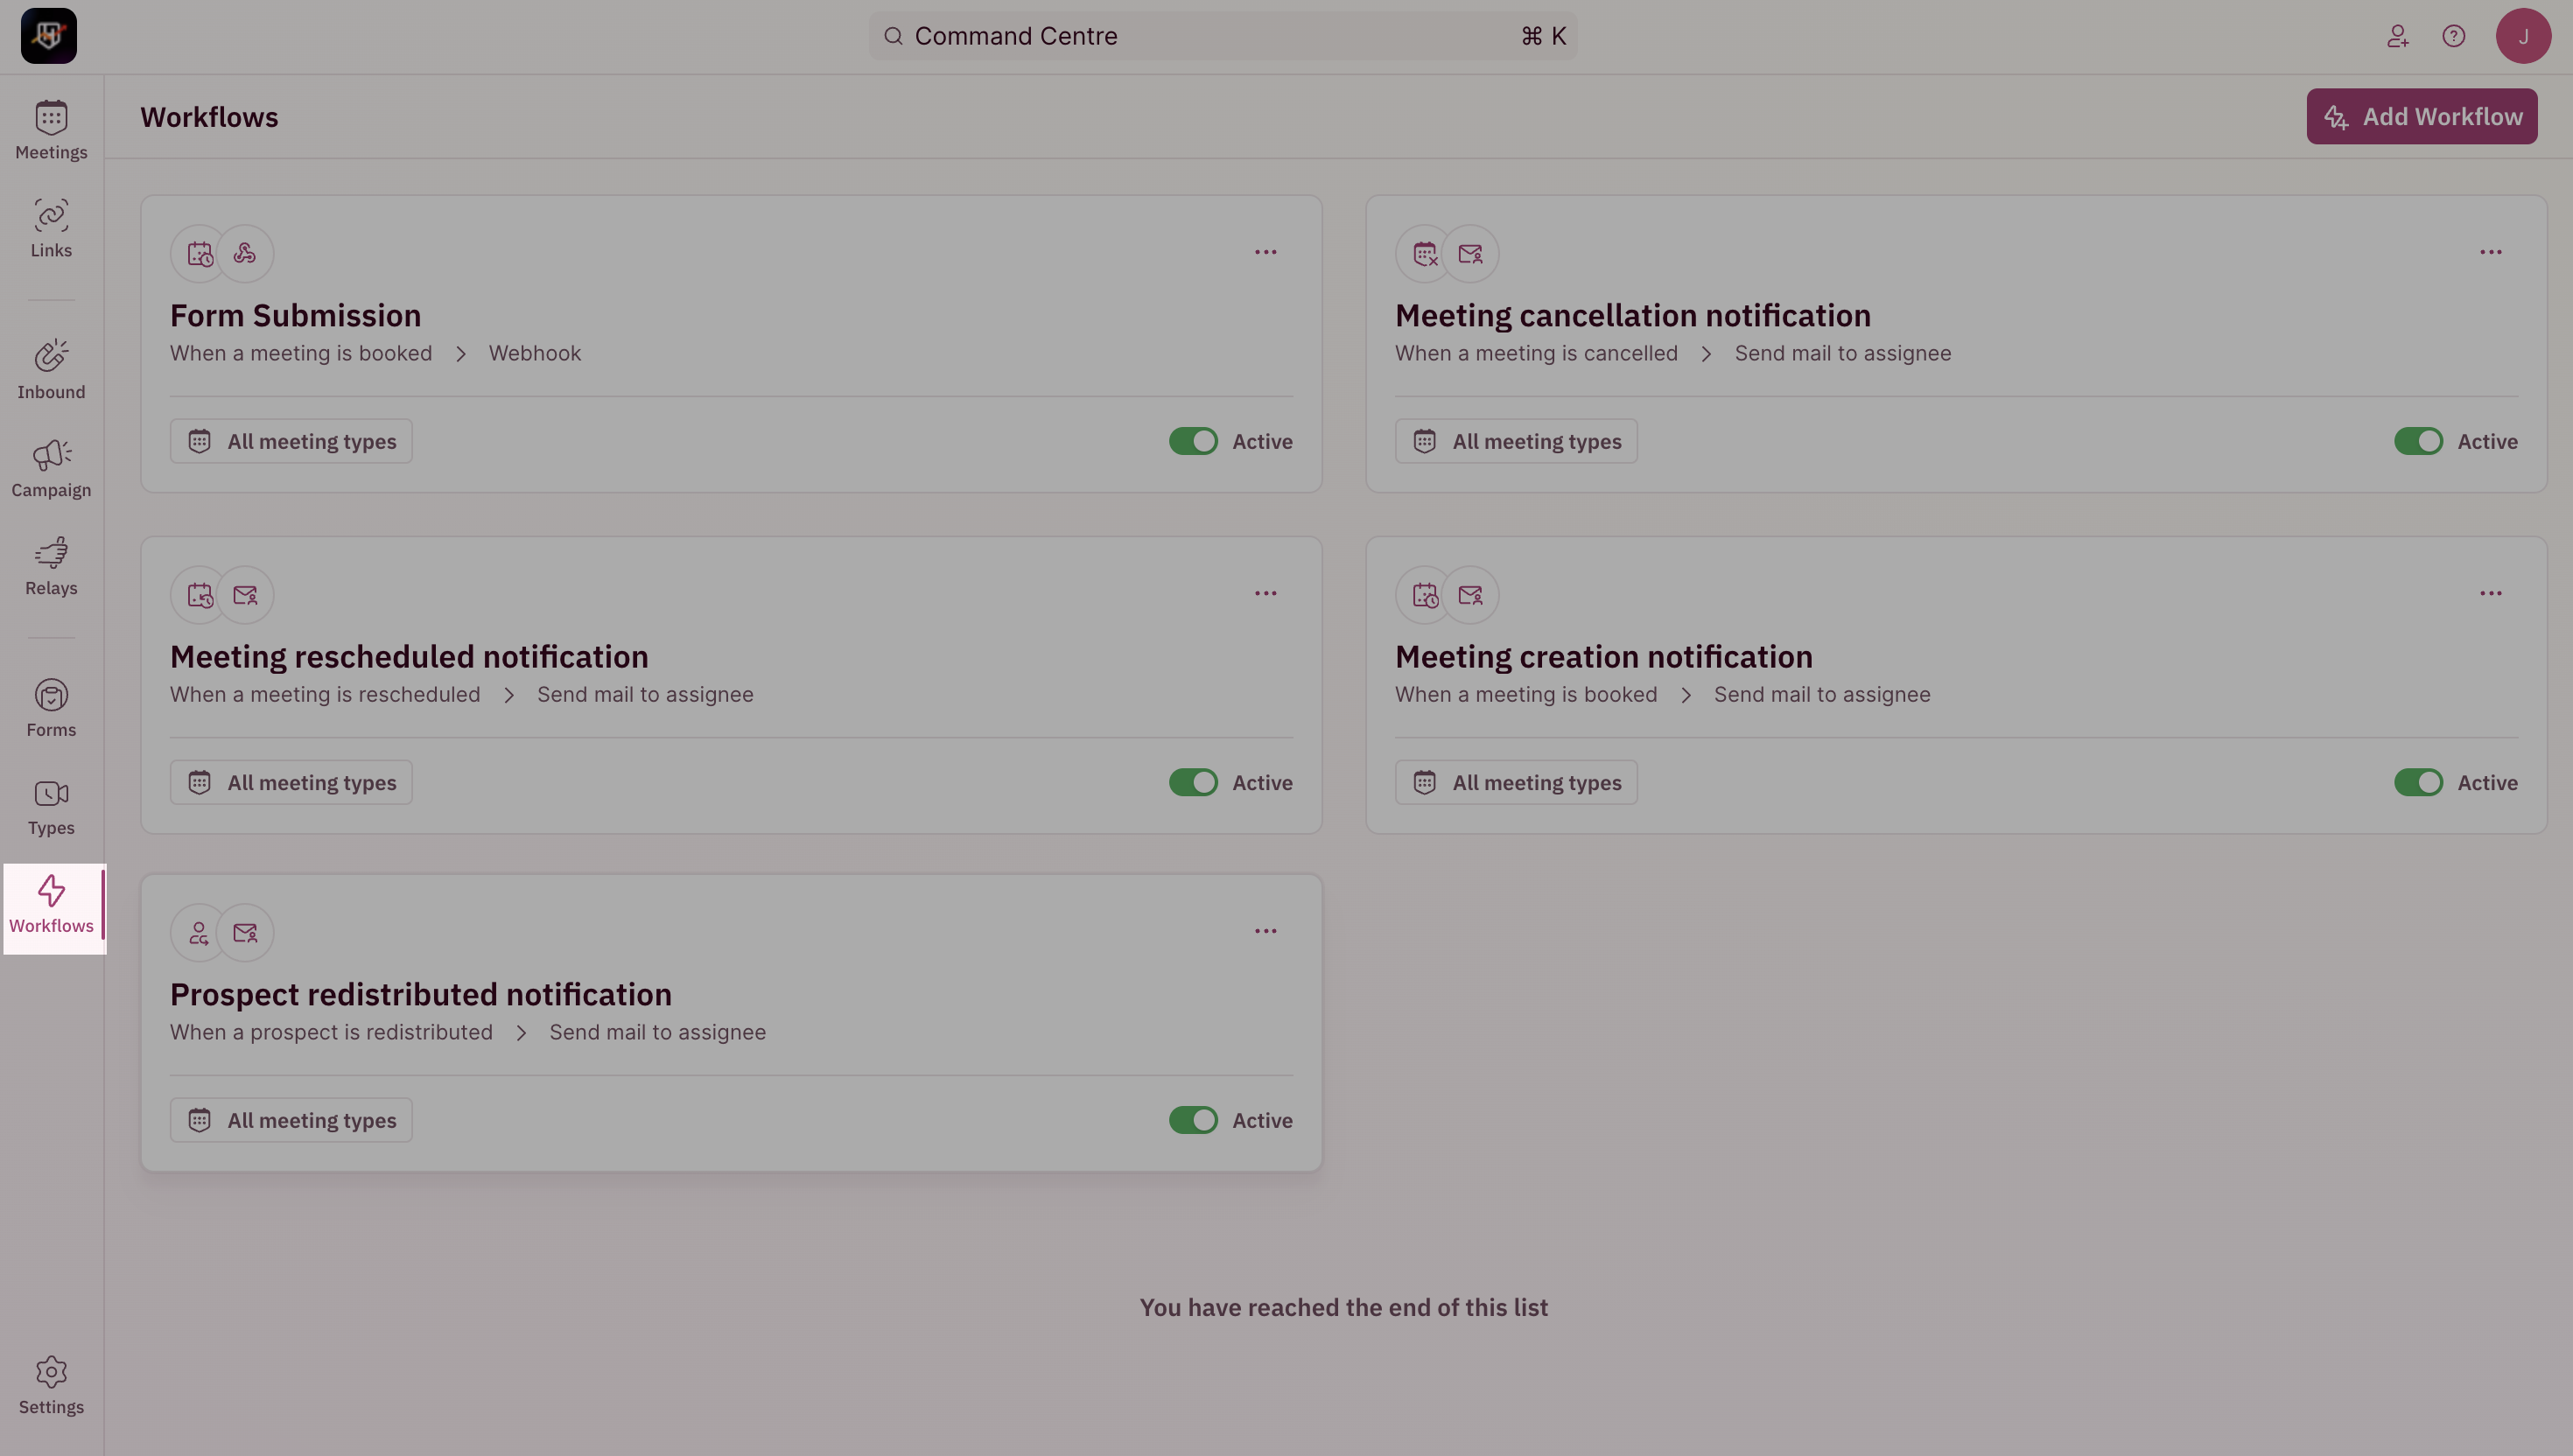
- Once you’re inside the Workflows page, click on the Add Workflow button.
Select Trigger

Select applicable Meeting Types
While selecting the Meeting Types to restrict the workflow to run on, you can either choose the workflow to run for All Meeting Types or for Selected Meeting Types to choose the subset of Meeting Types.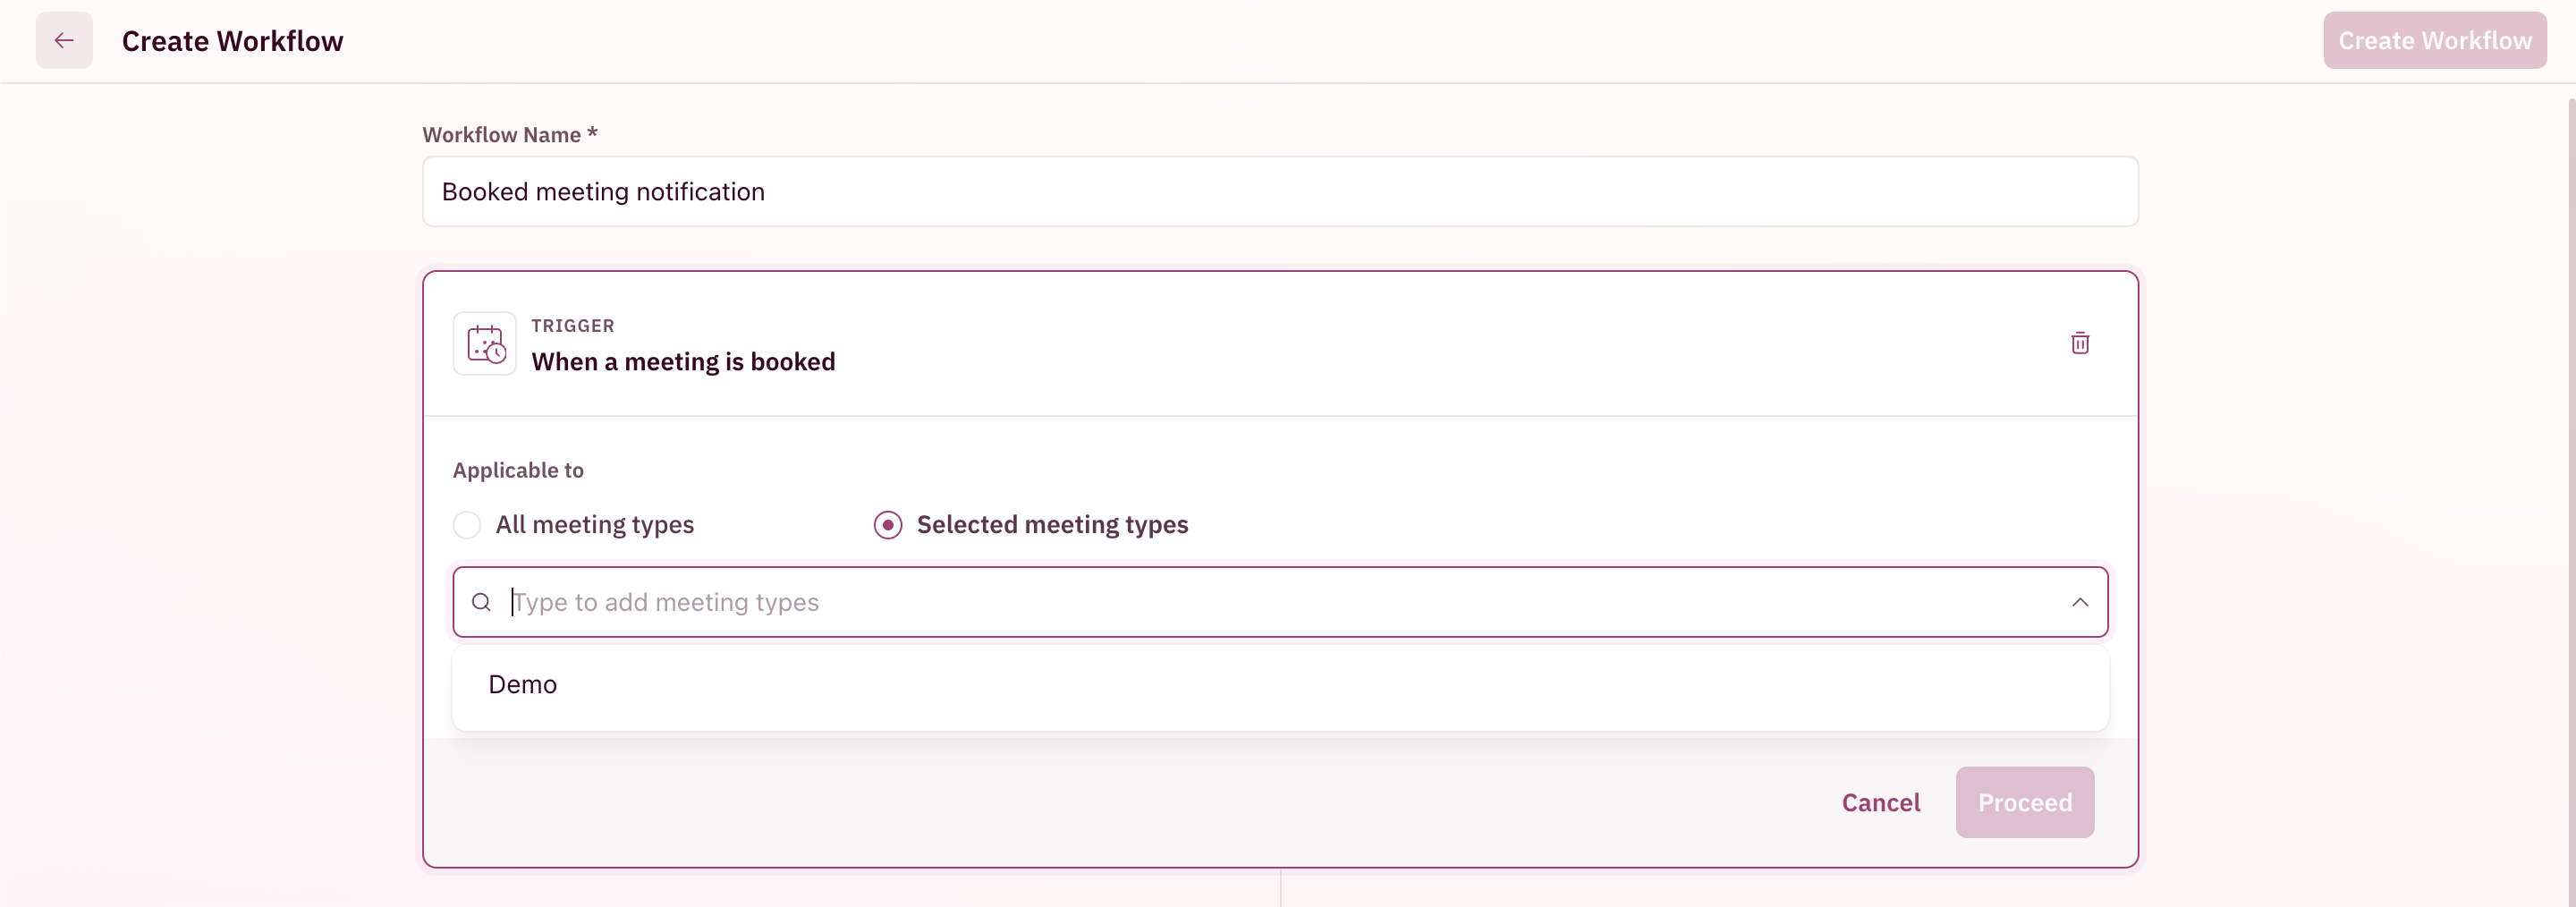
Once the applicable Meeting Type setting has been chosen, click Proceed at the bottom right corner. The next step is to configure the action of the workflow i.e. where to send the notification to.
Select Action
Choose to send the notification via Slack to specific channels or via Email to the booker, assignee or specific people.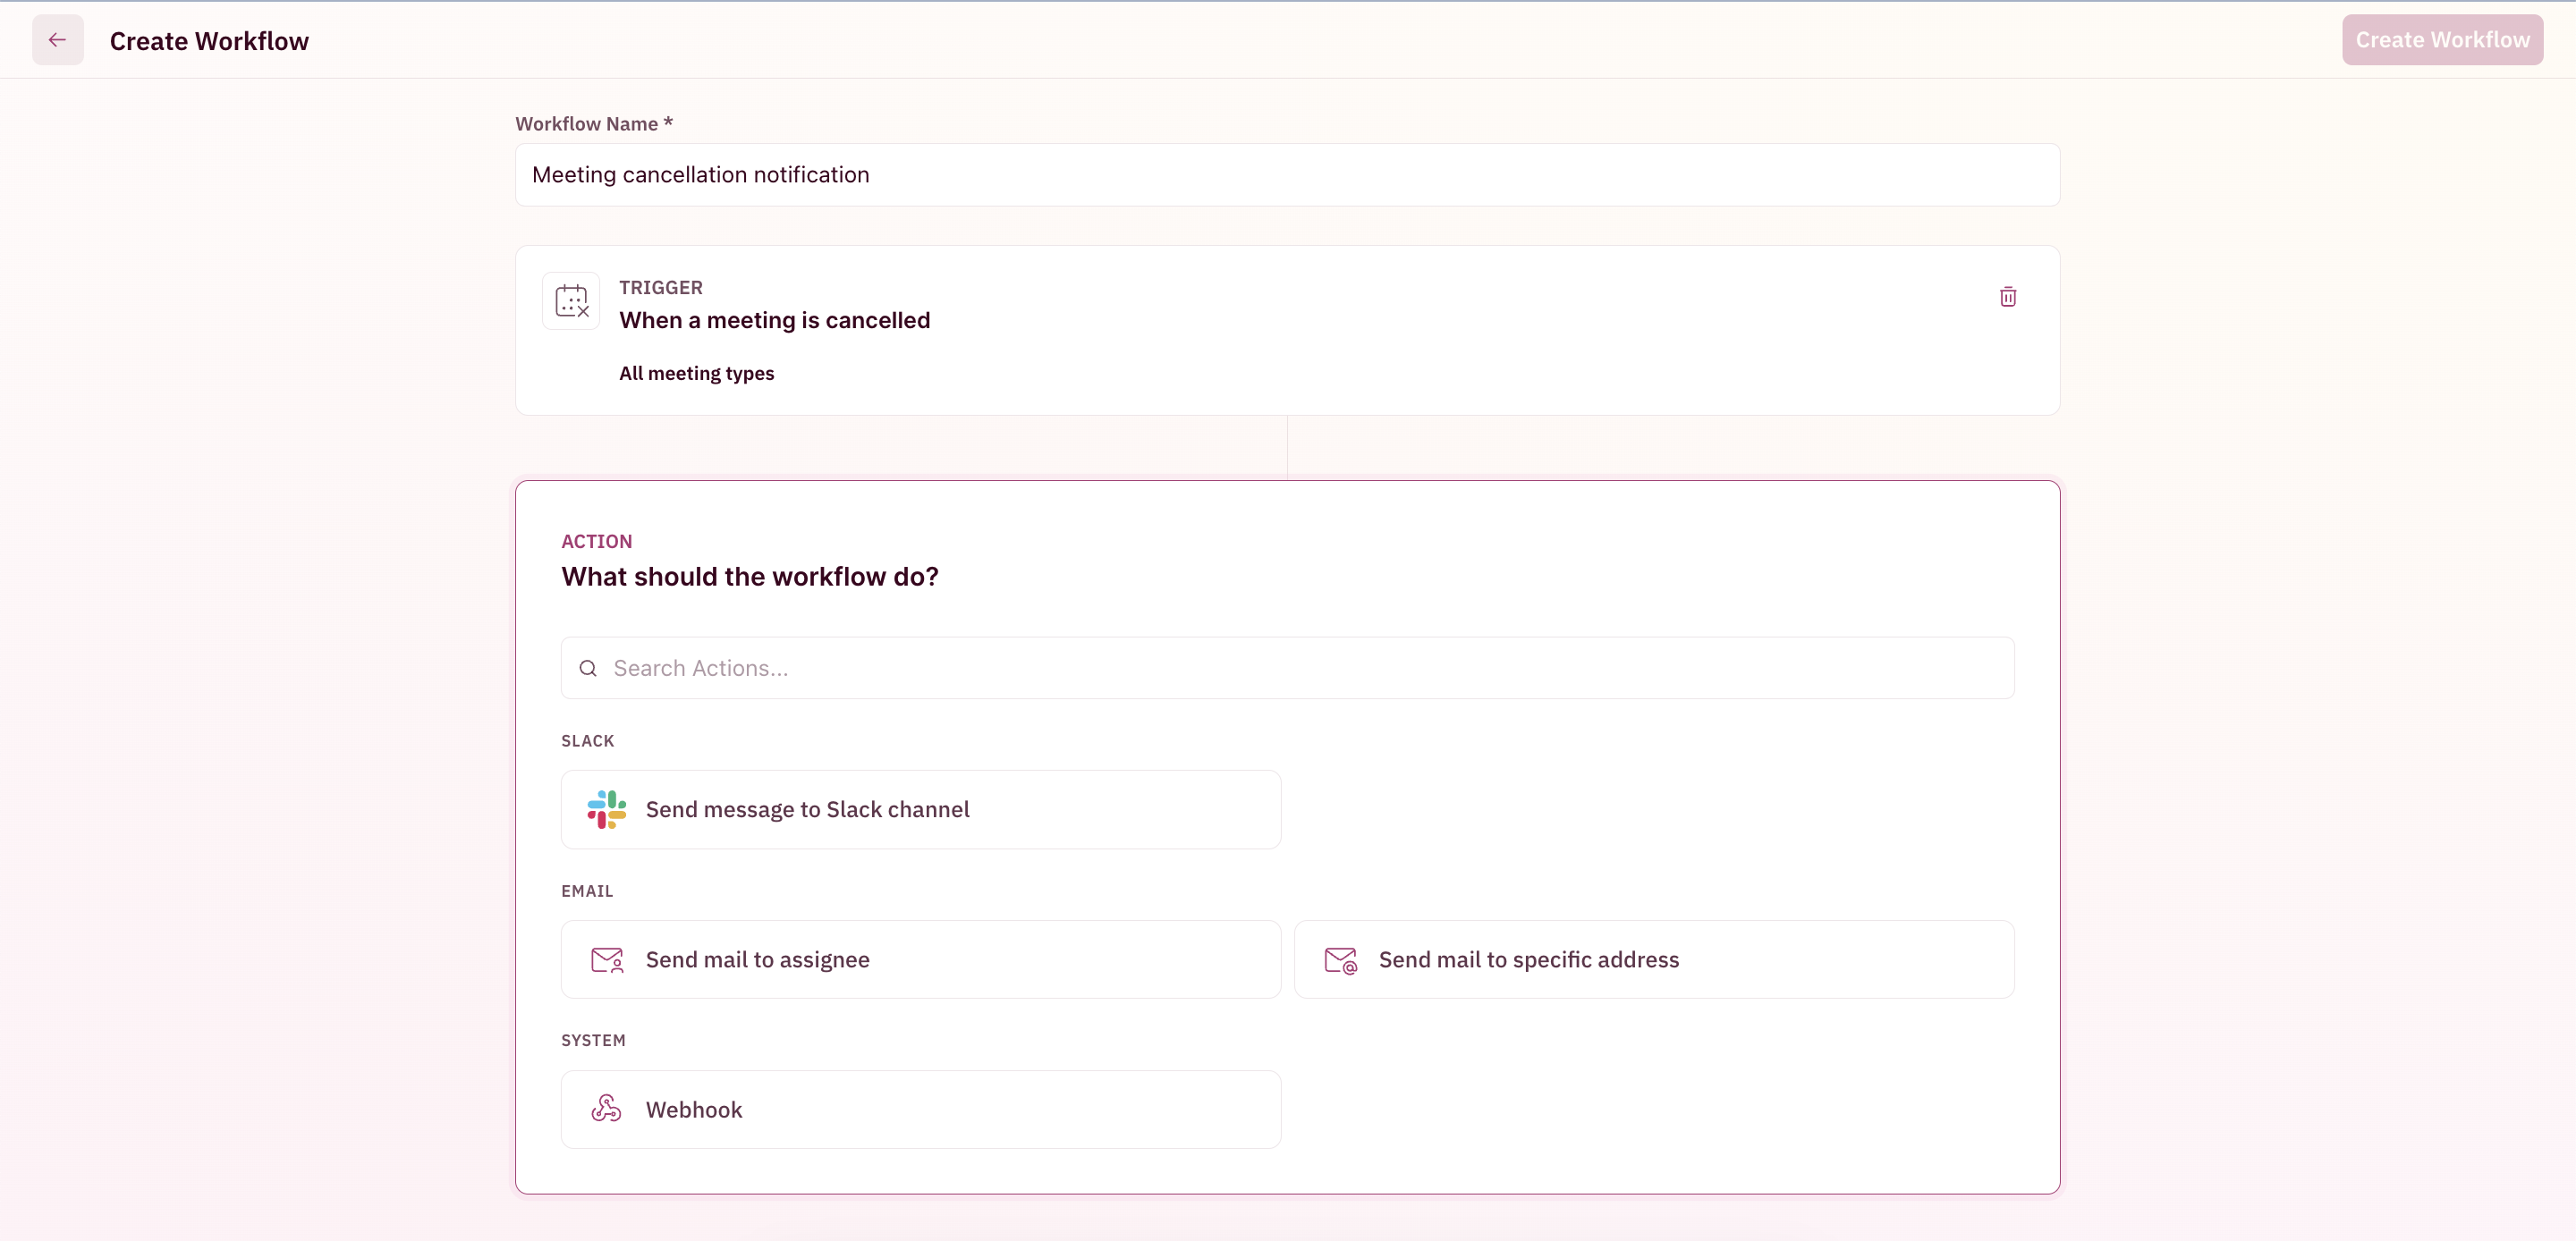
Customize Slack message
- Choose the Slack channel
- Configure the notification title
- Configure the notification content
- Configure placeholders and info blocks if any
- Choose Proceed at the bottom right corner
NOTEWhen configuring a Slack notification to a channel, please note that the ReveuneHero bot needs to be added to the channel to receive notifications.
This can be done by typing @revenuehero in the message box of the channel and pressing enter and you should see a confirmation message stating bot has been added to the channel
This can be done by typing @revenuehero in the message box of the channel and pressing enter and you should see a confirmation message stating bot has been added to the channel

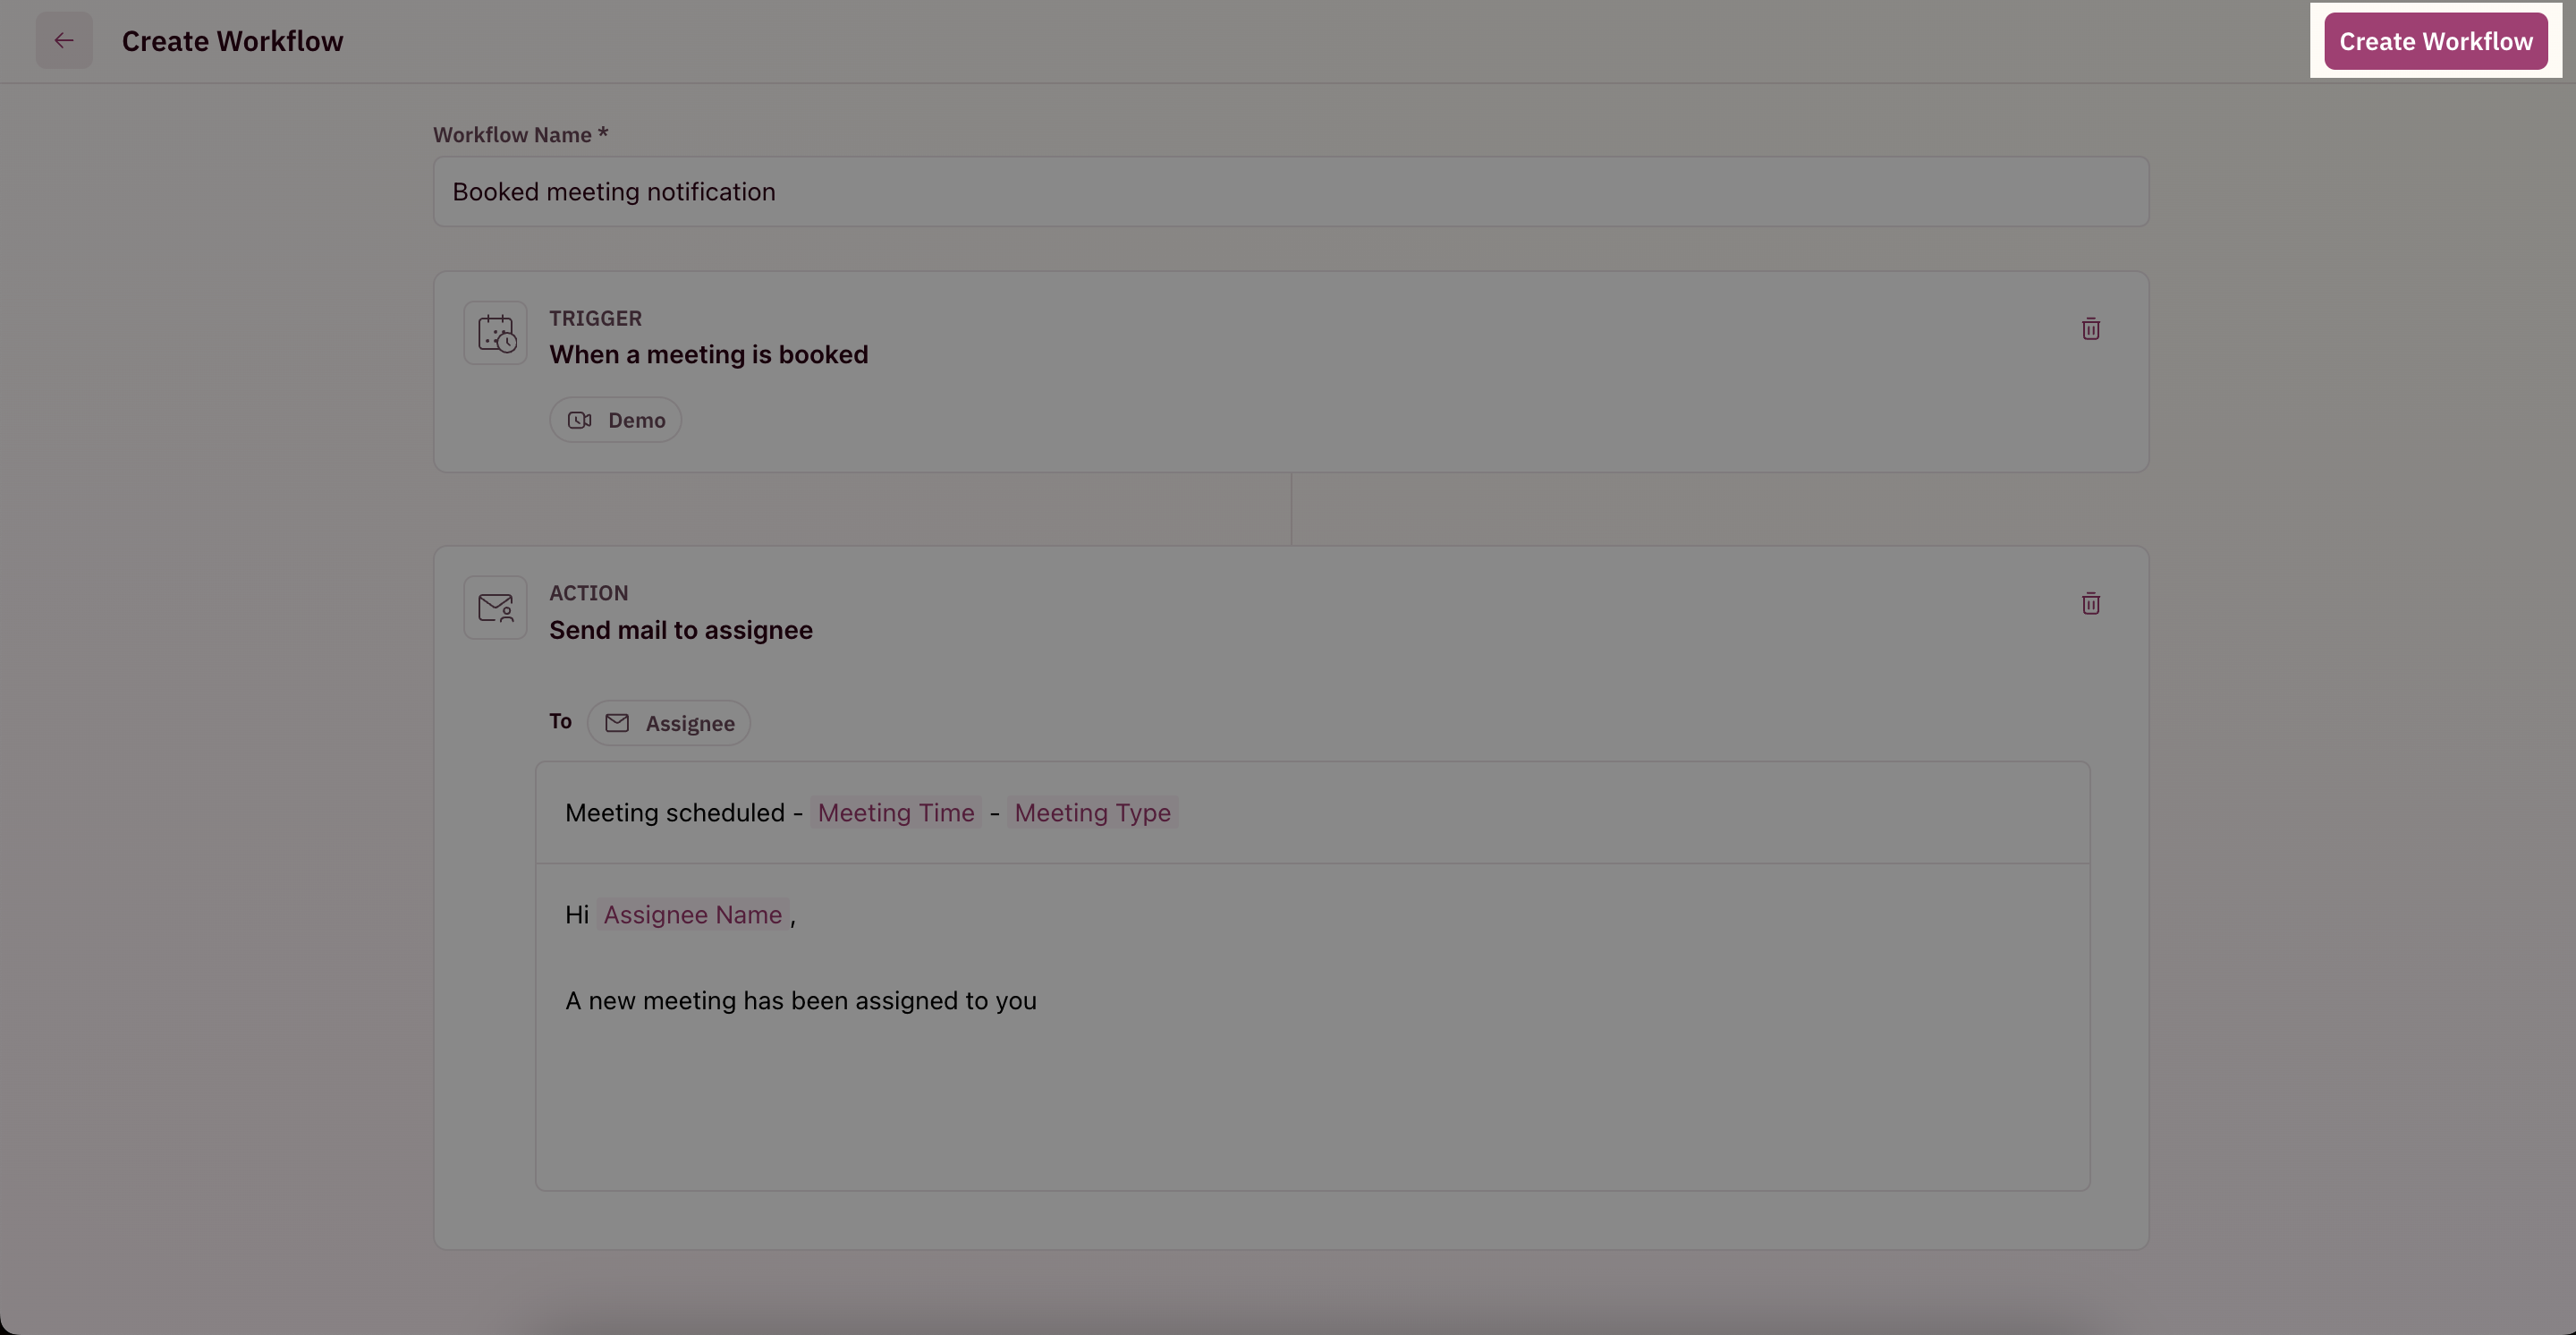
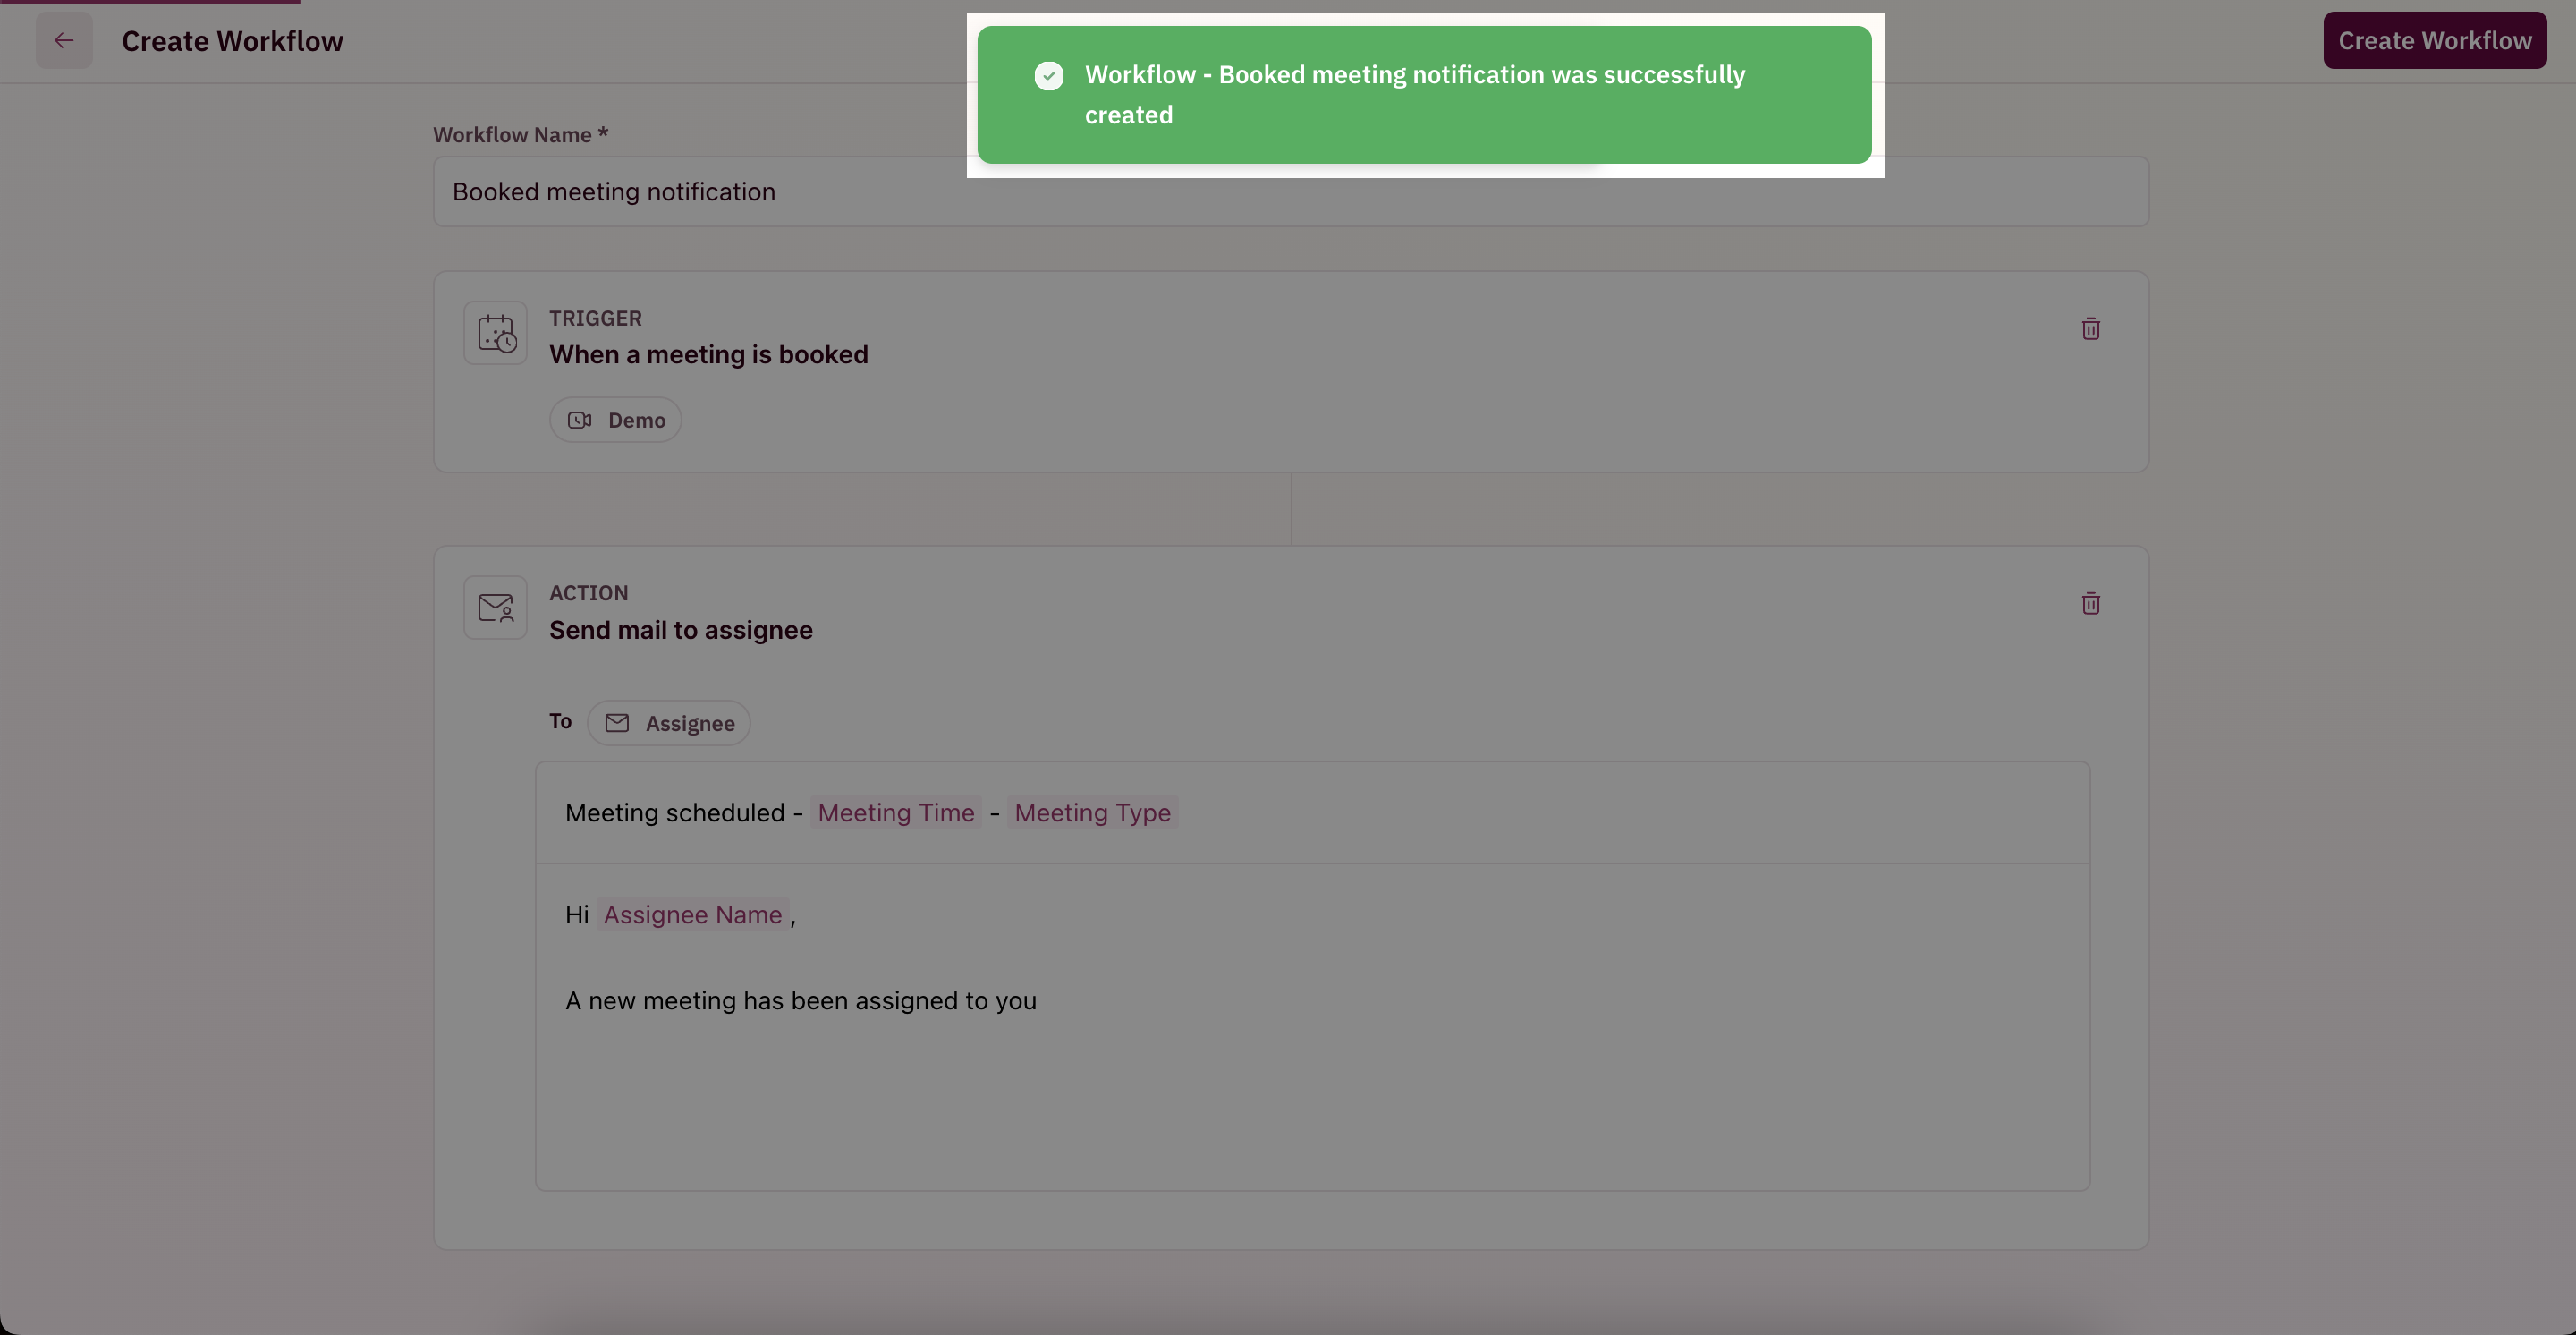
Customize Email to Assignee message
- Configure the email subject
- Configure the email content
- Configure placeholders and info blocks if any
- Choose Proceed at the bottom right corner

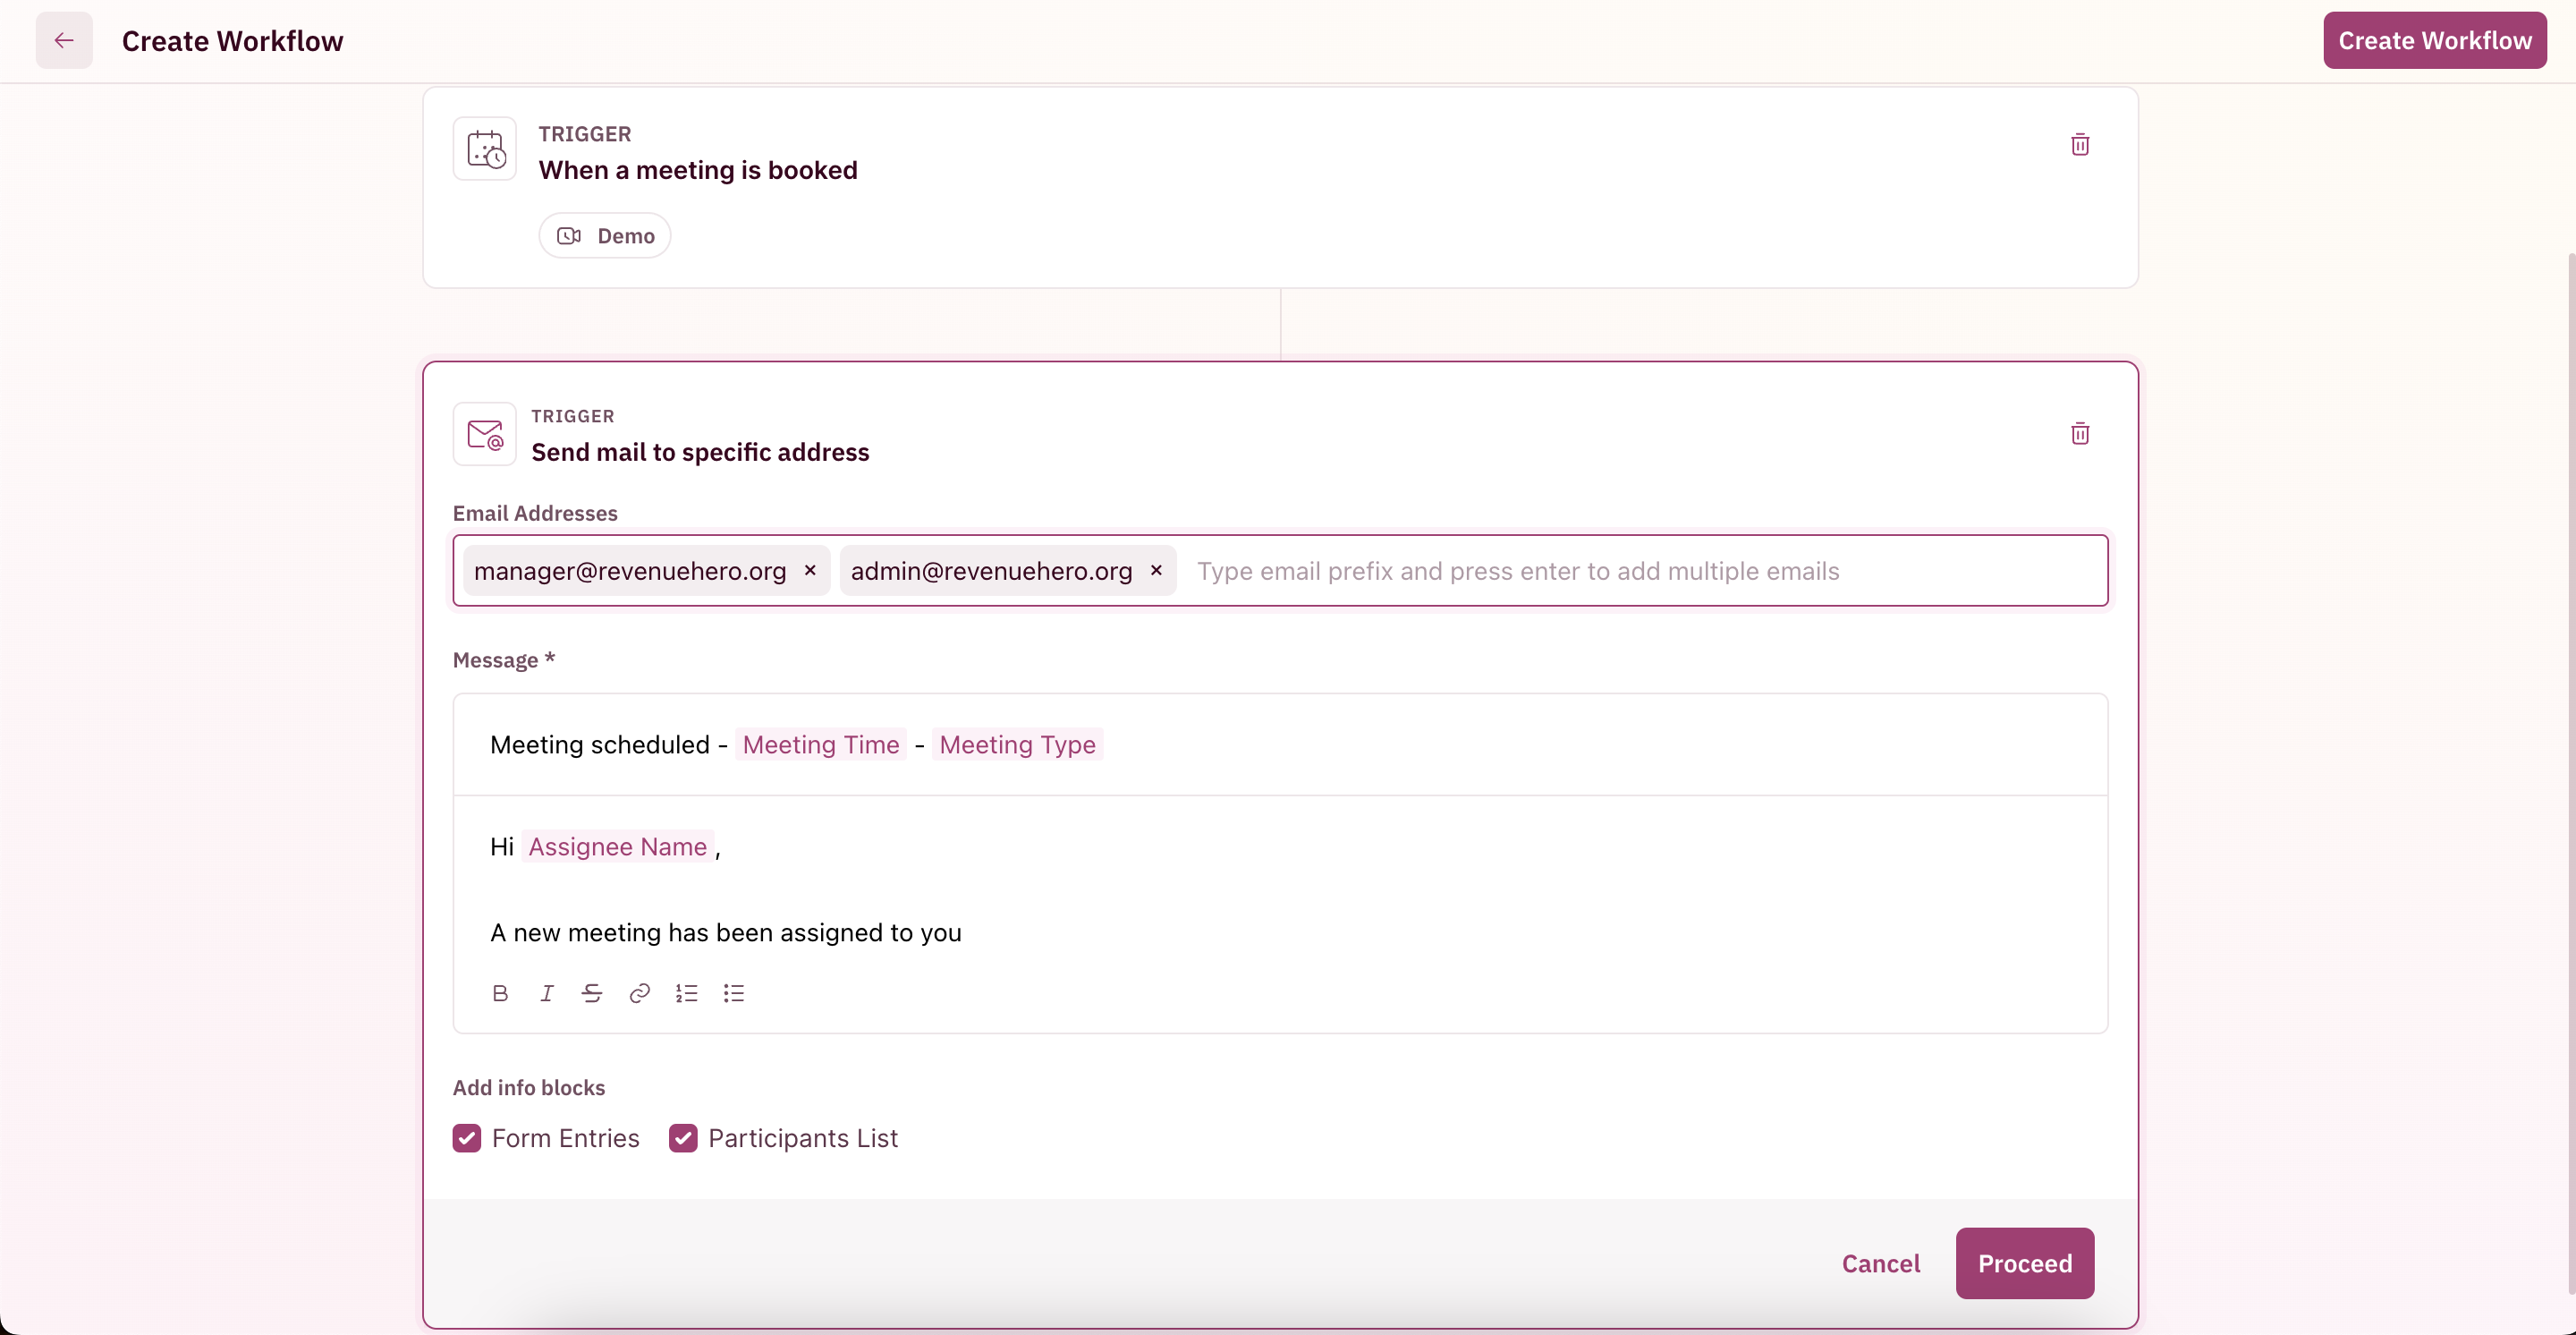
Customize Email to Specific people message
- Type the recipients of the mail
- Configure the email subject
- Configure the email content
- Configure placeholders and info blocks if any
- Choose Proceed at the bottom right corner
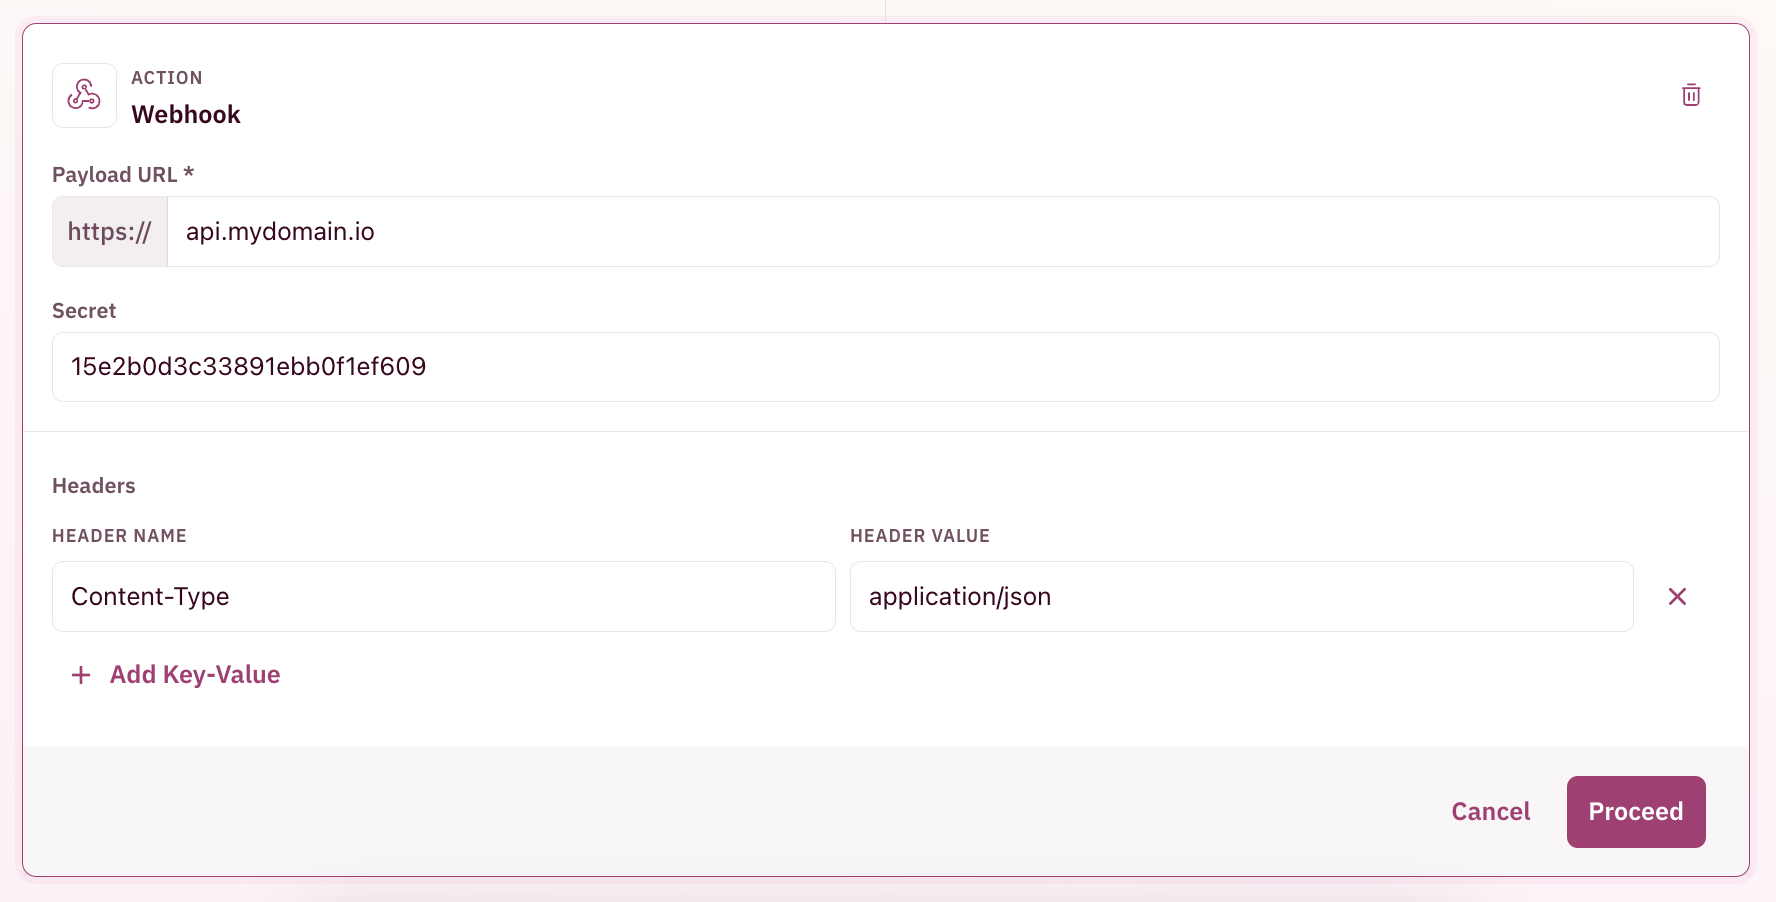
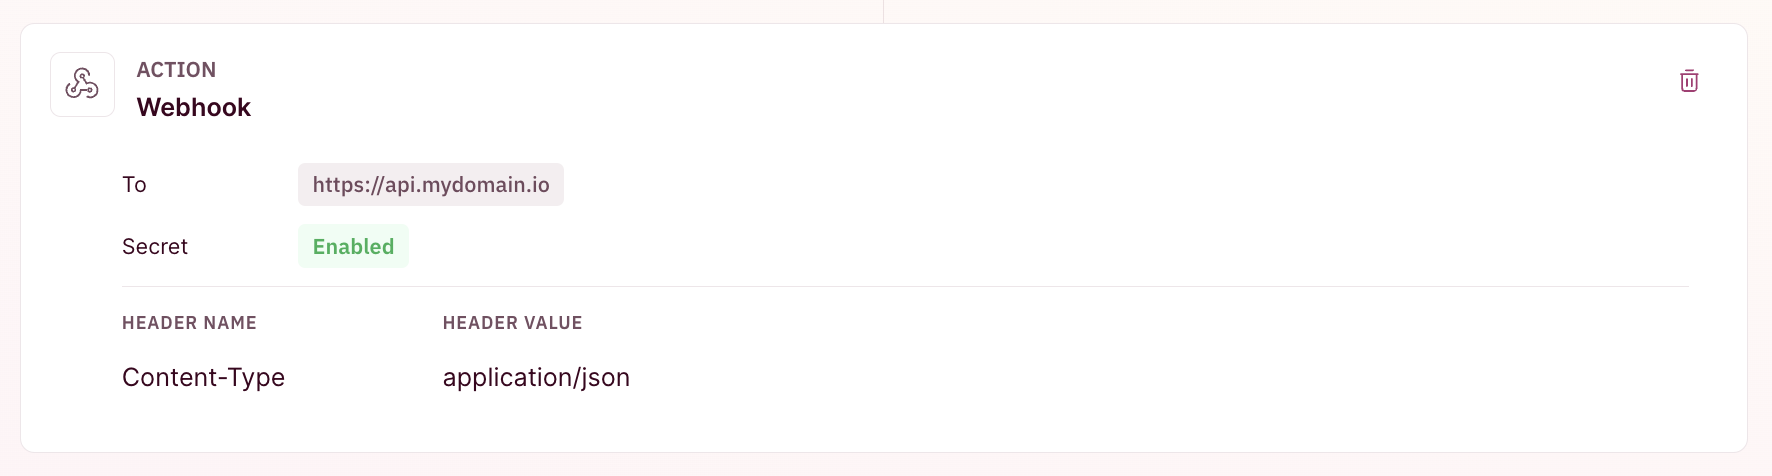
Trigger a webhook
- Add the receiving webhook URL
- Add a secret to validating using that on the receiving app
- Add any custom headers needed