Integrating RevenueHero with Legacy HubSpot forms
Follow these steps to integrate your RevenueHero scheduling widget with your Legacy HubSpot form. In HubSpot:- In HubSpot, navigate to the form that you would like to integrate with your RevenueHero scheduler.
- Edit the form, and click on the Options tab.
- In the What should happen after someone submits the form? section, choose Display a thank you message.
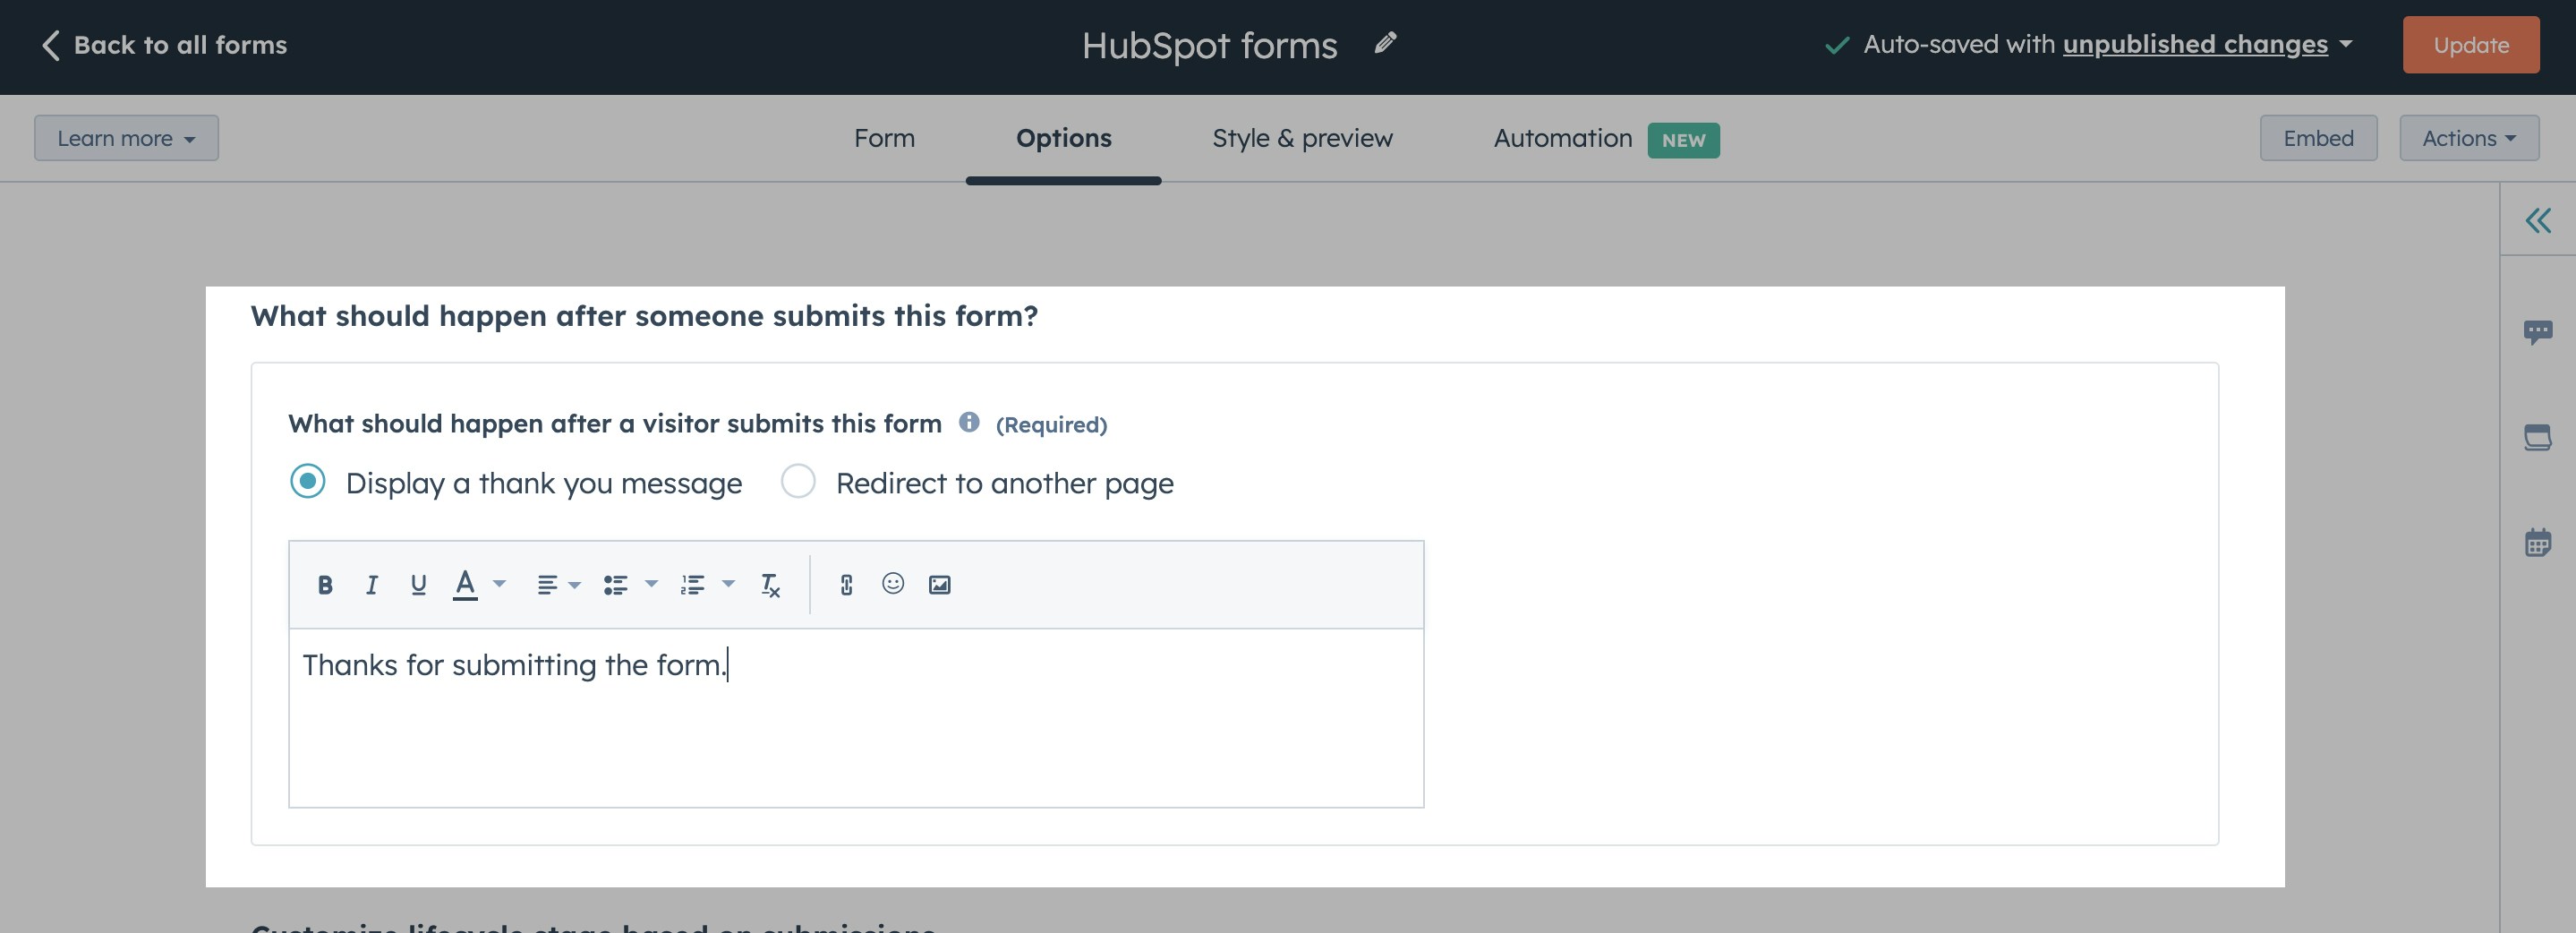
- Update your HubSpot form settings.
- Setup your Inbound Router.
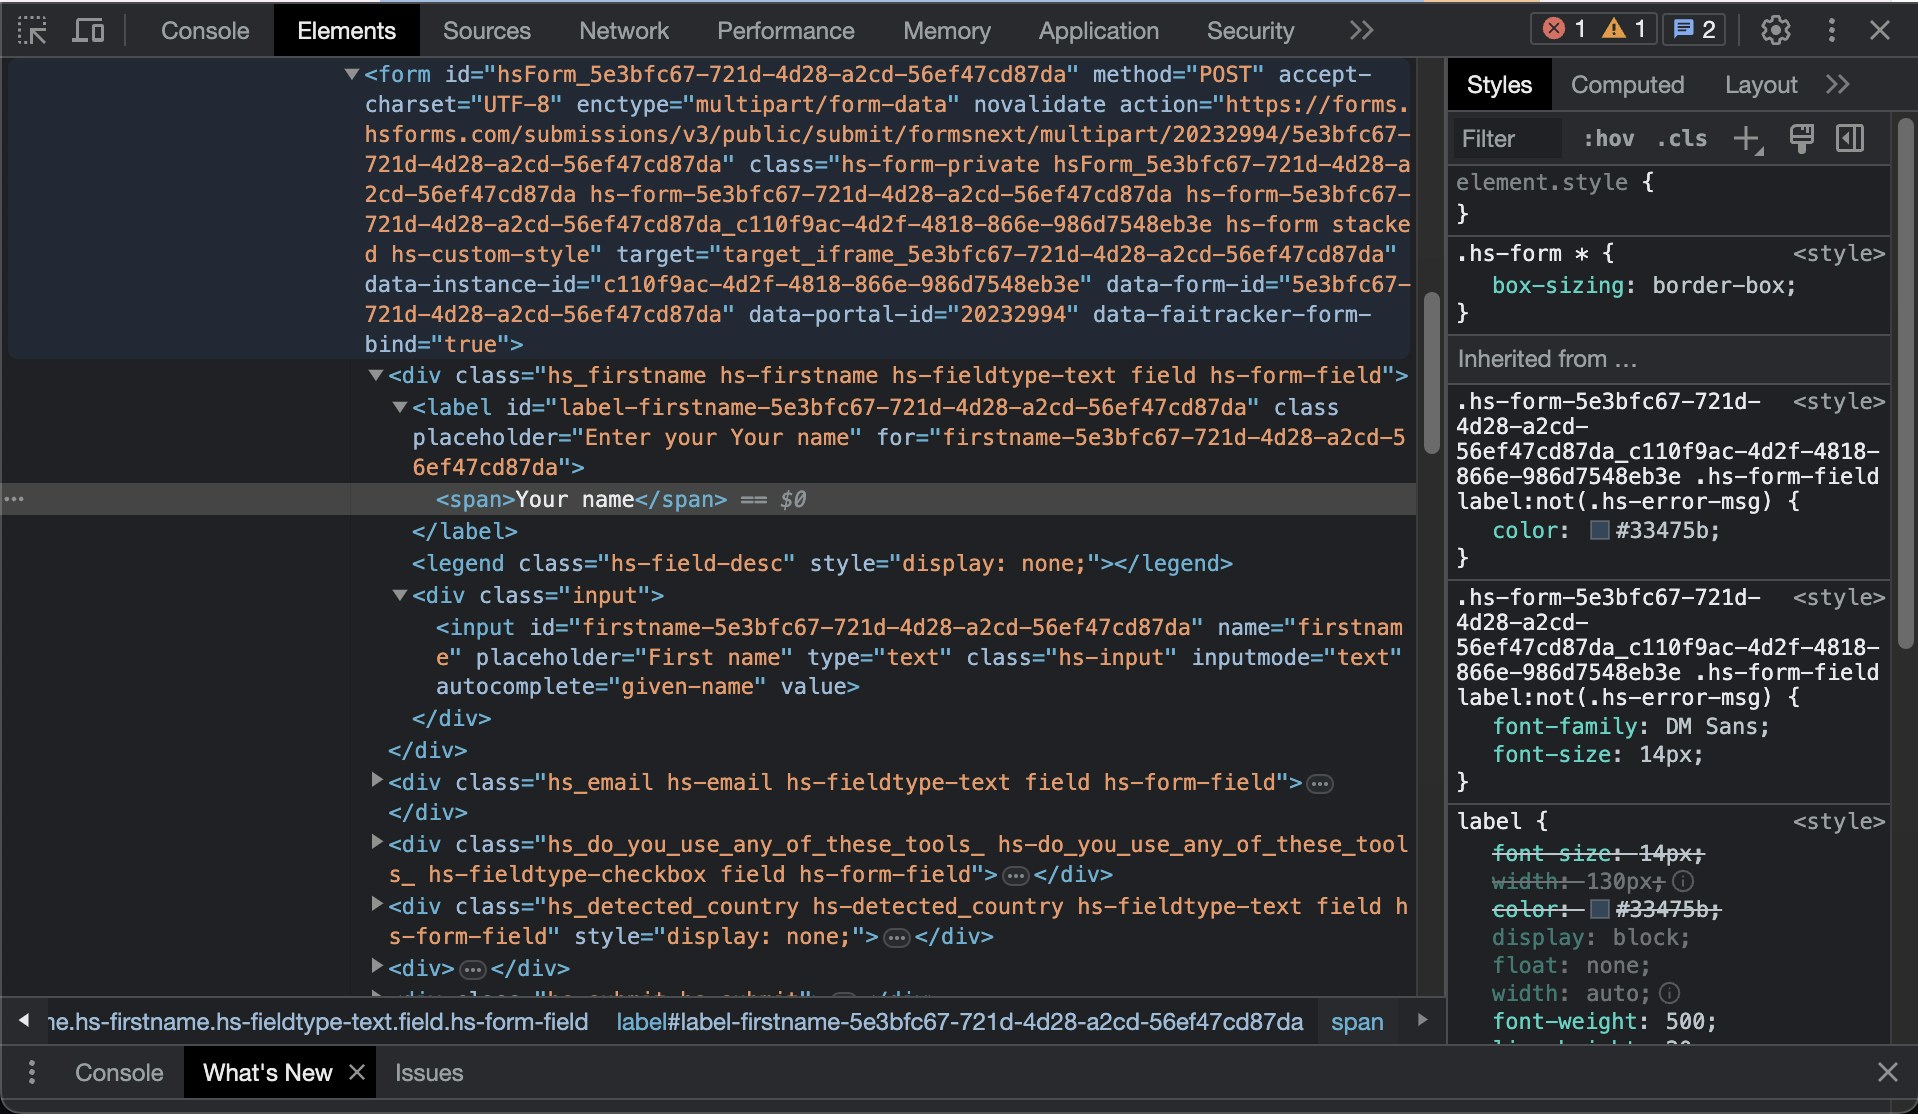
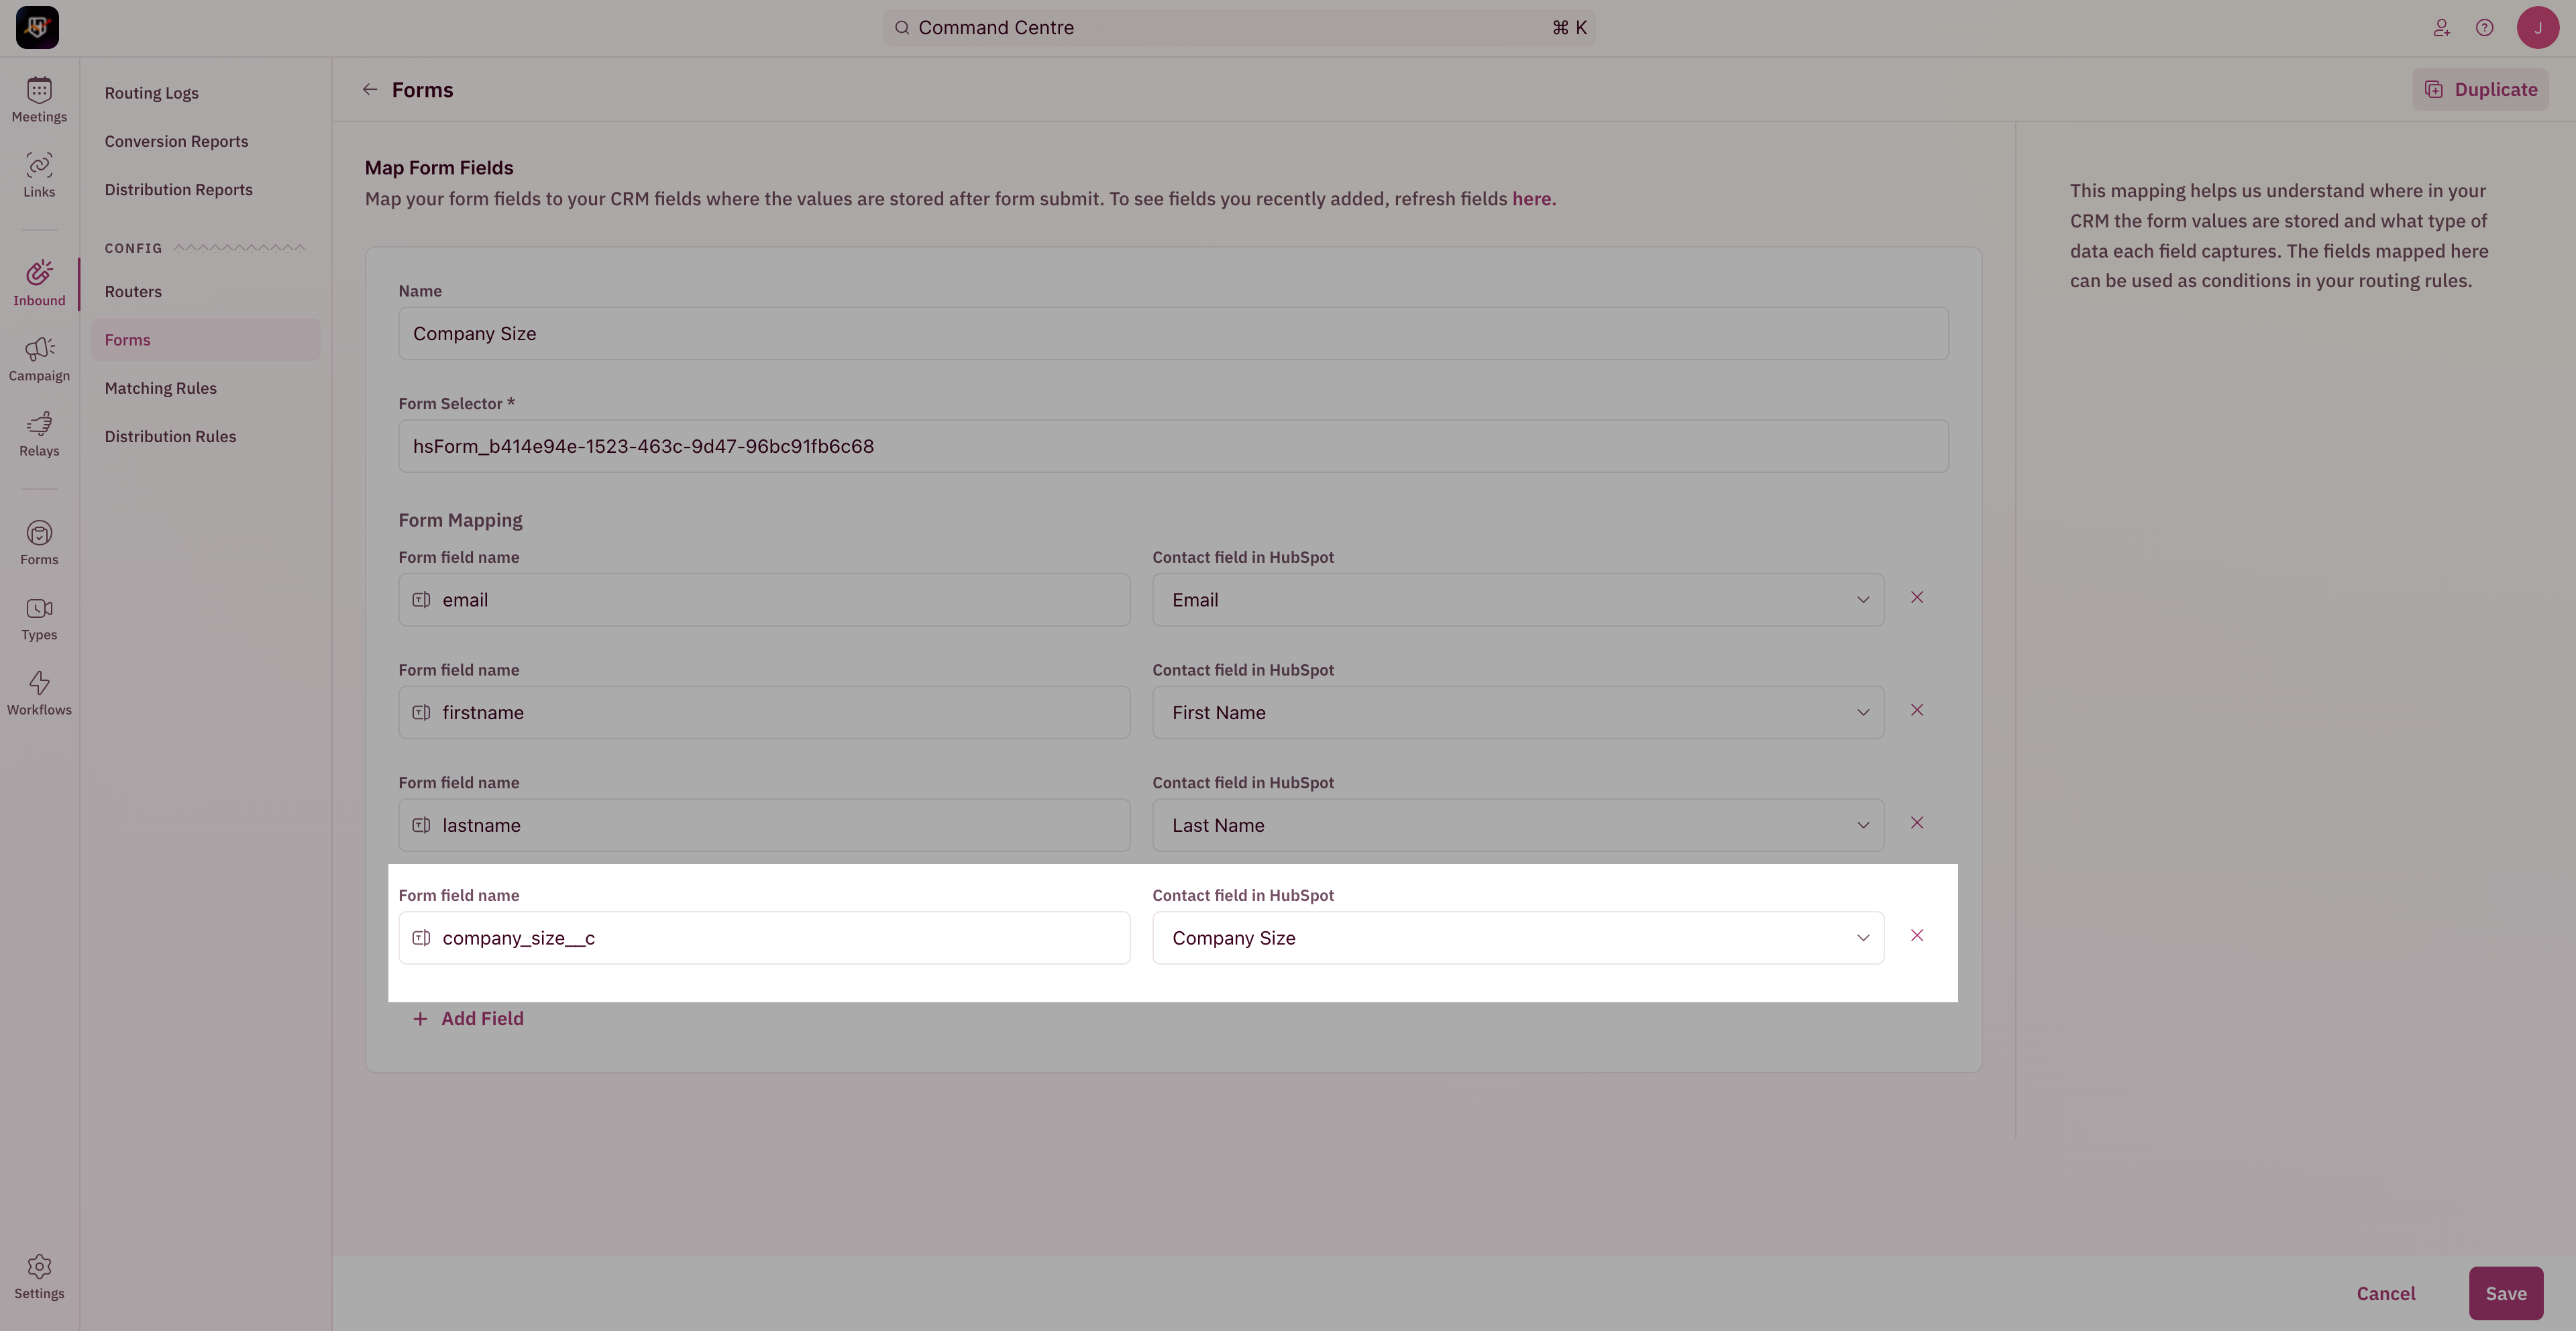
- Type your HubSpot form selector ID as the form selector when mapping your web form fields. You’ll be able to construct your HubSpot selctor ID in the following ways:
- Method 1 - From your HubSpot form settings
- Method 2 - From the page where your HubSpot form is embedded
- In your HubSpot account, click Edit on the form that you’re looking to map with RevenueHero.
- In the URL, you’ll find the form ID.
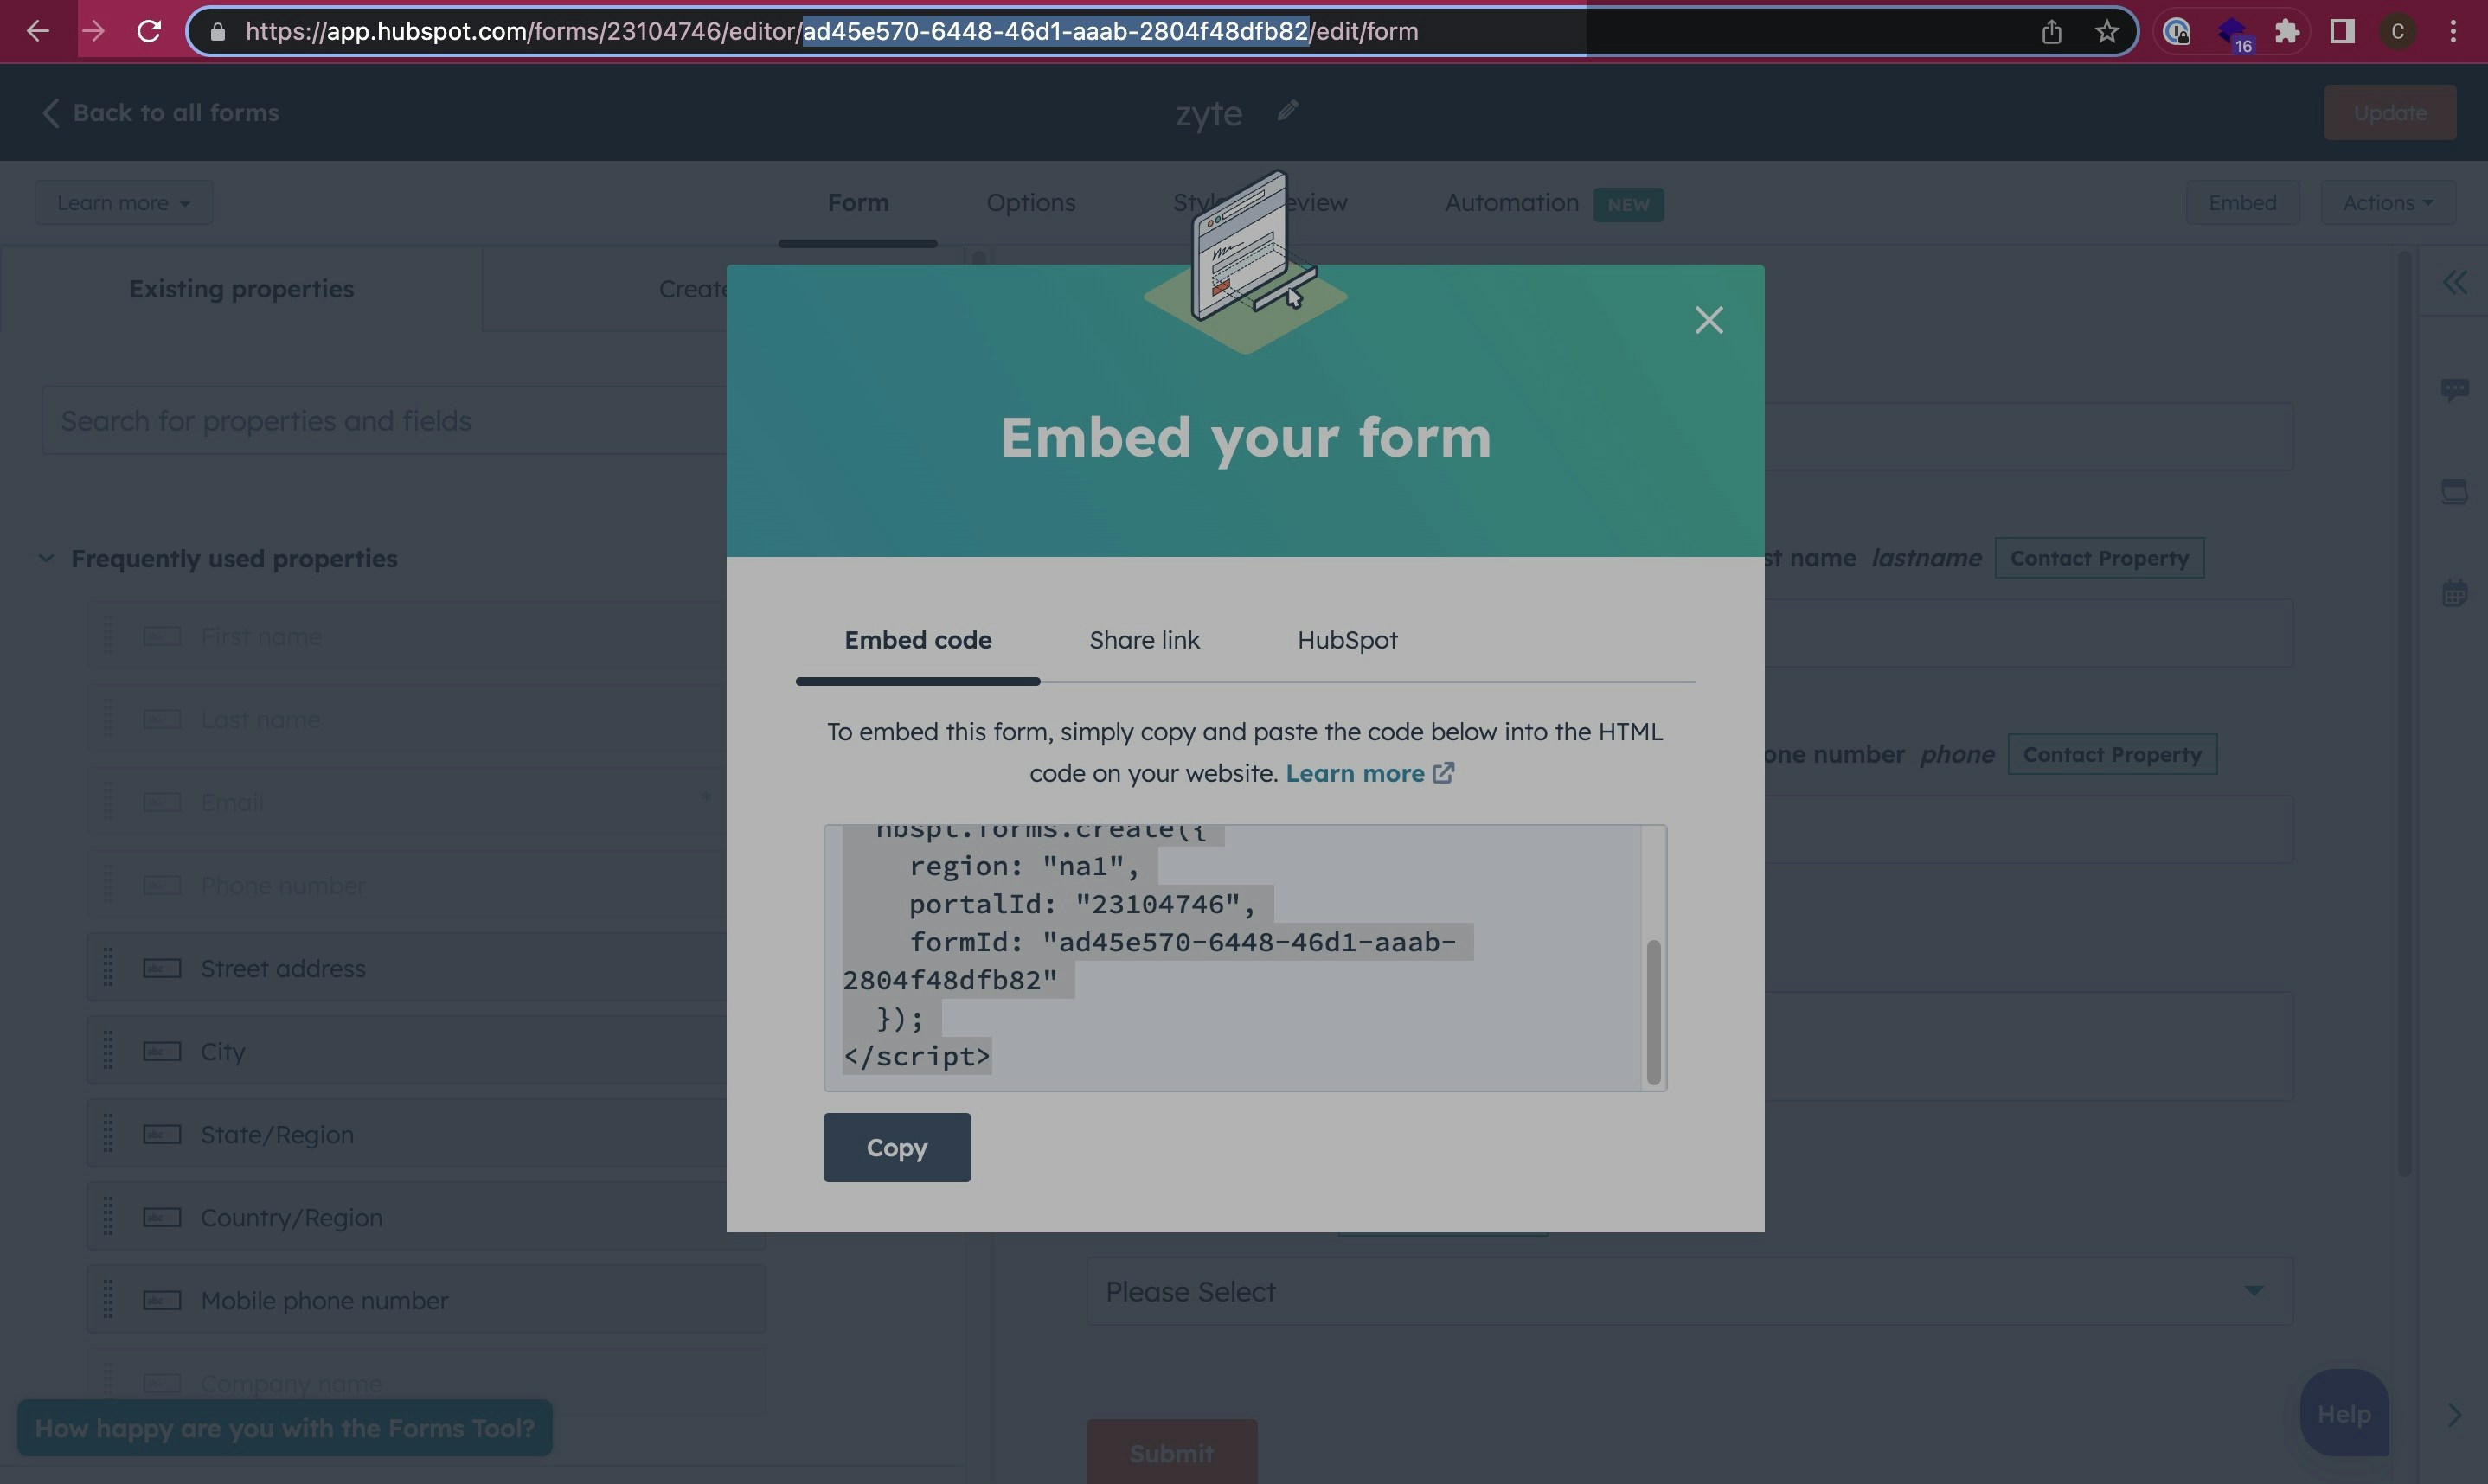
- Add hsForm_ to the start of the form ID.
- You can pick the form field names by editing the form and clicking on the specific field.
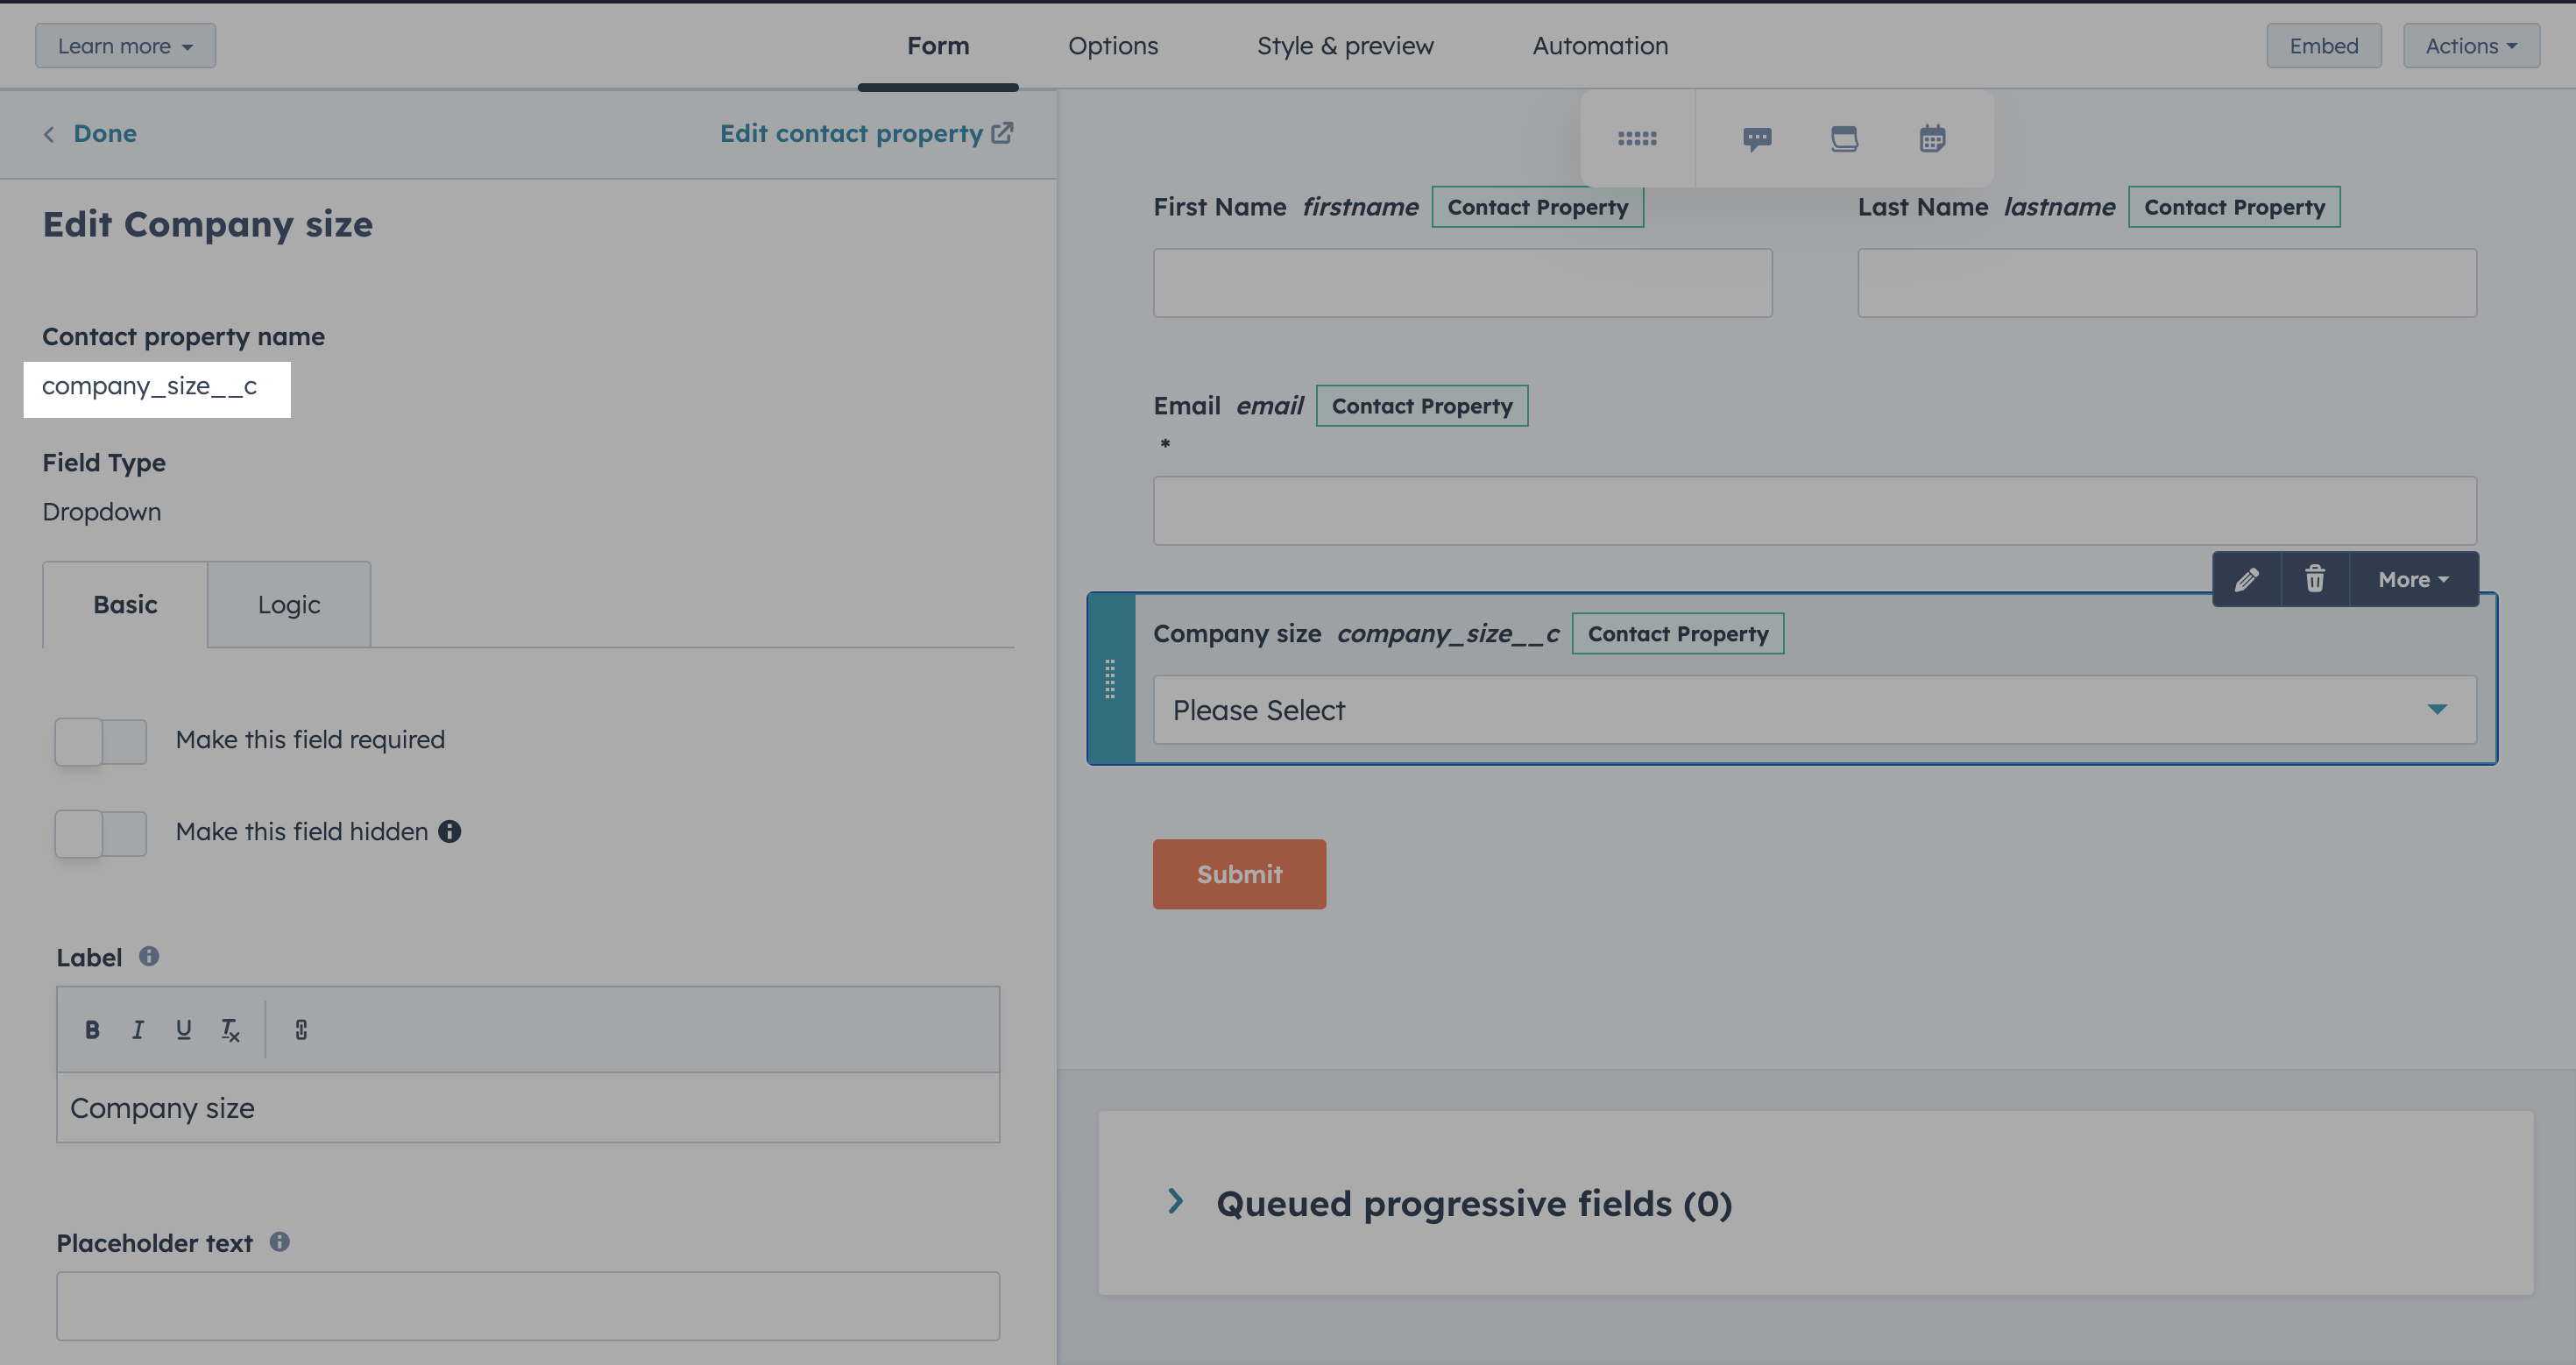
- In your form mapping, you can add the field name you copied to the first box and map it to the right Hubspot field on the right side.
- Once you’ve configured a router, copy the router installation snippet.
- In the page where you’ve embedded the Hubspot form, copy the widget installation snippet before the last
</body>tag. - Publish the script to your page.
