NOTERevenueHero only listens to the form submission to trigger the scheduling widget. It does not interfere with any of your existing data or current form functions.
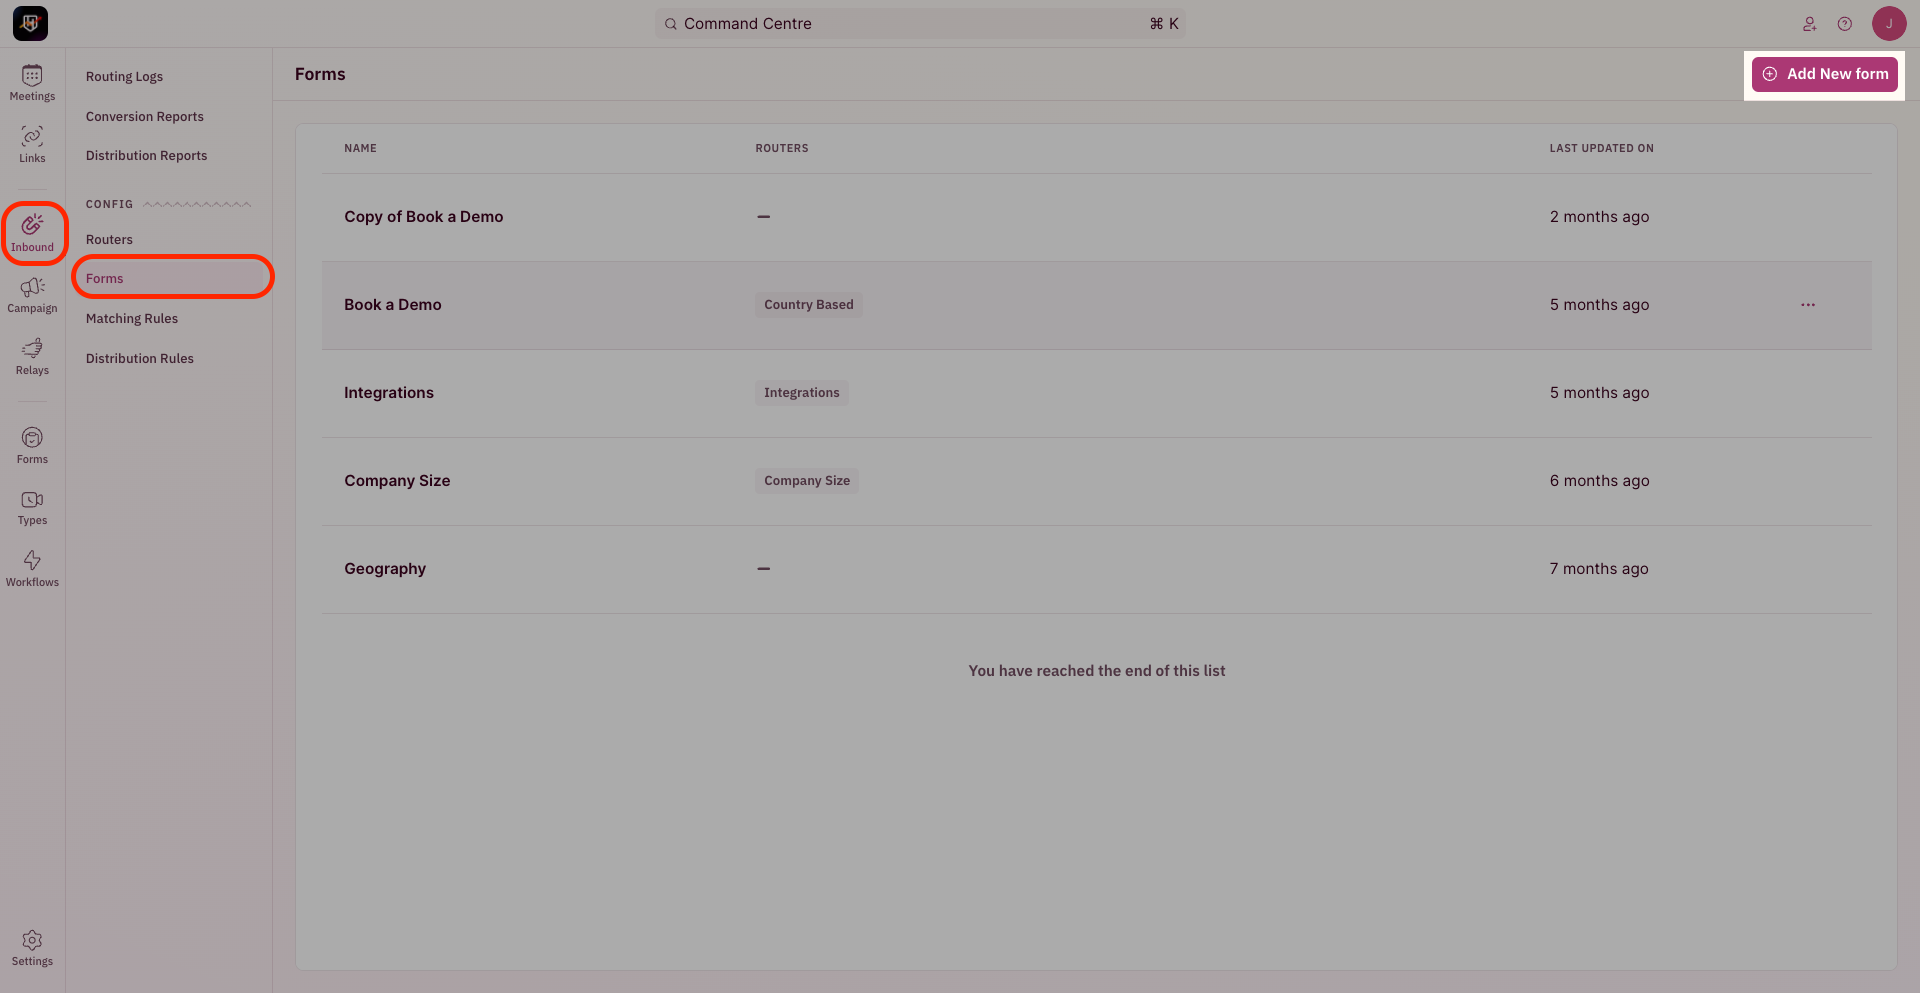
- In the navigation panel, click on Inbound → Forms.
- Click on Add new form
- Name your form mapping to ensure that you’re able to recollect which form was mapped
- In the form selector field add the selector ID of your form. (This can be found by inspecting your form on the page and looking up the form id associated with it). This is required for RevenueHero to know which form submission to listen to, before triggering the scheduling widget.
- If you’re using a HubSpot Form, you can also construct your Hubspot selector ID by adding hsForm_before the form ID that Hubspot generates. You can copy the form ID from the embed code that is generated in HubSpot.
- Once the form selector ID has been added, add all your mandatory fields and any other form field that will be used in the distribution in the following format:

- After you’ve added all the fields necessary for your distribution logic, click on Save.