NOTERevenueHero only listens to the form submission to trigger the scheduling widget. It does not interfere with any of your existing data or current form functions.
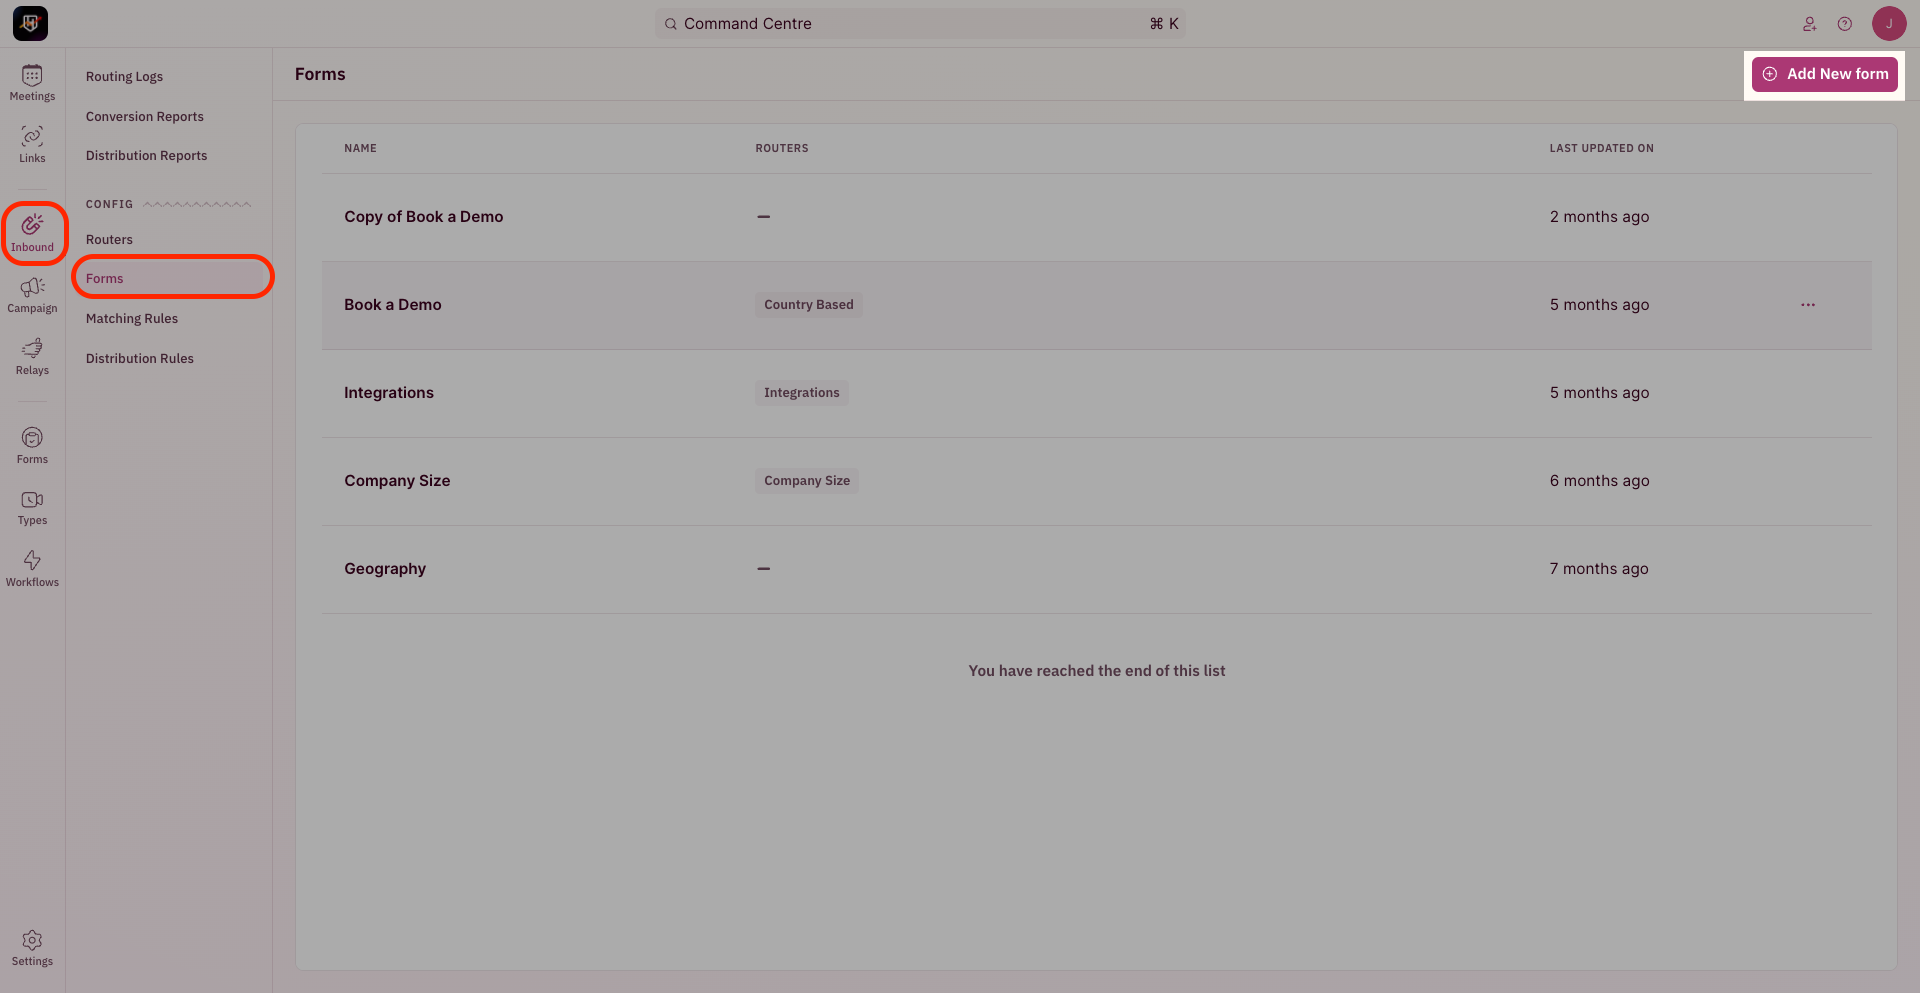
- In the navigation panel, click on Inbound → Forms.
- Click on Add new form

- Name your form mapping to ensure that you’re able to recollect which form was mapped
- In the form selector field add the selector ID of your form. (This can be found by inspecting your form on the page and looking up the form id associated with it). This is required for RevenueHero to know which form submission to listen to, before triggering the scheduling widget.
Contact us at support@revenuehero.io if you don’t find your form provider on this list.RevenueHero is form agnostic and can work with any form - we’ll be quick to add help documentation for your provider.
Custom web form
Click here to understand how to work with a custom form.