BEFORE YOU BEGINPost-booking forms attach to an inbound router and fire once a meeting is booked, so you need an inbound router that routes and books your prospects in place first.
How post-booking forms work
A post-booking form is built with the same form builder as any other RevenueHero form. What makes it a post-booking form is the type you pick when you create it, and that type decides when the form runs. A marketing form runs before the meeting is booked, so its fields qualify and route the prospect. A post-booking form runs after the prospect picks a slot, on the confirmation screen, once the meeting is already on the calendar. That timing changes what each type is good for.| Marketing form | Post-booking form | |
|---|---|---|
| When it shows | Before booking, to qualify and route | After booking, on the confirmation screen |
| Effect of extra fields | Each field adds drop-off risk | No risk to the booking, it is already made |
| Best for | Email, company, the one or two fields you route on | Prep context: use case, pain points, current stack; Marketing attribution questions |
| Powers routing? | Yes | No, the meeting is already assigned |
Create a post-booking form
Step 1: Open Forms
- In the left sidebar, click Forms.
Step 2: Create the form and choose the post-booking type
- Click Create Form in the top right.
- In the modal, choose Post Booking Form.

Step 3: Name the form
Give it a name your team will recognize in the library and on the router, for exampleDemo prep questions. Names matter once you have several forms, because you select the form by name when you attach it to a router.
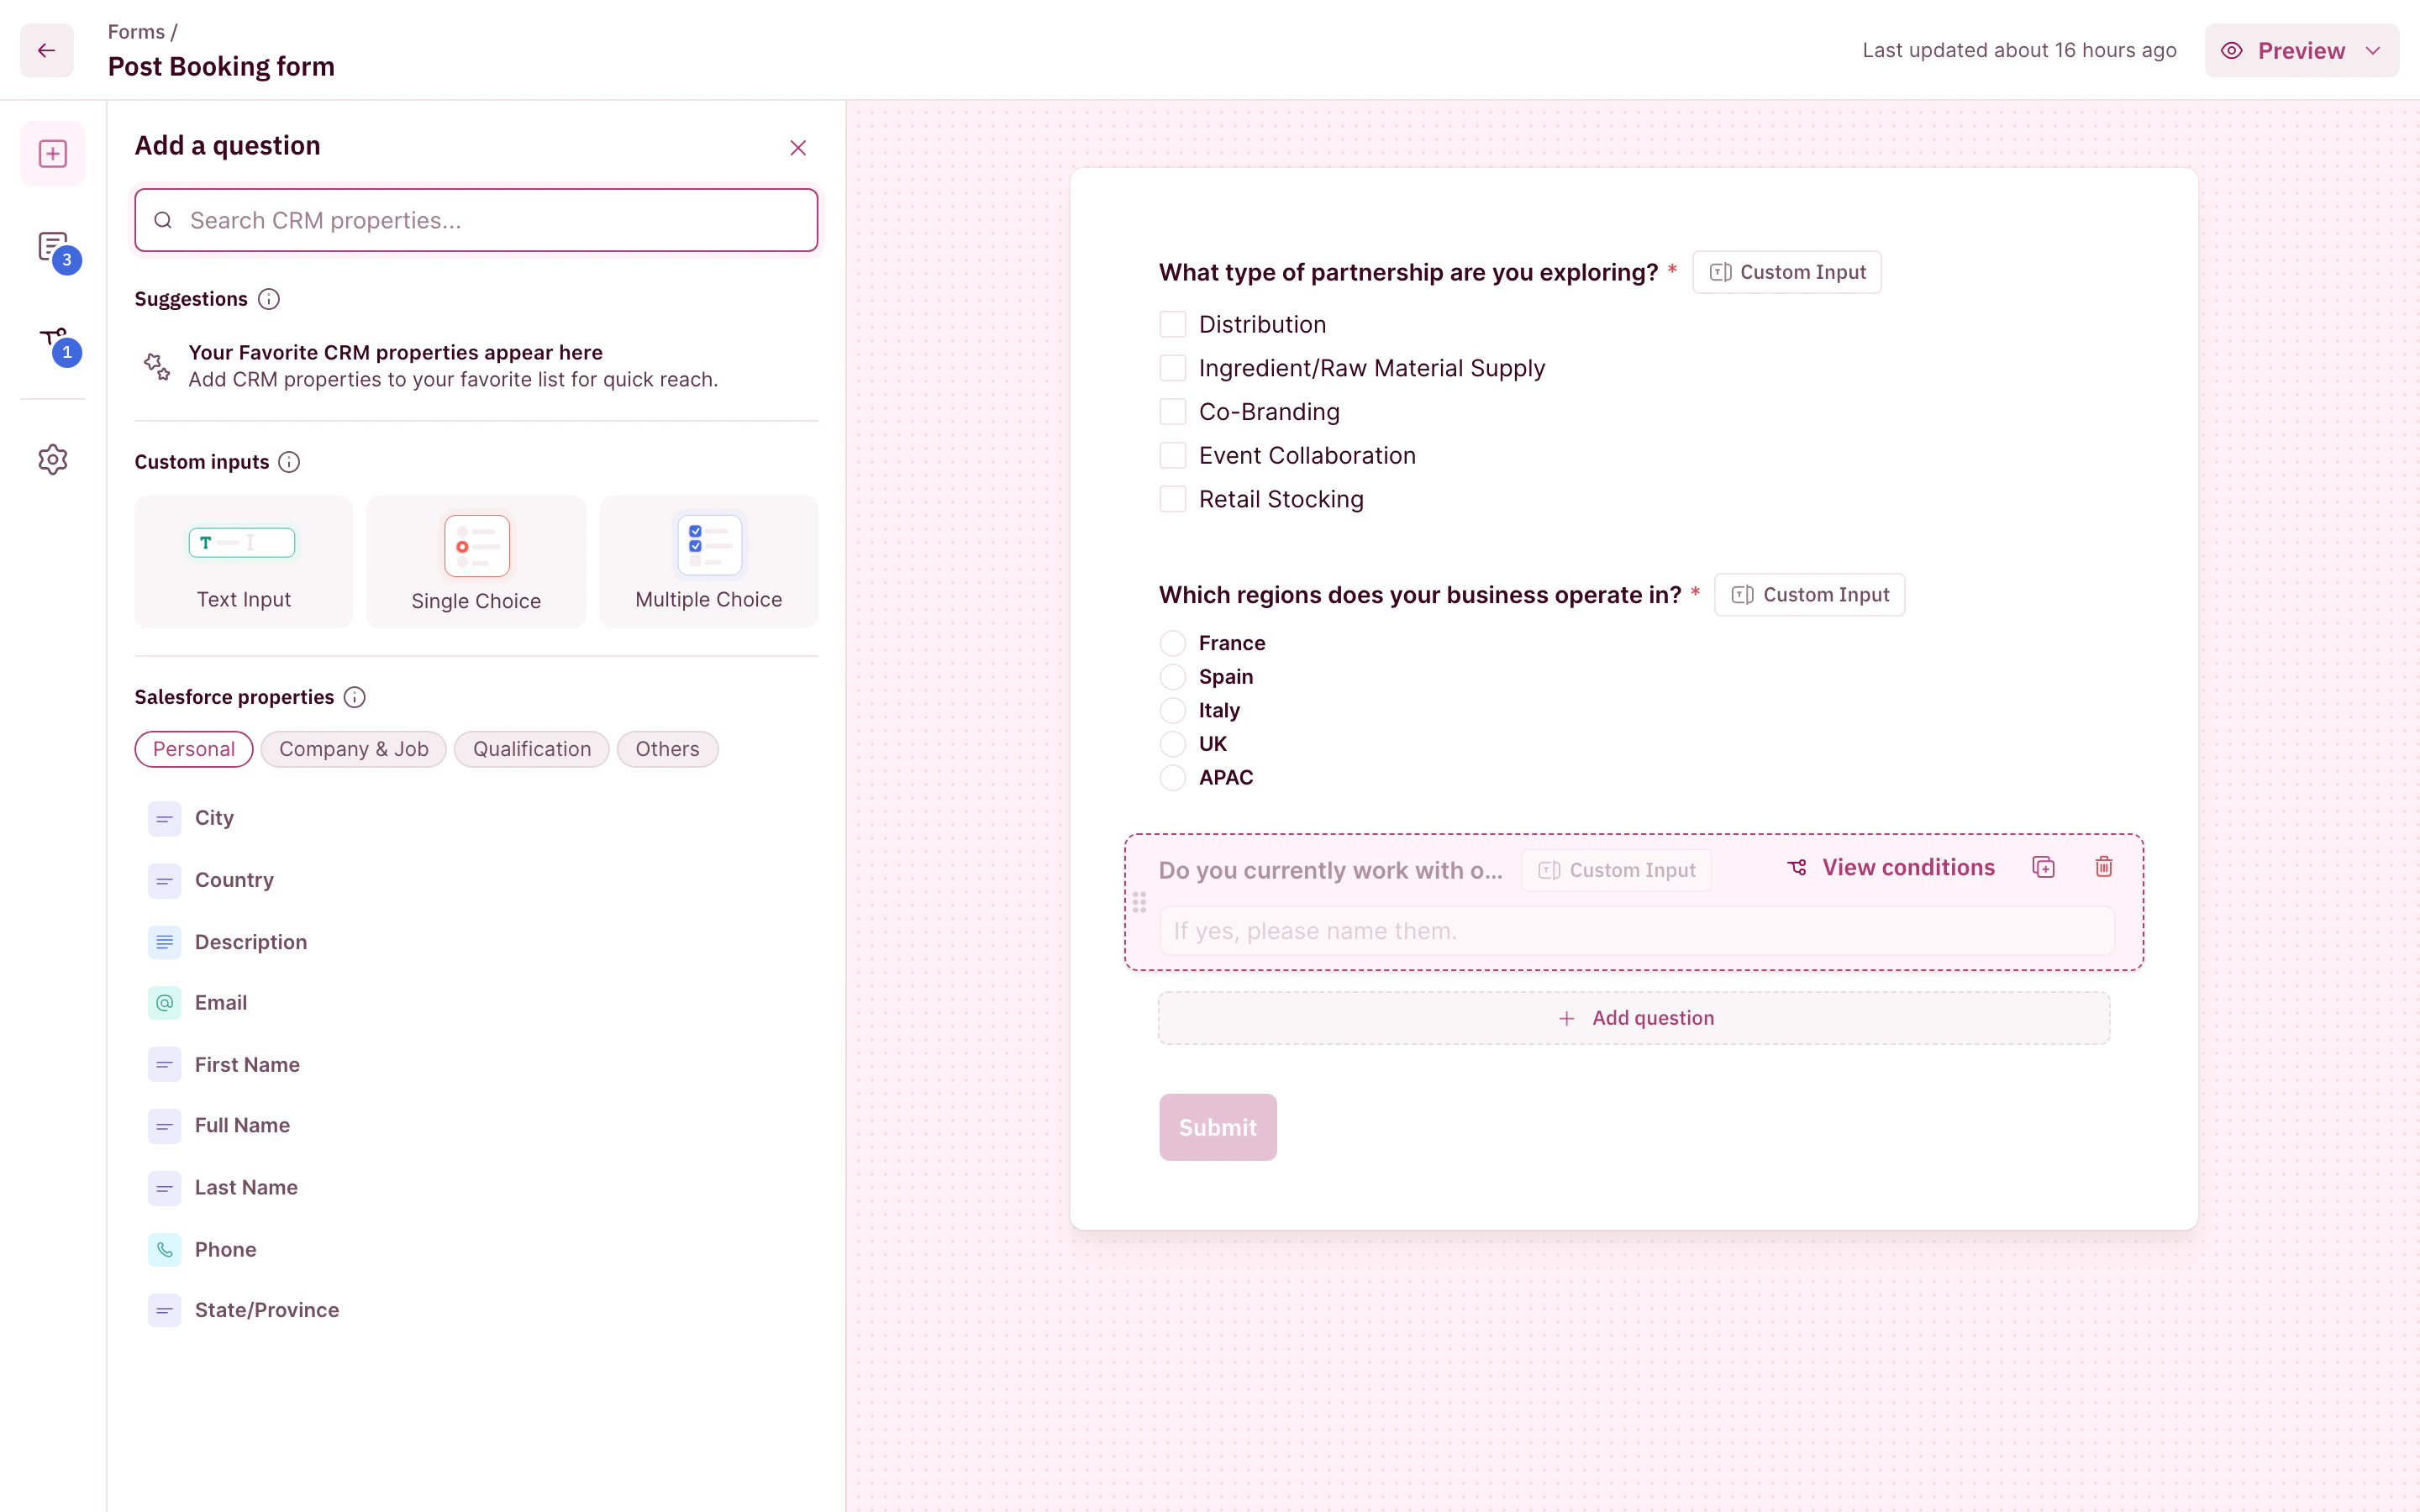
Step 4: Add your questions
Add a question for each thing your rep needs to know before the call. You build questions two ways:- From a CRM property. Search your CRM fields, grouped under Personal, Company & Job, Qualification, and Others, and add one. The prospect’s answer writes straight back to that field on their record.
- As a custom input. Add a Text Input, Single Choice, or Multiple Choice question that is not tied to a CRM field, for anything your CRM has no field for.
Step 5: Save
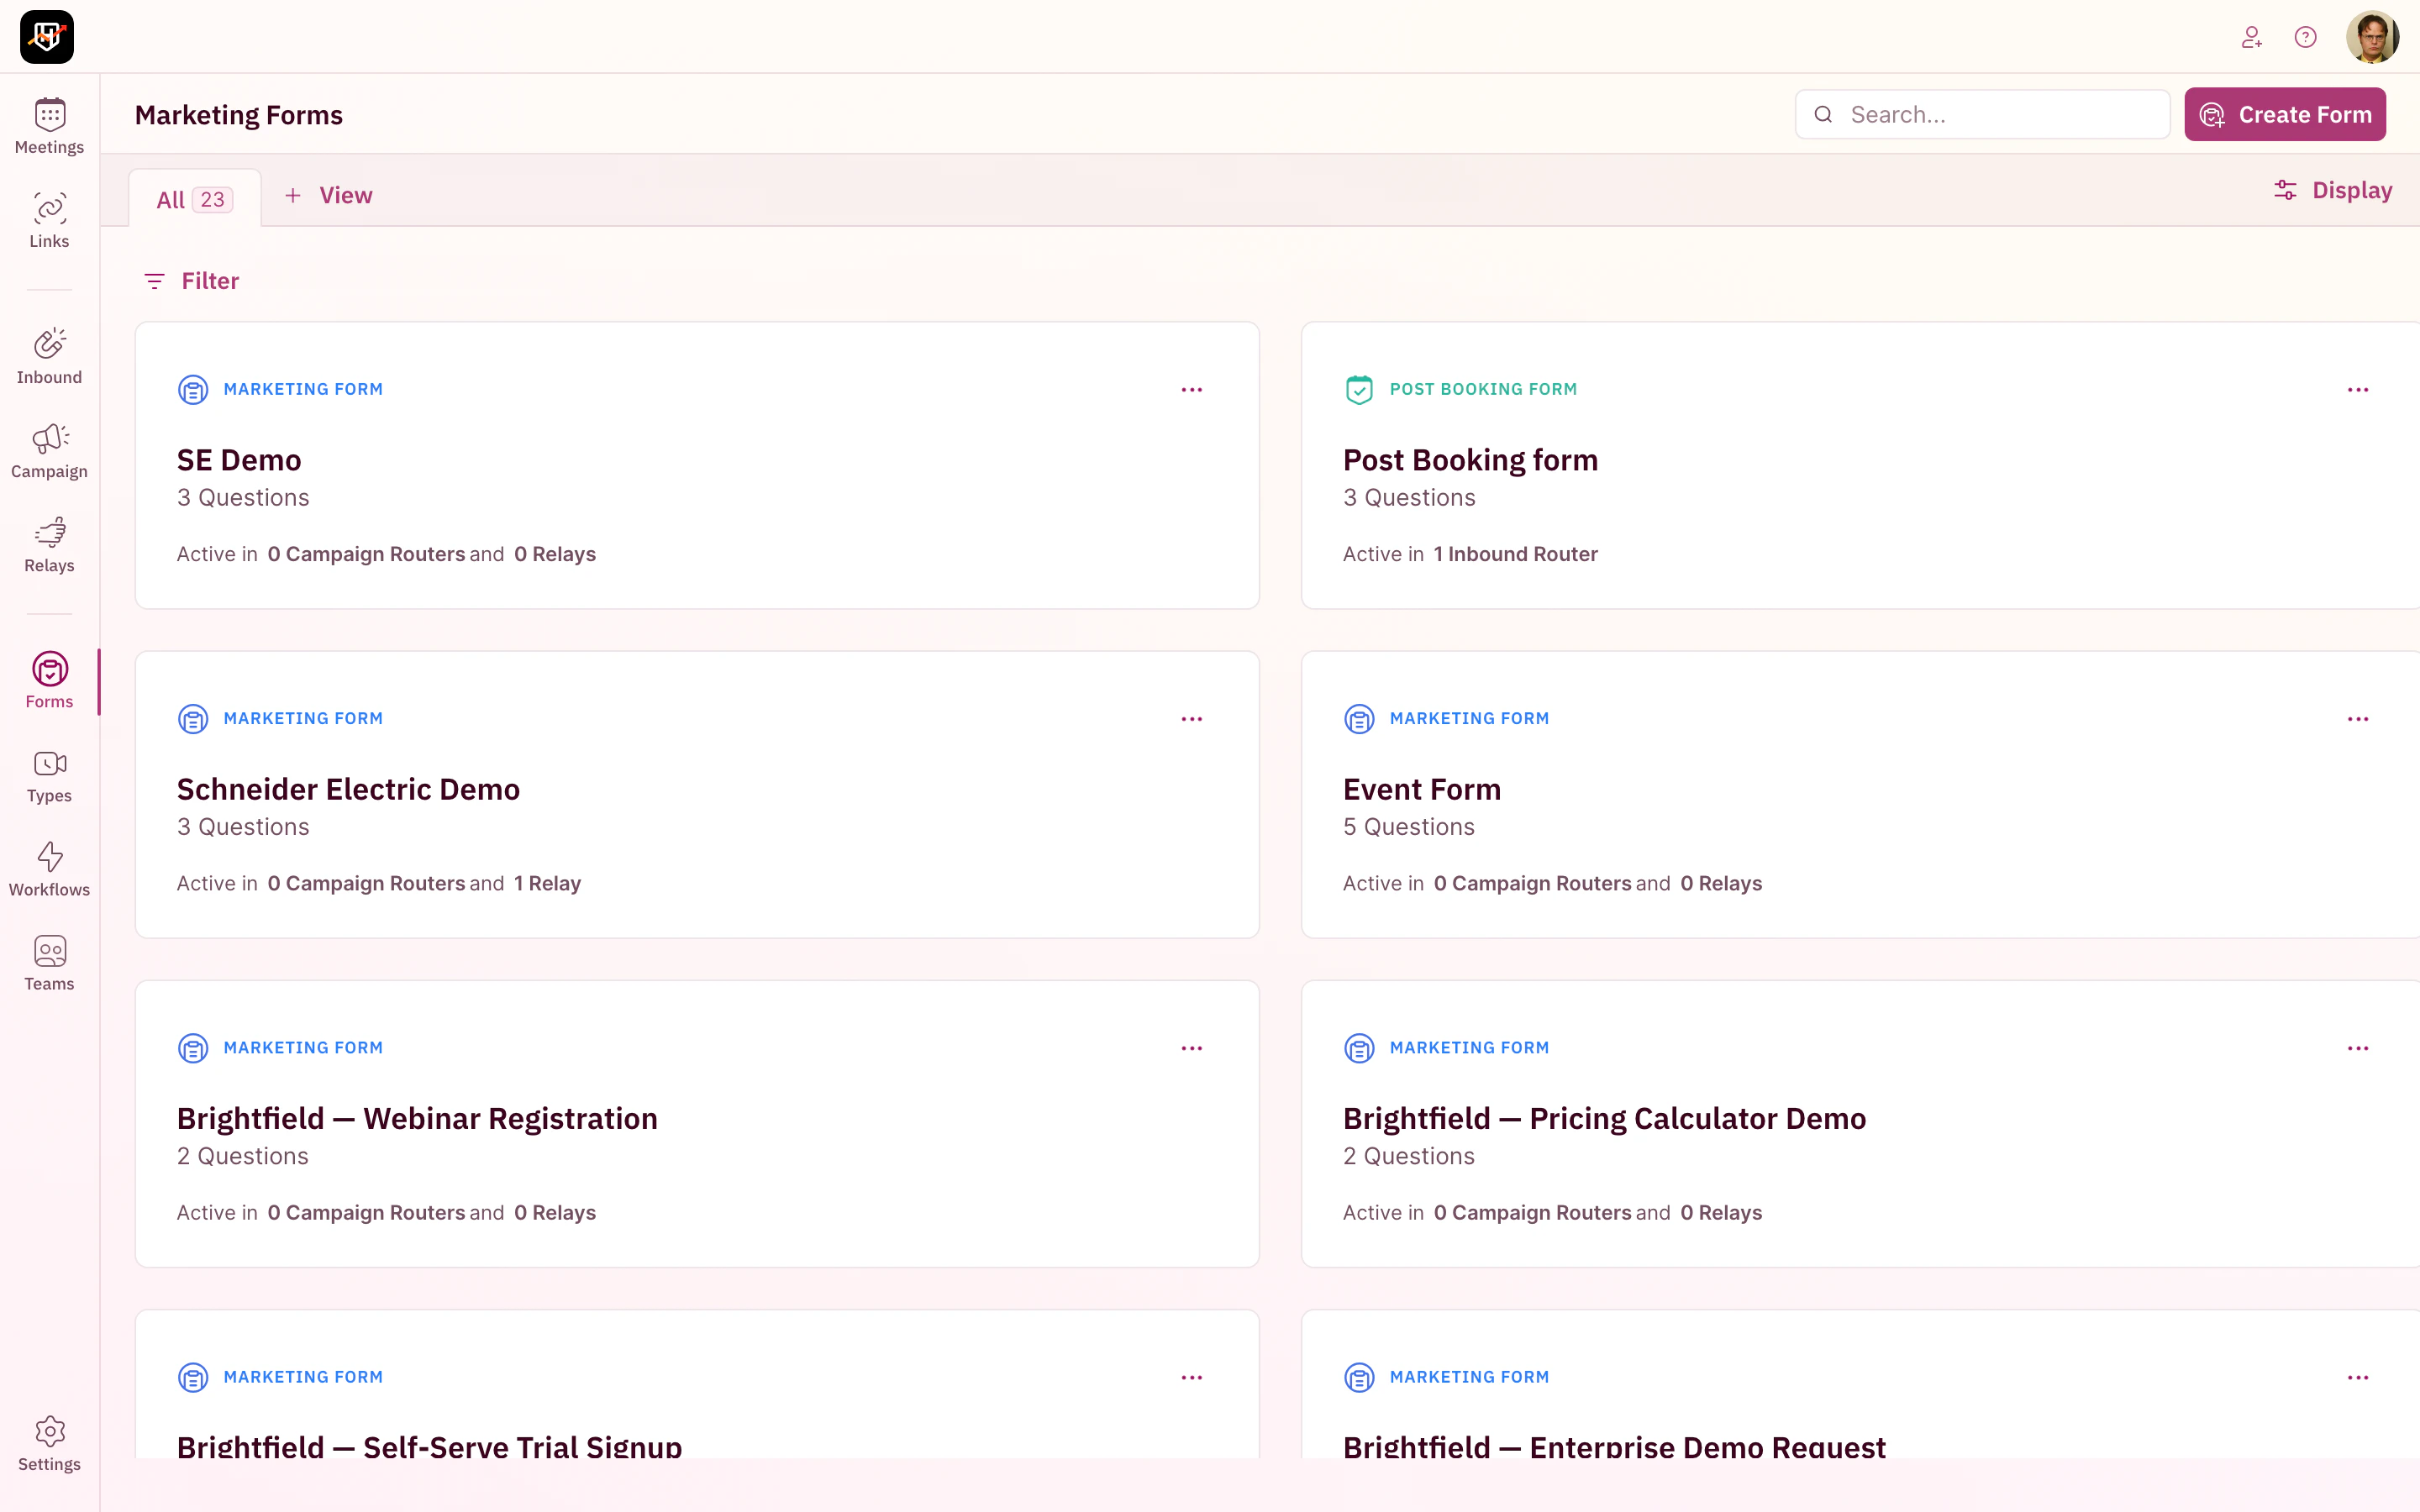
Save the form. It now appears in the library with a Post Booking Form label, ready to attach to a router.Attach the form to your inbound router
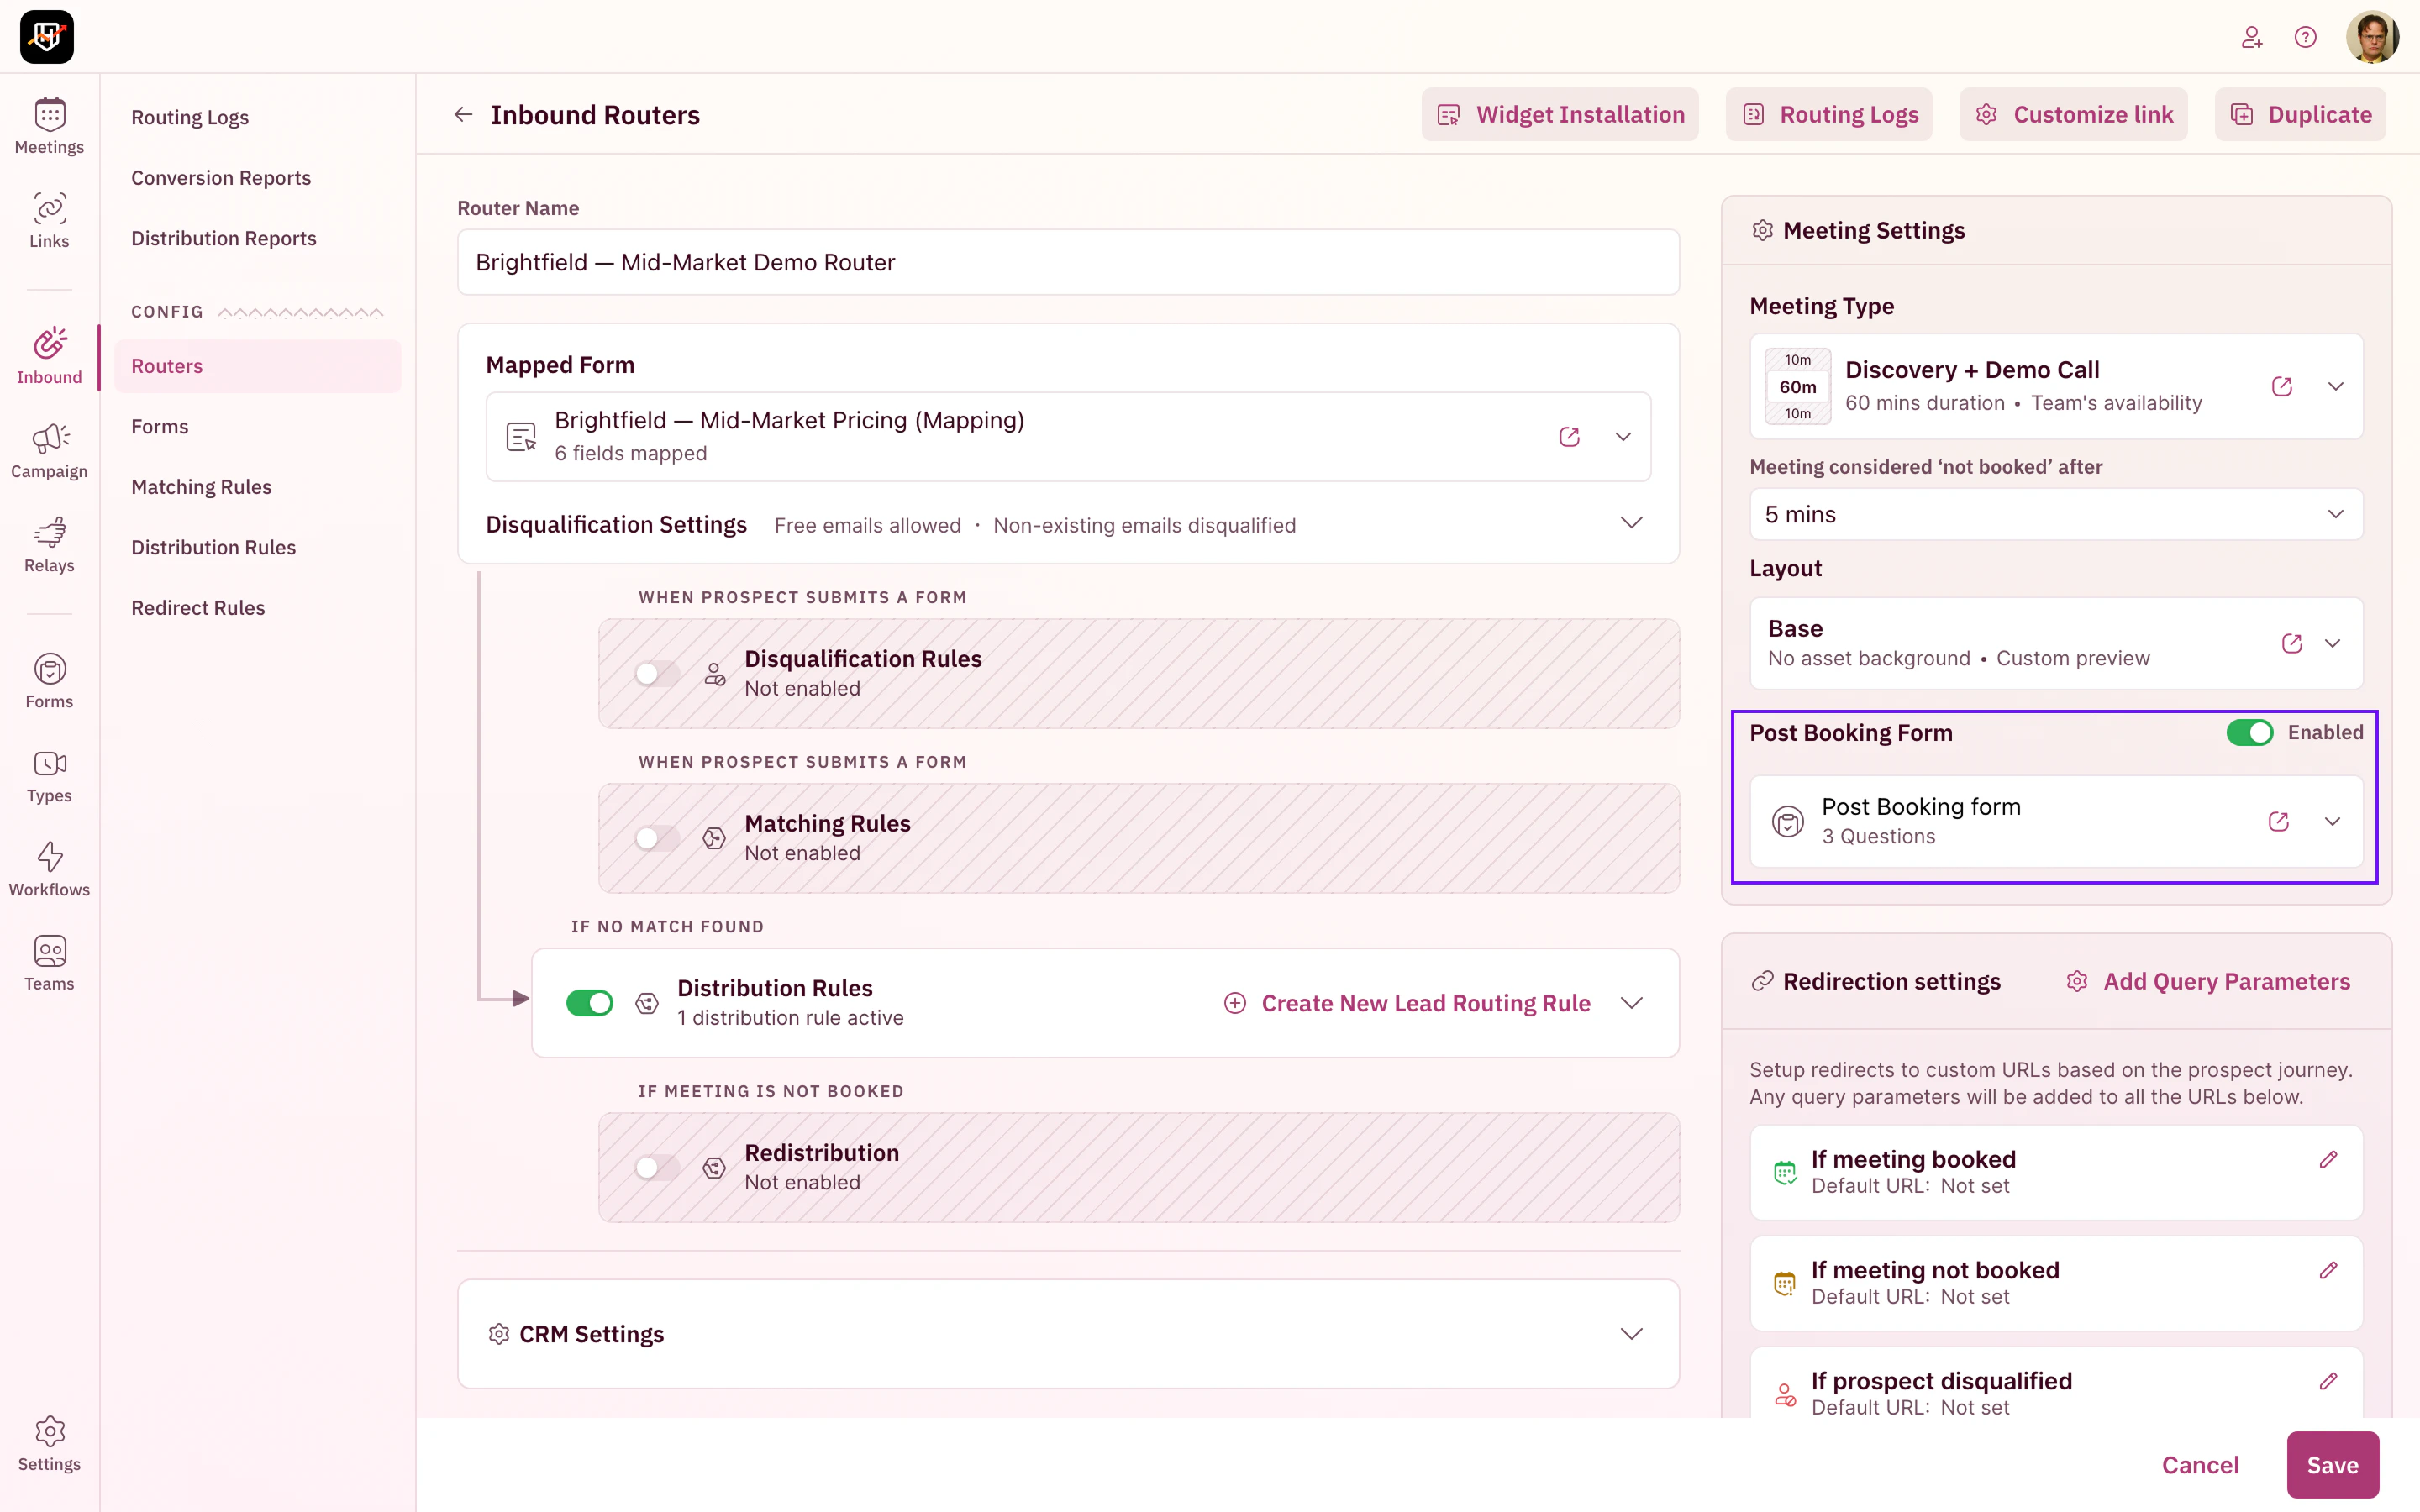
A post-booking form does nothing on its own. It only fires when it is attached to the router that books the meeting.- In the left sidebar, click Inbound, then open the router you want.
- In the Meeting Settings panel on the right, find Post Booking Form and toggle it on.
- Pick your post-booking form from the list below the toggle, then Save.
Where the answers go
Questions you mapped to a CRM property write the prospect’s answer straight to that field on their record, so your reps get the new context without anyone retyping it.Your post-booking form is live. Your reps now get the prep they need automatically, and your booking rate stays where you want it. 🎉🎉🎉
Create a Form
The full form builder in depth: CRM properties, custom inputs, smart logic, and submit settings.
Create an Inbound Router
Set up the router that qualifies, routes, and books your inbound prospects.
Create a Meeting Type
Define the duration, availability, and invite for the meetings your prospects book.
Add Form Entries to the Invite
Choose which form answers show up in the calendar invite, and leave the routing-only fields out.