A prerequisite for including form entries in the meeting invite is having a form setup. You must have either your own web form (such as HubSpot, Intercom, Pardot, or any other) embedded on your landing page and mapped to a RevenueHero router or a RevenueHero form configured and associated with the router link you share with the prospect.
How form entries in invites work
The master toggle has to be on for any answers to appear. The per-form selector then narrows the list to only the answers worth showing the rep.
How to add form entries to meeting invites?
Enabling this feature is an extremely straightforward process.This is an organization-wide setting. Admins can enable or disable the option to include form entries in the meeting invitations being sent out.
1
Open Meeting Settings
In your RevenueHero dashboard, go to Settings. Under Organization Settings, click on Meeting Settings and locate Add form entries in the Invites.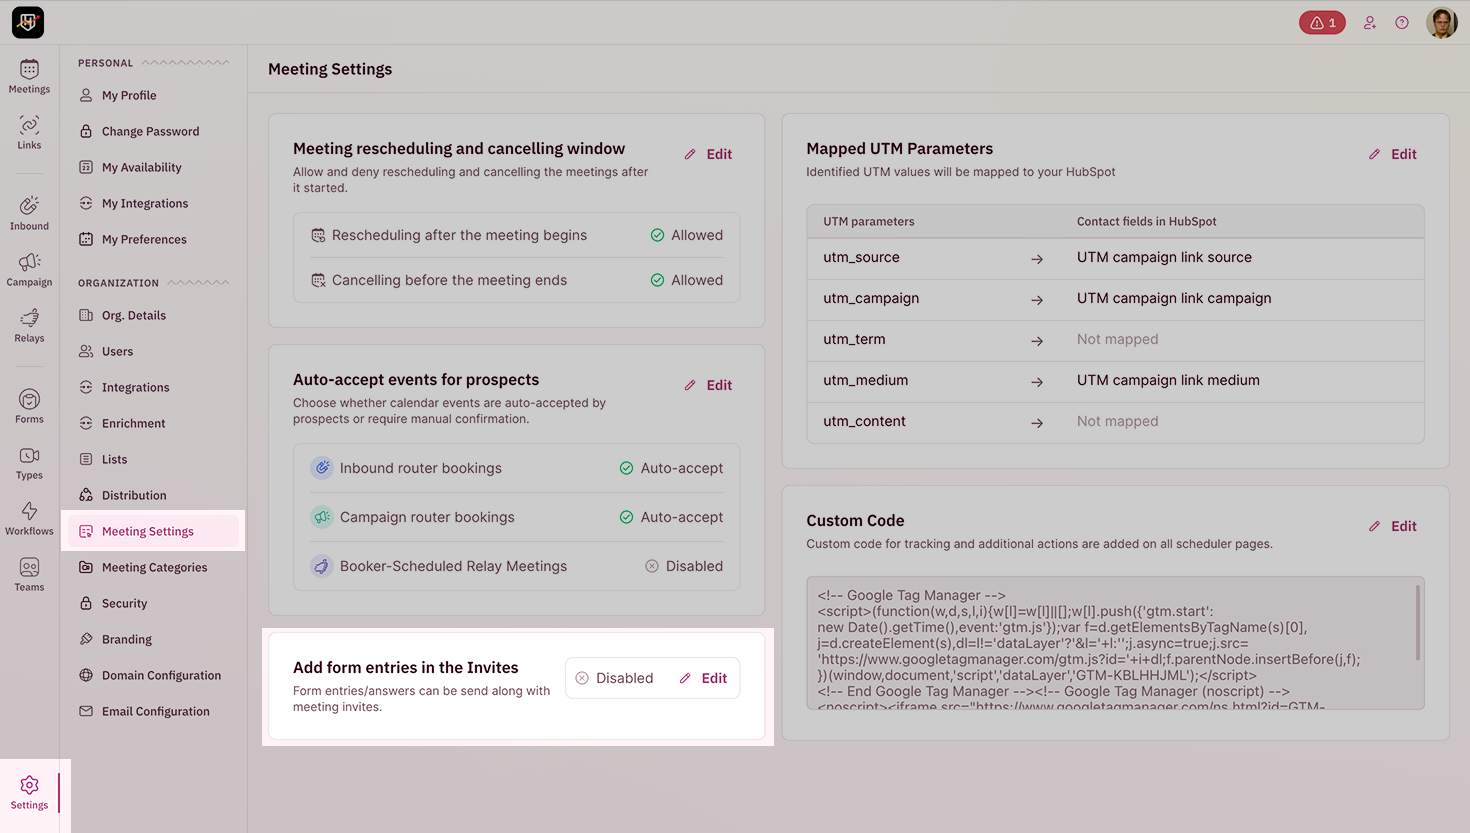
2
Enable Add form entries in the Invites
Click Edit, toggle Enable Add Form Entries in Invites, and then hit Save.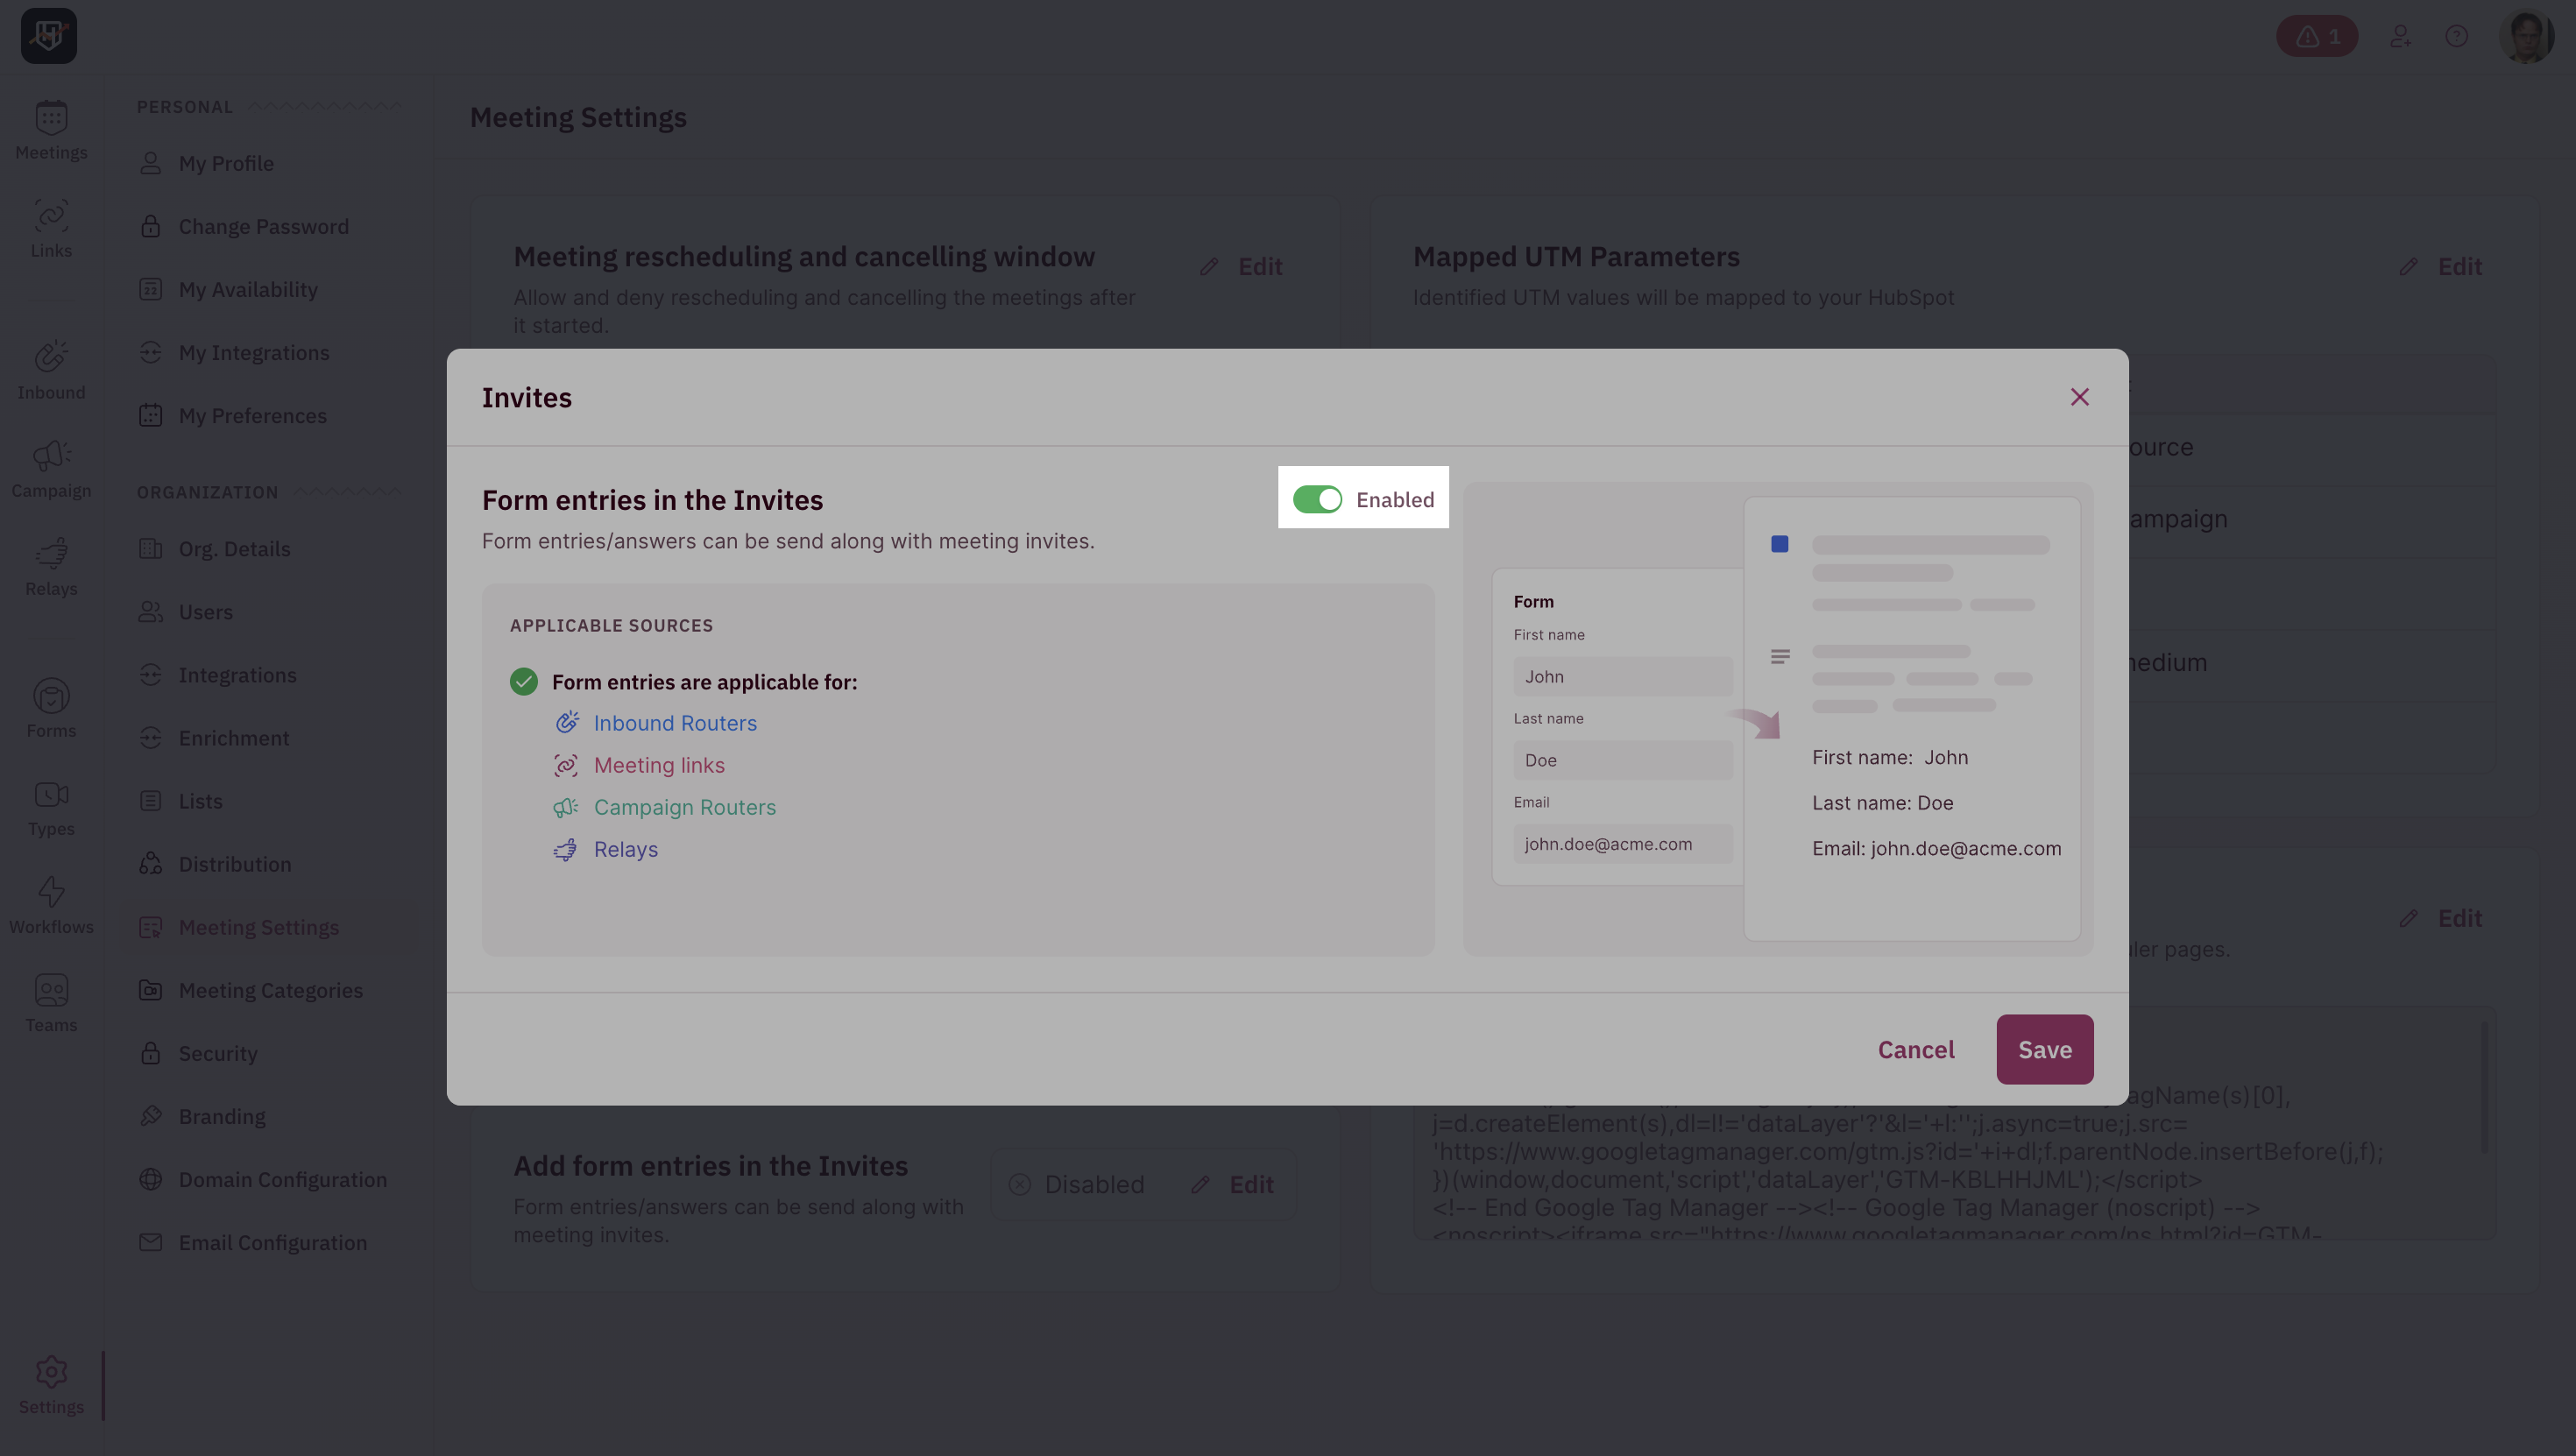
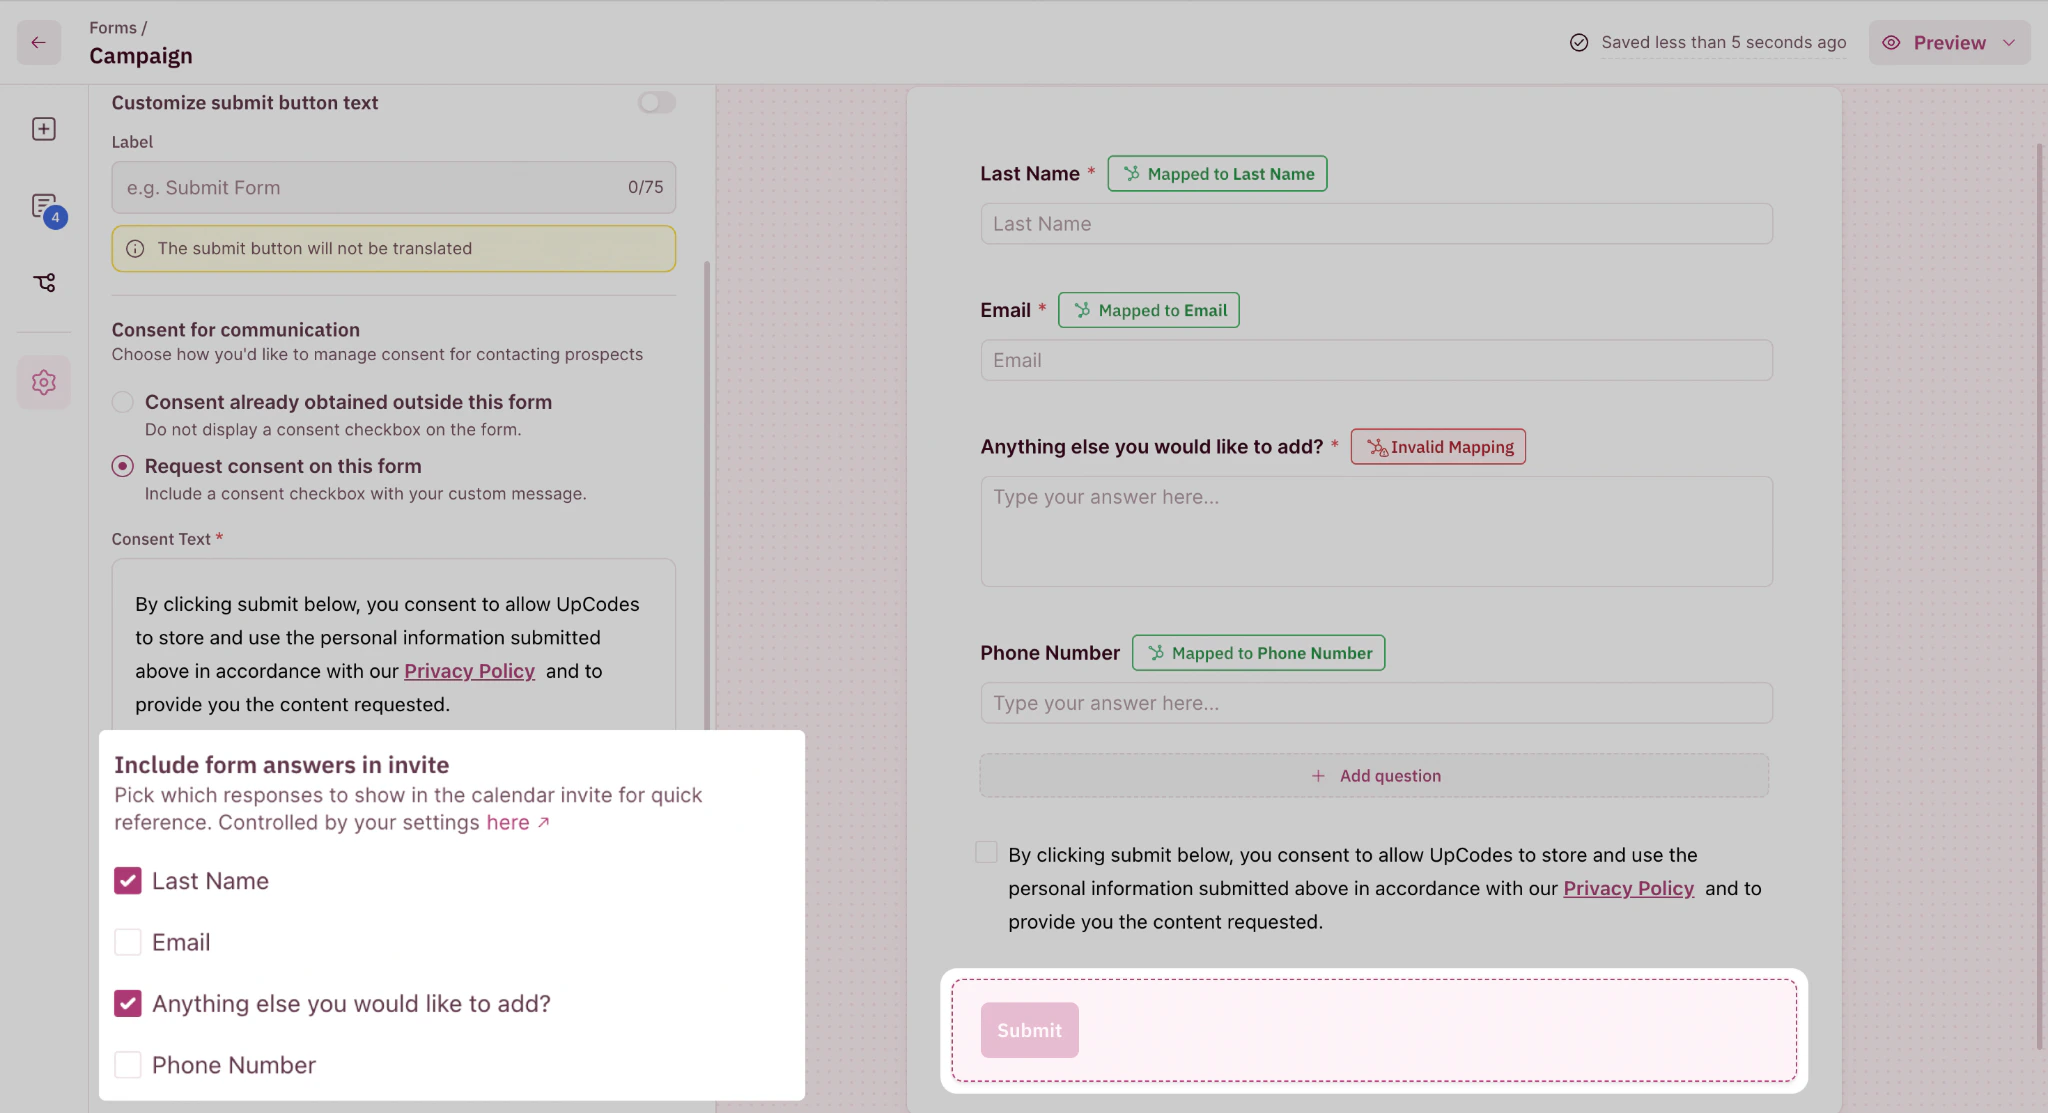
Choose which form answers appear in the invite
Once the org toggle is on, open each marketing form’s edit settings to decide which fields are worth including. This is where you keep prep-relevant answers in and leave routing-only fields out.Step 1: Open the form’s edit settings
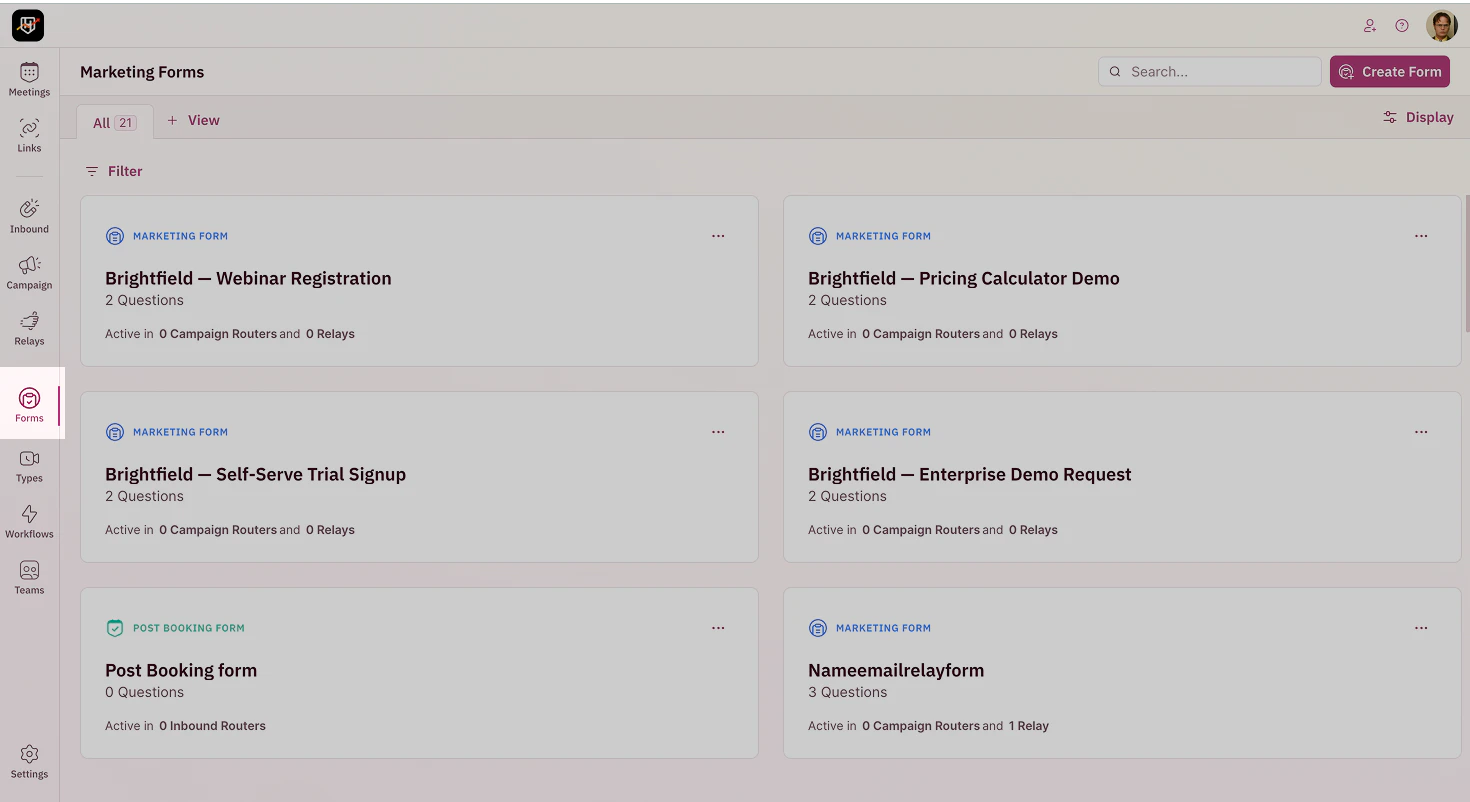
- Go to Forms in the left sidebar.
- Click the marketing form you want to configure.
Step 2: Select the fields to include in the invite
- Open the form’s Settings screen.
- For each field on the form, choose whether it should appear in the calendar invite body.